Something of a catch up post - I managed to *mostly* work through 30 red marines over 2019, and it's time to dump out some of the WIP pictures taken over their progress.

There have been a couple of quite fun to watch Goobertown videos over the last year where Brent has set a 24 hour hobby challenge and smashes out some batch building of a full army over the course of a single day. While I don't have the block of time or the skills to do it in quite the same way, I was prompted to do a bigger batch of the more 'repetitive' parts of the 5th company still remaining to paint.
These were probably started in cleanup about a year ago, but most of the painting was during Q4 2019 as we got closer to summer. Aim was to add...
- Tactical squad (4th) as 10x
- Tactical squad (5th) as 10x
- Dev squad bolters (9th) with 5x
- Dev squad bolters (10th) with 5x
This would also be a good chance to mix in a bunch of different parts left over from death company, command and assault squad sprues, plus combine a set of vanilla tactical + blood angels tactical kits with plenty of variety. Keeping track of these (and mixing the parts together) took a good bit of parts management during assembly.


It's a bit OCD... but I like to keep a minimum number of 'knee' capped marines in each squad (which carry the squad markings)... sergeant + corporal get more Blood Angels bling, plus some specific items for heavy & special weapons. For these new tactical squads - that is adding a melta + multimelta; then a plasma + missile launcher.

Then working through a pile of legs... cleaning up the mold lines on parts as I go. Each one only takes maybe 3-4 min, but that quickly adds up to a couple of hours per part across 30x.

I've also gotten into the habit of drilling a small pin hole for paperclip & superglue to join the legs & body. This probably isn't needed, but I had a couple of Grey Knights separate a while ago so it's just standard practice.
Same time, I also put a hole in each foot for later pinning to bases. I know most people join & paint with the bases on, but I find it way easier to work on these separately particularly where BA have parts like robes that touch the ground.


For a few, where I'm using plasticard inserts or more customised bases, I've drilled & added pins to the base before painting (so the models just need to slide on with superglue at the end), however most of the sector imperialis bases will be drilled & fitted once everything is painted. Tip for beginners - take lots of photos of which models you want on which bases before batch painting if you want to find them again later.


The rest of the bodies were posed up and assembled - although without heads. I still find heads much easier to paint separately, mainly for painting eyes. Having access to get to them without arms or shoulders in the way is far, far easier.


Also trying something different with the sergeant parts this time - all my previous ones have magnetised arms, but always with single-arm poses. This time, I'm trying to use 2-hand combiweapons, magnetised at each shoulder. It might mean that with minor nuances in fit, that they only work with the model they were made for... at least I'll be able to swap them off for other items if desired.
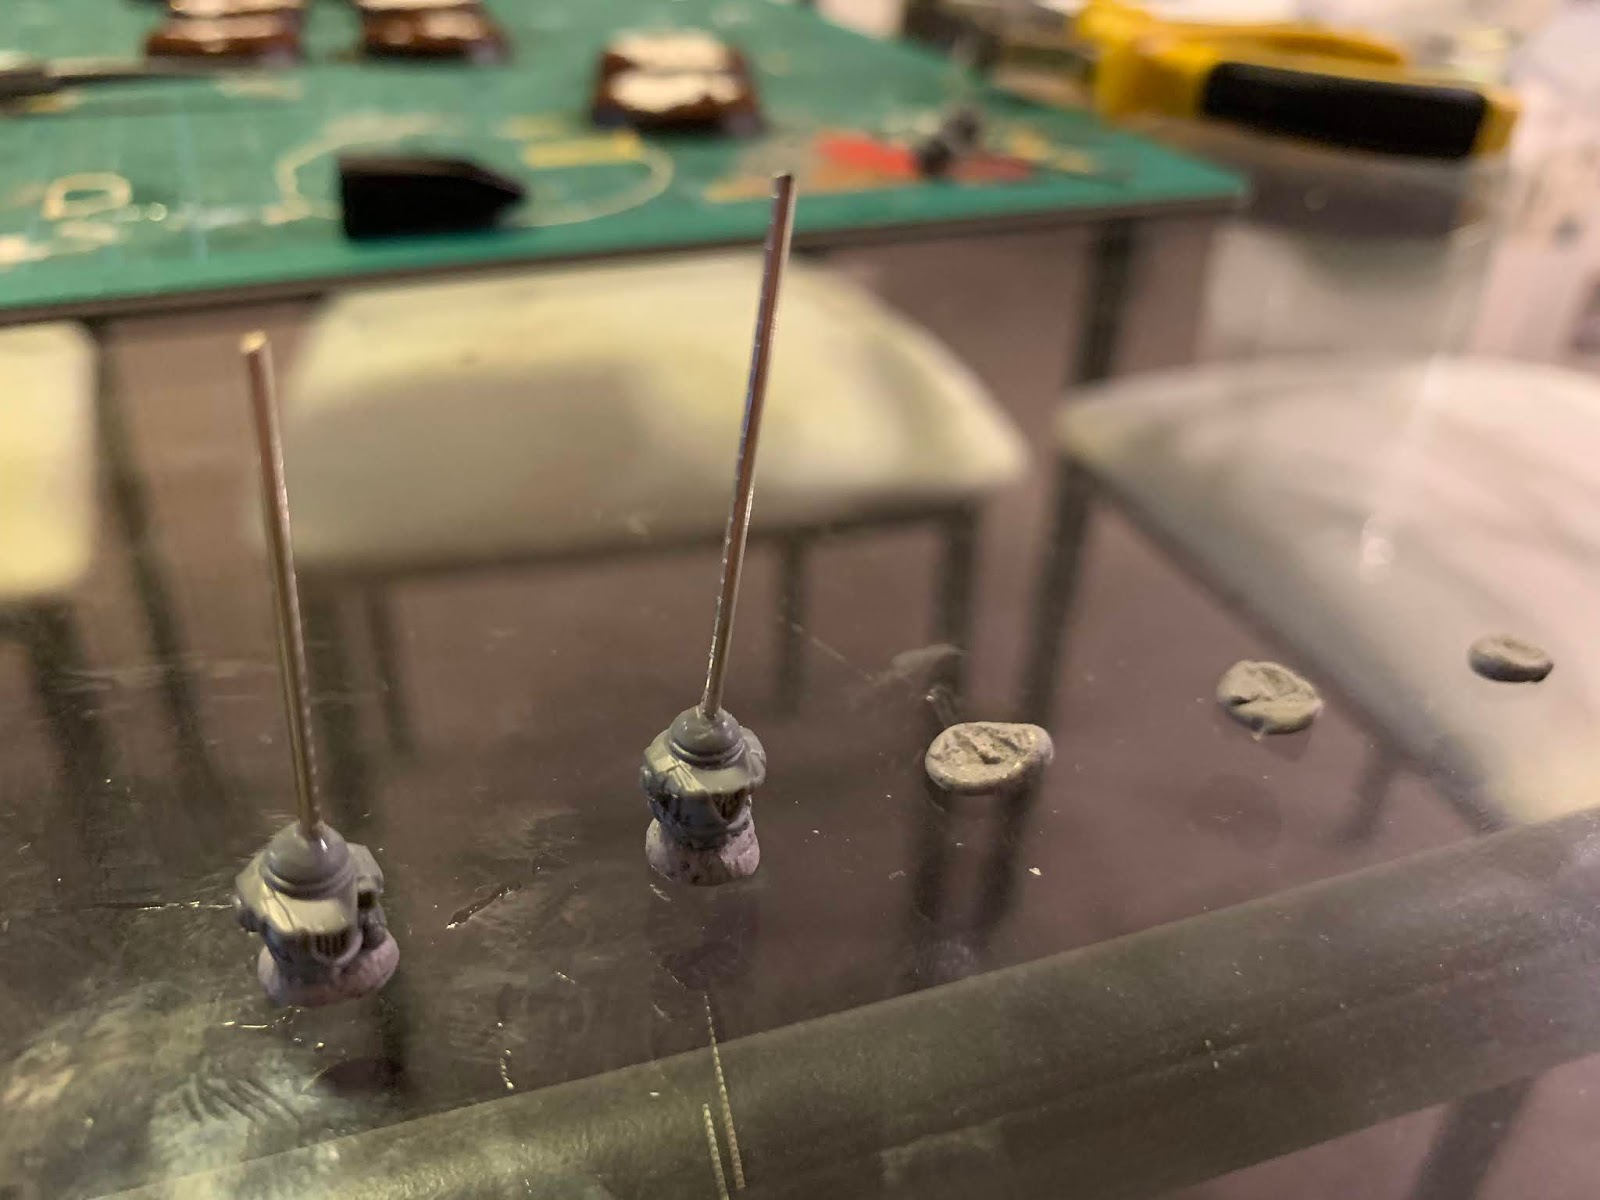


Other thing I am trying out for batch painting is using a dot of superglue and heavy paperclip wire to attach to parts for airbrushing. Should mean far less mucking around with blu tack in between sections of basecoating.


And here they all are lined up in a block of XPS foam ready for priming.
Next post up will work them through priming & colouring - although admittedly I have taken a lot less photos of WIP painting than for the first couple of tactical squads I painted a while ago.
No comments:
Post a Comment