Part 2 catch up post of mass painting red bolter marines over 2019...

Previous post left off where these had been cleaned up & assembled in prep for priming with the airbrush... not as many photos taken of single models this year as most of the time I was working through several in a batch.


Sufficient heads for everything (with a couple of spare in case there are any issues... always seem to have plenty left on sprues...); all the bodies superglued onto paperclips so they can be done in one pass instead of two; bases to be primed black & grey rather than red.


All of the marines & 19 helmets primed with vallejo german red. 10 helmets for the devastator squads are done with black (for basecoating macragge blue after). It's actually quite a lot of plastic when lined up...


General advice on primers is to give them some time to 'air' and let them cure properly before adding more colours... however, different coloured primers are supposed to be ok during same session.


While they look like they have just had a massive cocaine party... the top-down dusting of light grey primer then acts as the base highlight for the following mephiston red layer.

I think the most time consuming step for this lot seems to have been blocking out the black & silver parts... it's mainly the bolters and armour joints, which don't seem large. They are deceptively many.

I tend to do the red highlight layers in groups of 5 models... mephiston red, then evil sunz scarlet, followed by a very, very thin line of panzer aces new wood (which is close to OOP vomit brown).


By this point I'd largely snapped off the paperclips on the main models. They are massively useful when kept on for the heads though.

In relative terms, the heads don't take up too much time - there are still some pain staking components; mainly adding in the eye lenses. I still do these as a layer of warpstone glow, light wash of biel tan green to darken the edges, then a line on the lower half of moot green. Final dot of while gets added in when finishing up gemstones.

Final few steps before squad decals and heads is the squad specifics - some of these are getting black or yellow knee pads to hold decals. Part of the appeal of mapping out the 5th company originally was how the chapter, company and squad markings cascade down - so these have all been faithfully rendered on the correct squad types.
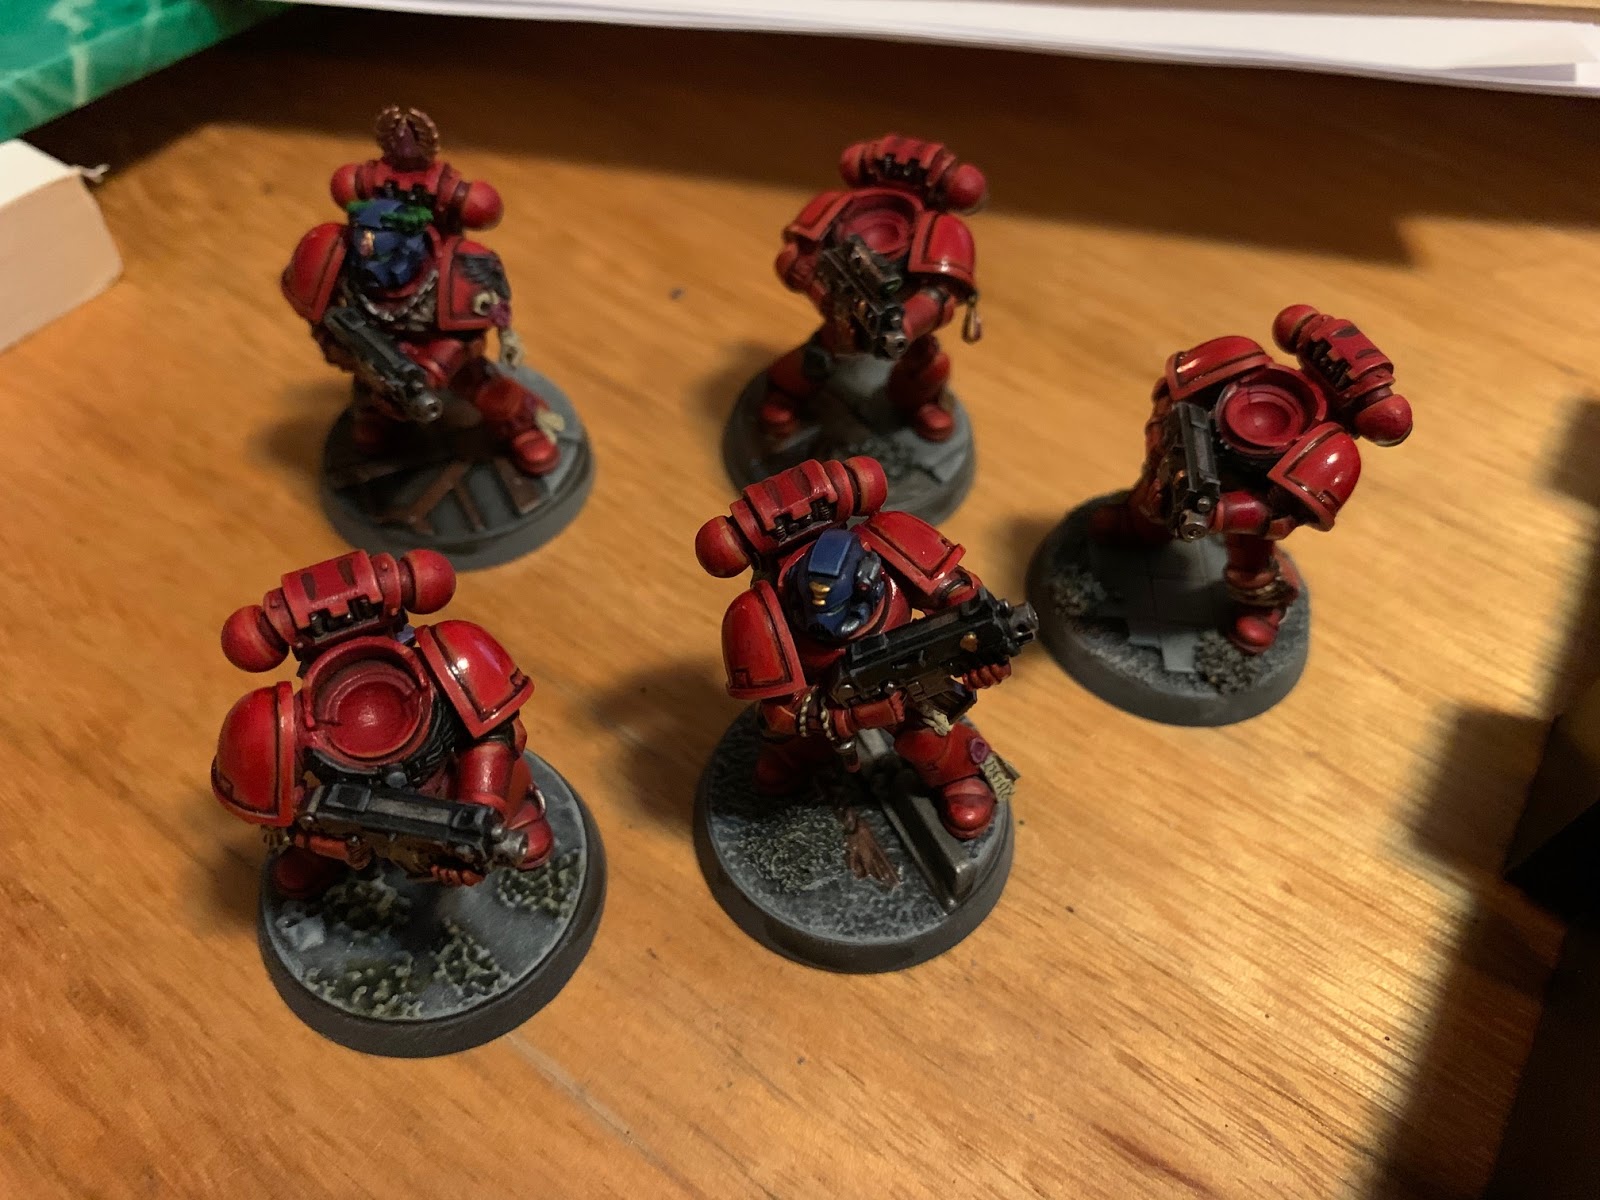


Few WIP pictures during the process of snapping heads off sticks and attaching to the bodies. I didn't take any of the pinning process with the bases, although should have. In the past, I've superglued pins into the bases before any painting at all - doing these at the end was much much faster... quick drill and then glued in one step rather than three stages. As a result some of them aren't as perfectly aligned poses on the bases as they could be; no major issue though.


And finally - this is where they got to and were packed away onto a shelf just before Christmas... a few specific items still need painting (back banners & arms for the tactical sergeants plus some special weapons), otherwise everyone else just needs their decals applied and a cleanup of dawnstone grey on the rims of the bases.
No comments:
Post a Comment