I'd been thinking about scratch building some billboards for 40k for a long time (even bought a packet of plasticard I-beams about a year ago...) but have kept putting it off as my ideas for building something featured overly complex designs of beams & frameworks.
I was pleasantly surprised to discover that a dude I've known through work for ~10 years is actually a hardcore closet gamer, and has recently put in 120+ hours exploring Fallout 4.
I was pleasantly surprised to discover that a dude I've known through work for ~10 years is actually a hardcore closet gamer, and has recently put in 120+ hours exploring Fallout 4.
Our long talk about the Fallout world prompted me to just dive in and just build something 'good enough' rather than a perfect reflection of a real-life billboard.

Practically, what has put me off is the two main types of billboard aren't great for terrain -
Option 1. Big, freeway-side boards elevated high on struts: practically these provide zero actual cover (maybe one guy behind a pole), or involve adding some ladders/walkways for a single sniper.
Option 2. Advertising mounted on a roof or wall: these seem to often be either a poster on a wall (so purely cosmetic) or on rooftops in a letterboxed style with something like 1:8 ratio... eg, the model railway example below (which also shows how nuts you can get with beams & structures).

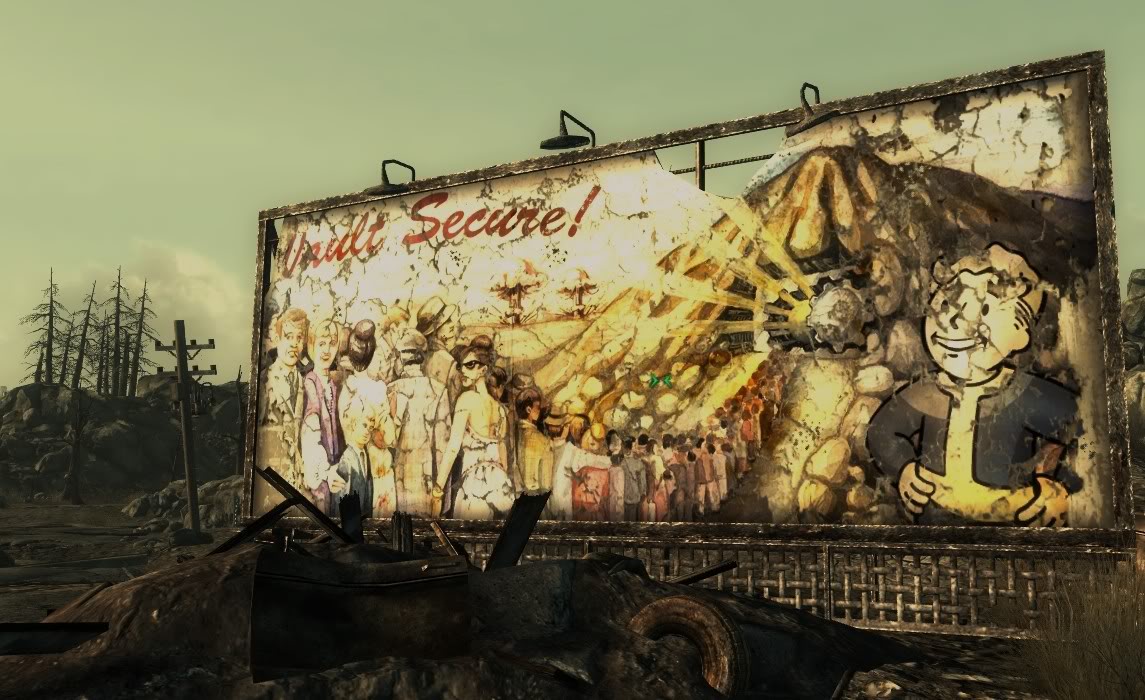
Working backwards, I figured I'd just start with an image and then add the minimum stuff to keep it standing, rather than worry about lots of structural detail. Fallout gave a heap of inspiration for some ads (such as this...), as well as an idea of the height that would still work for an infantry-based game, rather than using high poles that put the board up in the air (and thereby no cover).
As a starting point, I took 2 images from the net, squished their ratio slightly so they would both be the same size and printed them onto paper.


With a better sense of what looked about right for a terrain piece, I started hacking up some pieces of plasticard part. 4x 7cm sticks that would form the core legs; 2x 17 cm boards that would be the main plate.


Having superglued the main struts onto the plasticard sheet, I then chopped a length of I-beam to sit across the top of the struts, and eventually another length cut into pieces to fit between the struts at the bottom of the board.


Since the image (for the Nuka poster at least) has some lines marking separate pieces of poster, I added some corresponding thin grooves on the front of the board that paper can be fitted to later on.

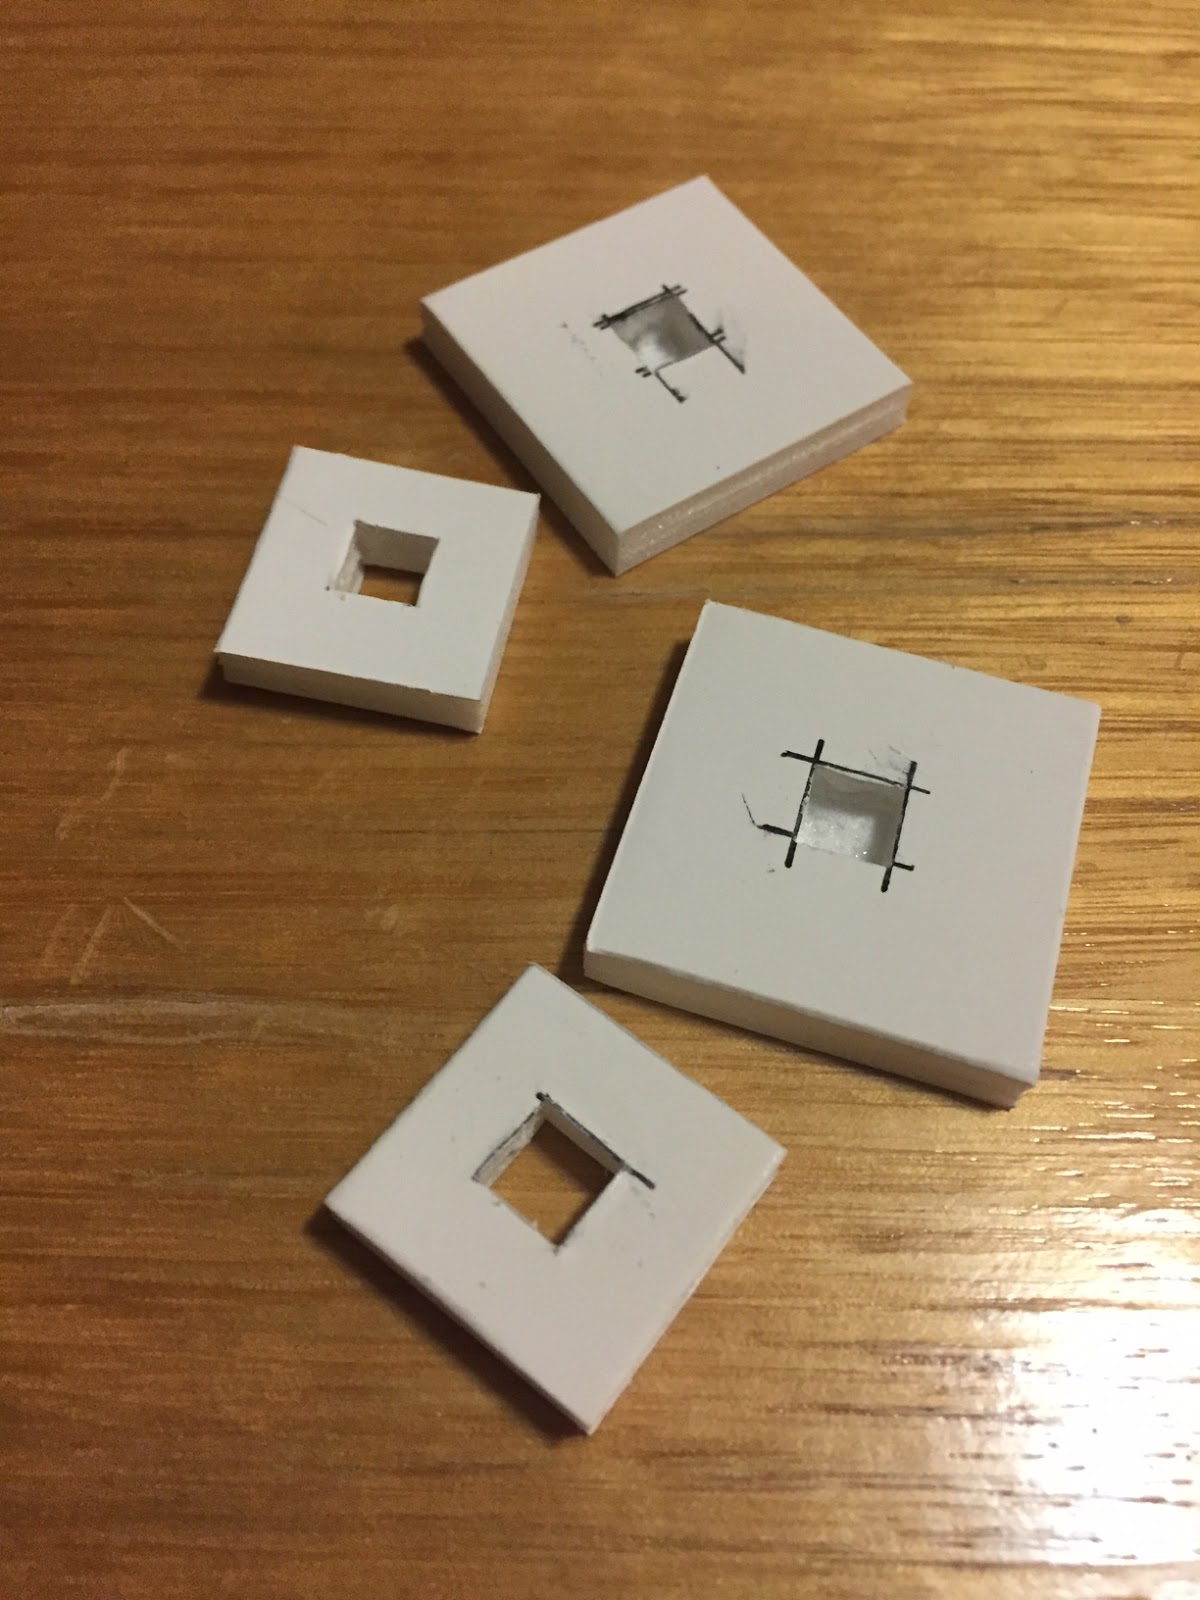
For feet, I hacked up some foamcore with square holes through the middle. PVA glue to hold these together and a good dose to sit the plasticard struts into from the top.

I plan on adding a good dose of rust and weathering, but figured at least one board needed some bullet damage. Done properly, you could chip parts out of the beams & corners of the board, etc to get a properly fallout-worthy billboard... but quick is fine when there is a queue of 50+ Dark Imperium miniatures demanding assembly too.

Since I'm likely to opt for rattlecan (rather than airbrush) primer, I spread a thick layer of putty over the edges of the foamcore board to stop these getting eaten by the spray. Actually, even with airbrush primer, it was probably worth adding that little bit of structural integrity to the feet.


So... that's it so far - these took maybe ~2 hours to put together, which compared to my usual time vs output on terrain construction is pretty good. Once the putty is fully dry I'll add some grit or rocks to the feet for texture and then prime in black spray ready for a quick drybrush scheme.

What an excellent idea. I think the weathering process is going to be extremely fun!
ReplyDeleteThanks - lot to learn on the weathering front but these should be an excuse to go crazy with rust. Btw - Your city ruins from a couple of years back got me onto propaganda posters for terrain.
Delete