Having put all the files and glue away - the drop pods are moving onto painting. This is one of the more complex sets of sub assemblies I have done with airbrushing, and includes a whole bunch of (hopefully) clever masking.

I've kept these in a lot more pieces than I would usually do most other kinds of model. The drop pod is largely just chapter colour and metallic silver areas, however several of these bits are hard up against each other, and far easier to keep the colours apart by painting separately.

The big pieces are being done in 2 very separate stages - the doors/base are getting all the silver/metal done first, (the base exterior and the entire interior including doors) including drybrushing/washing. Once that is all done, everything needs to be masked up and flipped inside out to do the red exterior doors.

To make sure the doors look painted in all positions, I've opened the doors as wide as they can go and worked some primer into the gaps. This is more important for the black than for the leadbelcher - as long as the hidden recesses look dark, perfect coverage of the silver isn't as critical.

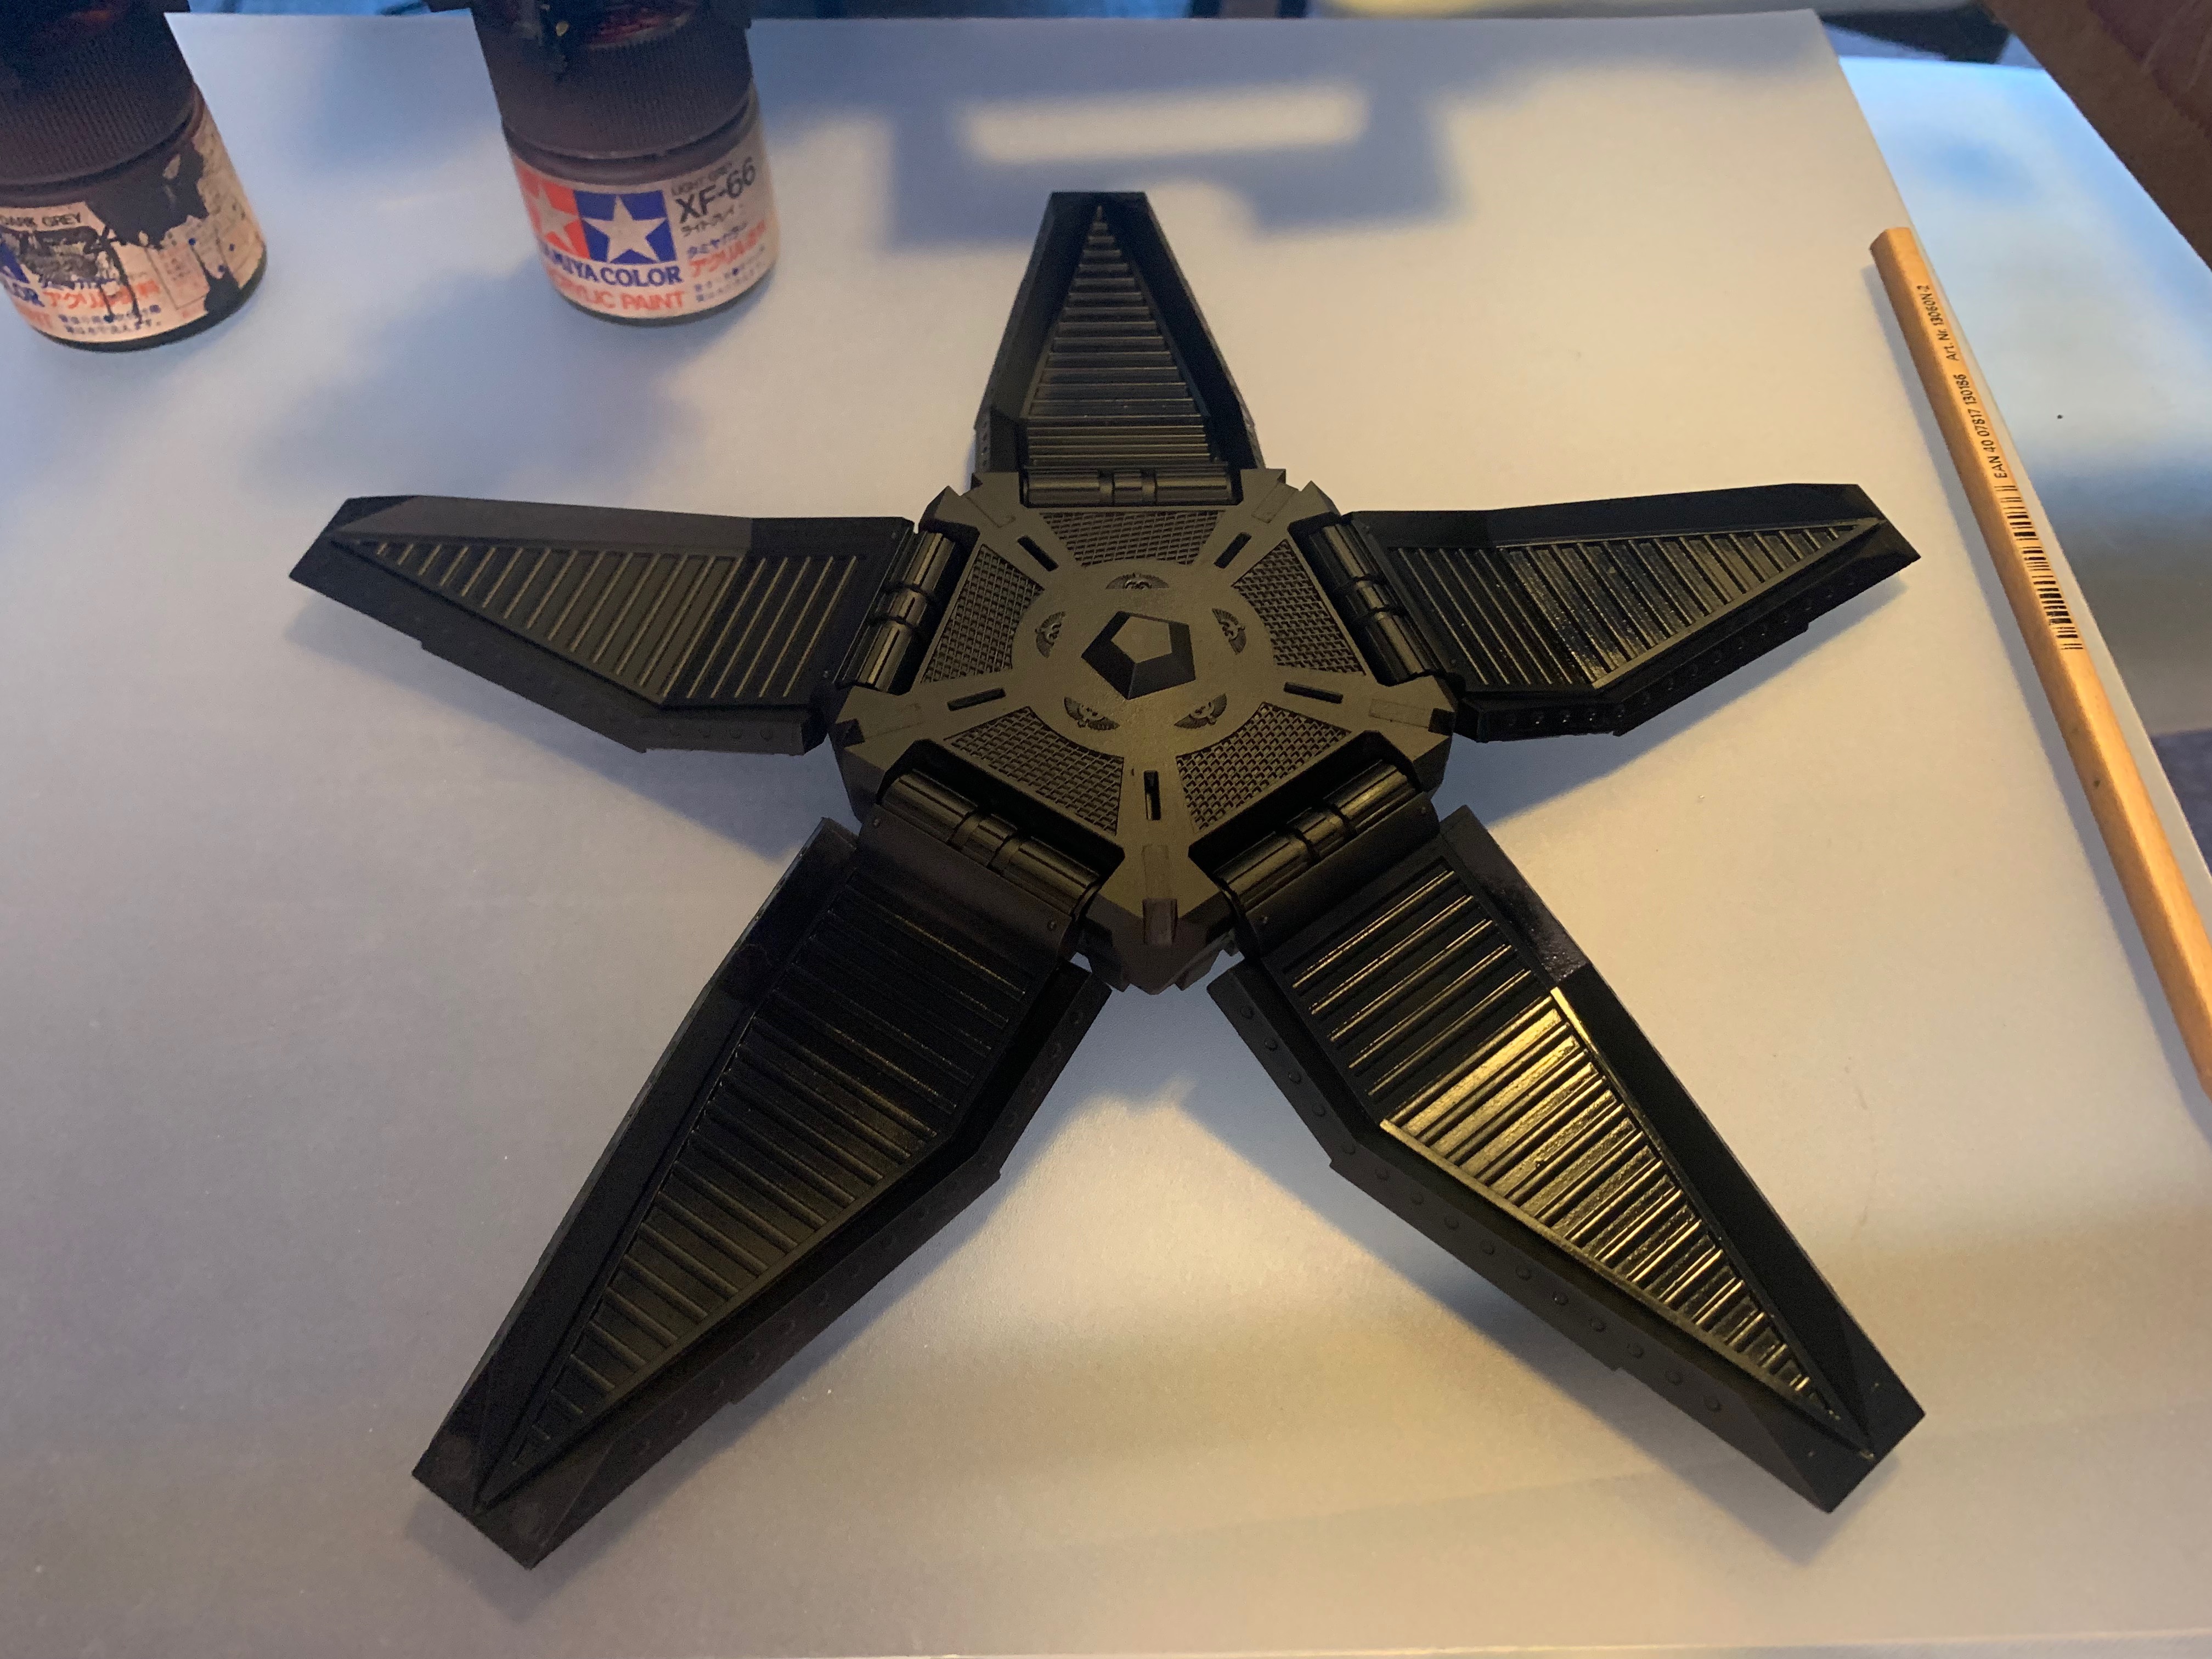


The fins get a start with vallejo hull red primer.

These have then been pre shaded with black primer. This is something I don't do for troops (maybe I should?), but I used to do on some non-40k model aircraft to make the shadows deeper.

With the black primer basically dry now, a couple of light passes of leadbelcher brings these up nicely. The end result will be much darker after some washes.

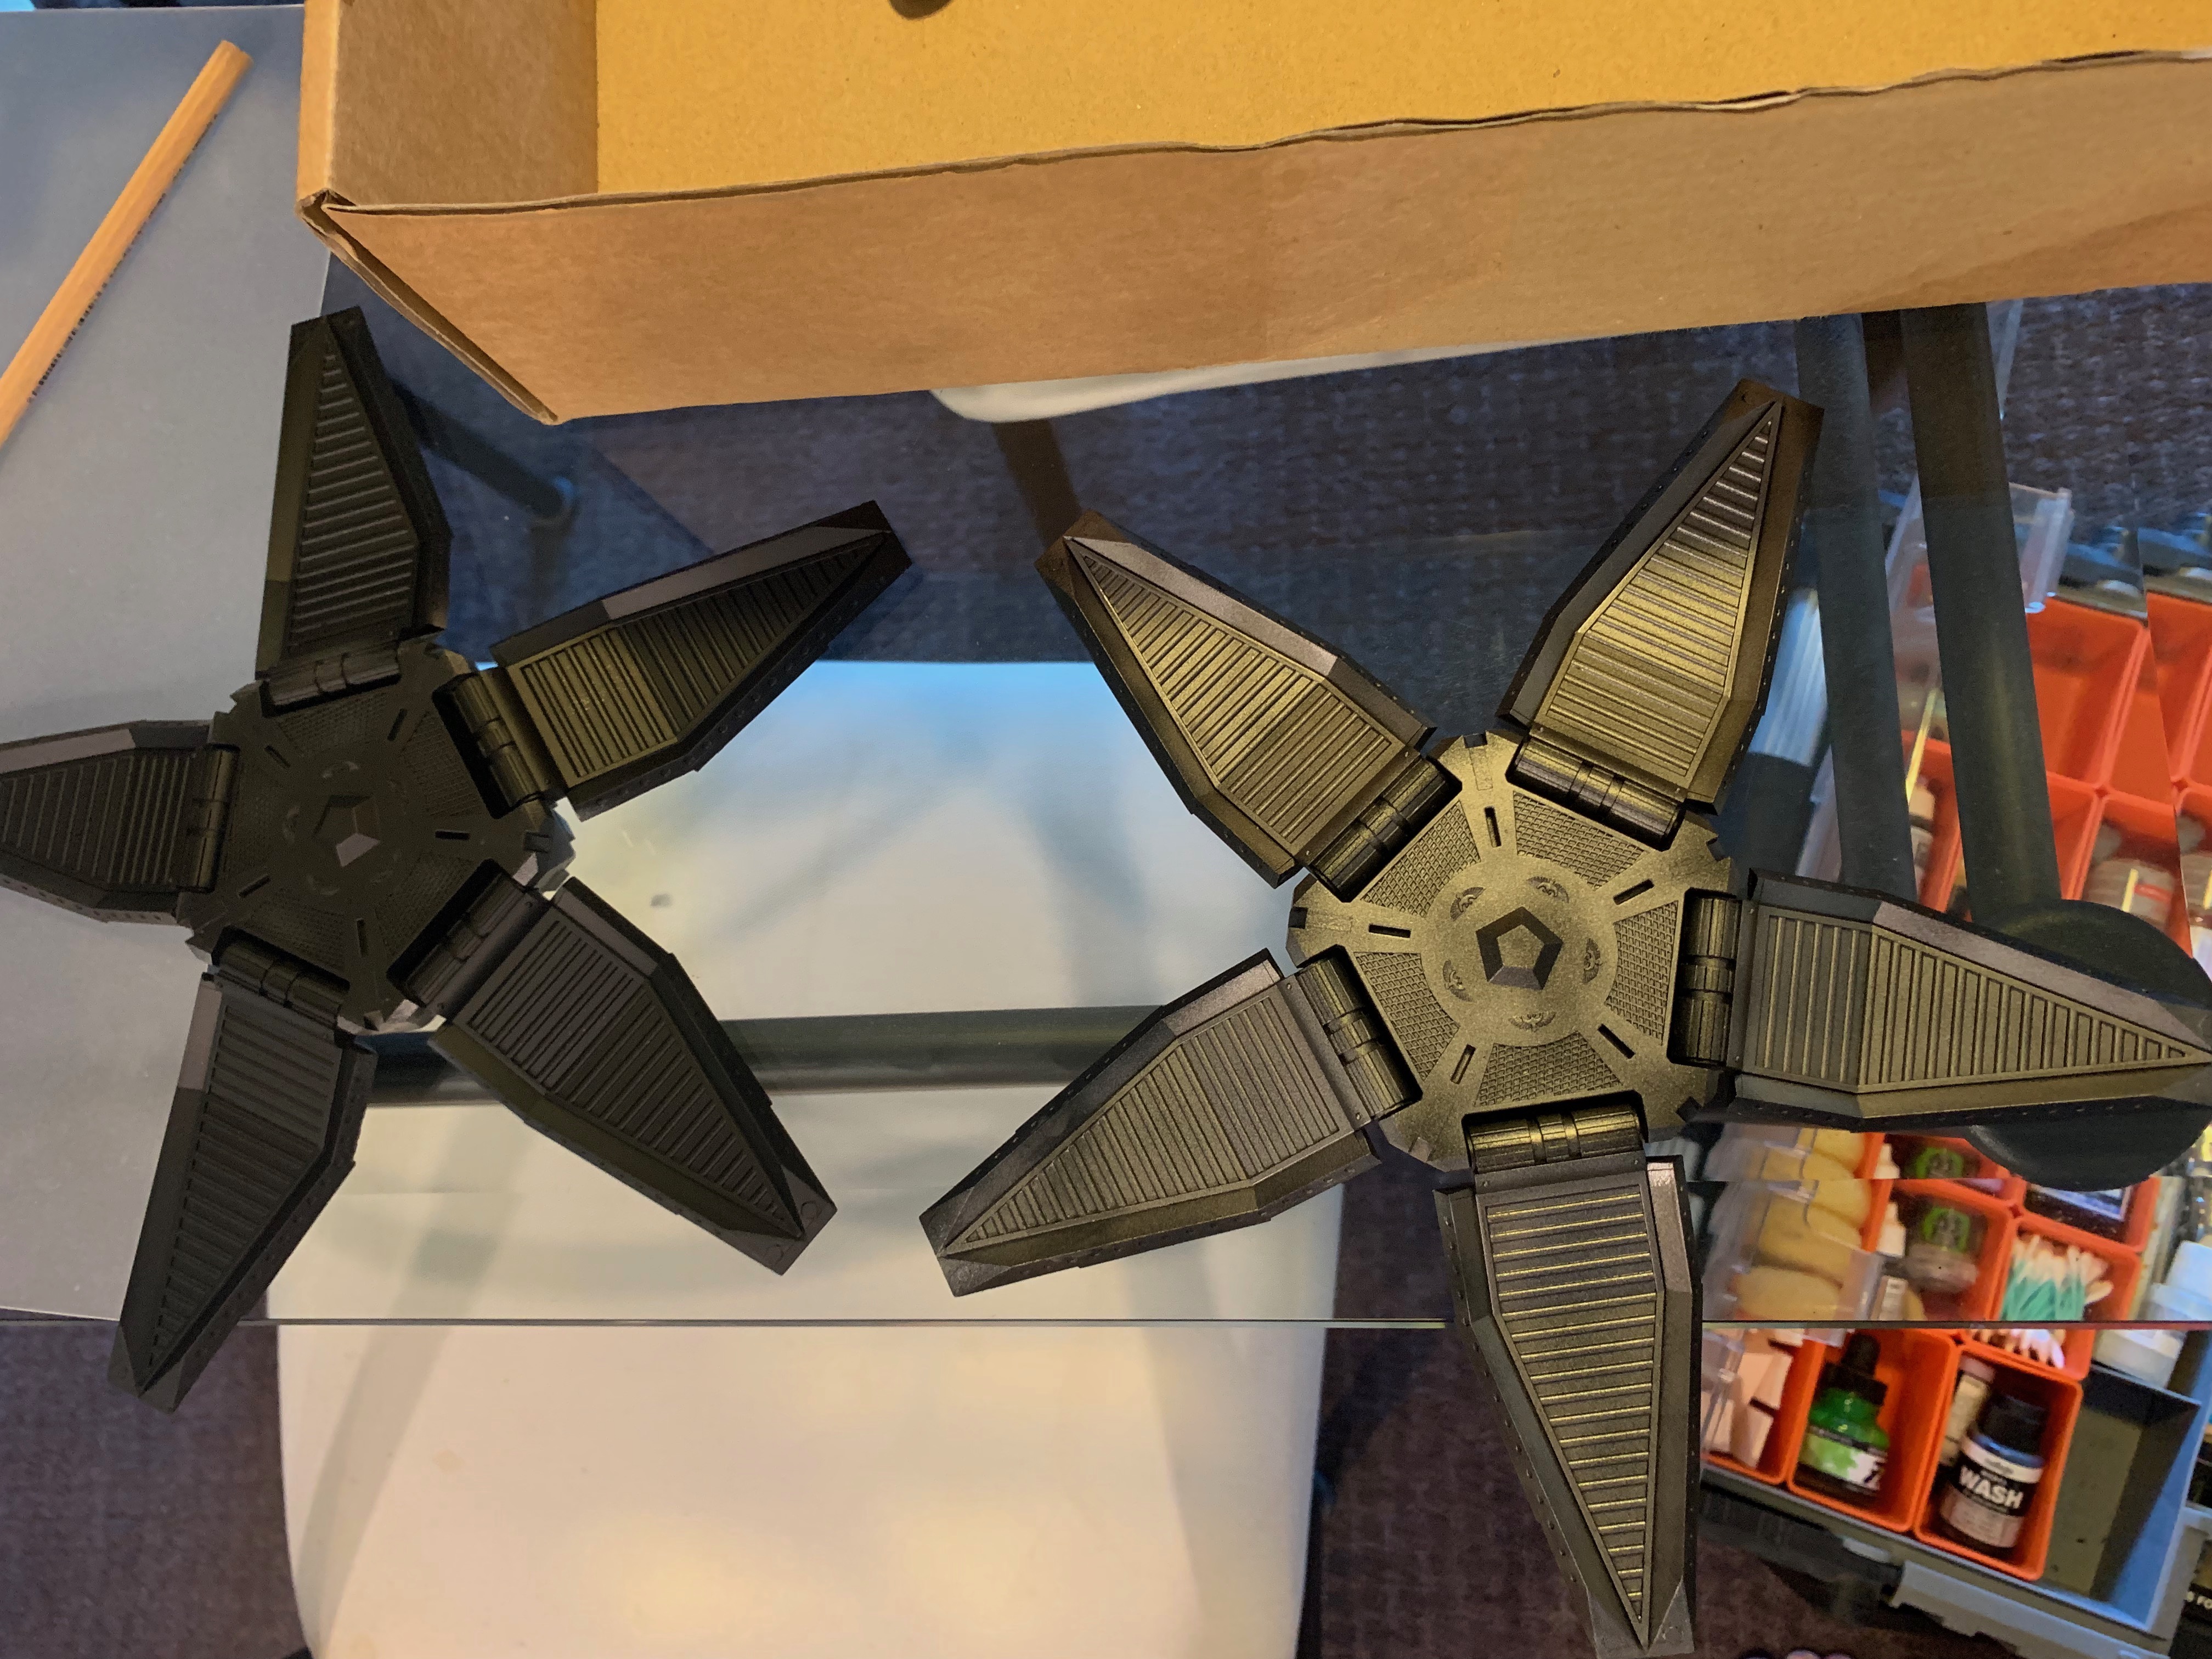
The fins get a third pass of primer - this one with vallejo grey.


Finally a pass of mephiston red air and the fins are basically done. They get a bit of a gloss varnish to help keep the edges from chipping while I knock them around in a storage box. Should also help keep the washes in the right place later on.

A couple of weeks later... All of the metallic areas now need a nuln oil wash followed by decent drybrush of necron compound. The console on the right has already had the silver applied to lighten it up - the difference is subtle but noticeable if it hasn't been applied.


With the same process done on the bases & interior doors, I then made a start on hazard stripes. These are kind of overkill, but they can look awesome and are pretty iconic to the drop pods. This took about 3 layers of thin grey seer paint to build up a decent undercoat. Applied quickly, thinly and taking care to not spill onto the silver areas. The outside of the doors have yet to be painted so some paint slipping underneath isn't an issue.


In between undercoat layers, the consoles start to get some detail. I went with really bright primary colours - they look a bit garish however as they are mostly tucked away once the model is built I figure that stronger colours will be more visible at distance.


Back onto the doors - thin averland sunset going on in about 3 passes as well. This takes a while to build up but it is significantly better to be doing another layer than to apply too thickly and get a terrible finish. Thick paint also has a tendency to stick and peel when it happens to be between 2 magnetised parts. As these will be in full contact once the doors close I don't want any yellow peeling off onto the main frame.


The centre of the consoles is coloured up in dark green (caliban) and will get a bit more detail before installation.


As with the yellow - this was done in a few coats. Using abaddon black in airbrush version - it's thin and acts like an ink, so goes on quite smoothly if needing repeat passes. Doing it in a few passes also makes it easier to neaten up the lines each time and get a fairly crisp finish.
I almost switched to using masking tape for these but the result is pretty decent and I've found that masking for brush painting invariably has some paint run under the tape (particularly when it is very wet like airbrush paints).


End result looks pretty great at a tabletop distance. Final tiny/quick job on the doors is to go around with a sepia wash and dot some into the yellow rivet holes to give them some shadow.

The centre consoles have had a light drybrush of warpstone glow and a smaller area of moot green. Letting some of this drift onto the silver parts of the console helps sell the idea of a gentle glow. They then get thin lines of moot green followed by a Biel tan wash over the screen part to blend together.


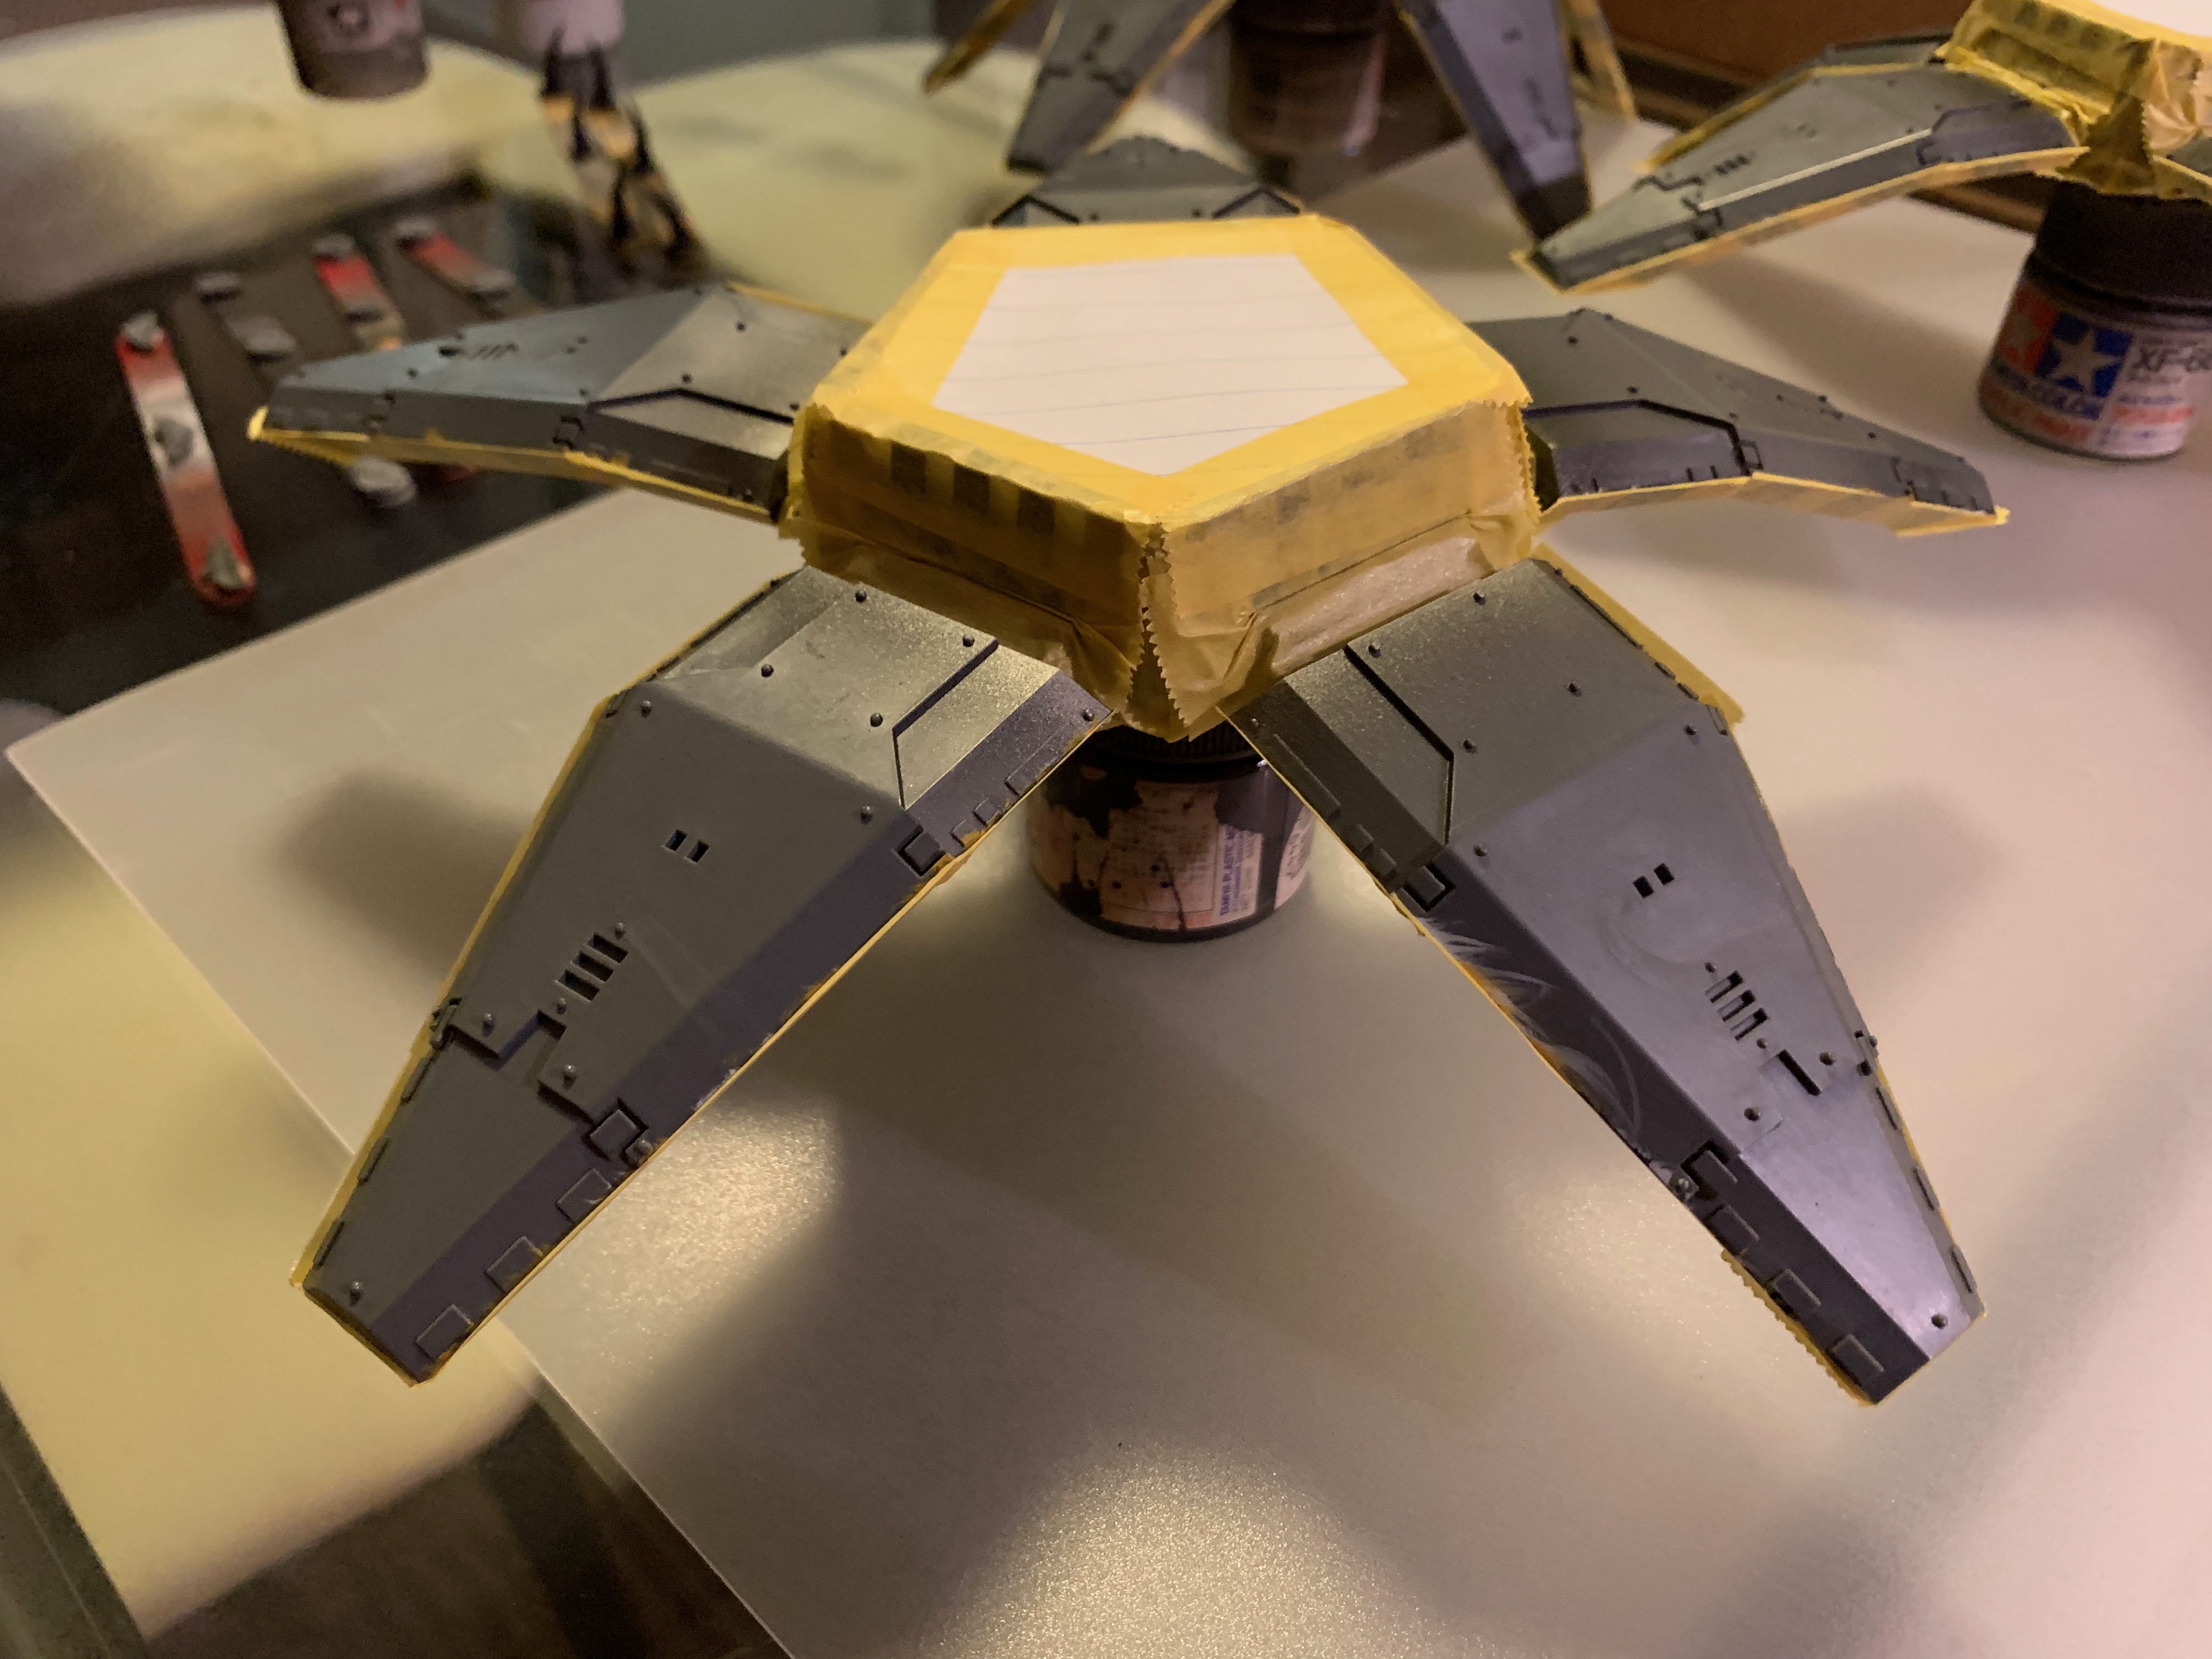
In *theory*, the red outside of the pod doors should be airbrushable with no masking - just by carefully angling the paint and where it is coming from. In practice, I don't trust myself to keep the overspray completely clear.
This starts with the pod base, which would pretty certainly have copped paint if I left uncovered.

I then got a bit funny about the door edges - these things just had 9 layers of paint to build up the yellow and black stripes, so spending an extra 20 minutes doing all the edges seemed like a fair ask to make sure they don't get destroyed by airbrush overspray.

I then covered up the bottom of the pod itself with a rough cut of paper.


Repeating this with all the edges was actually pretty quick - the biggest piece goes on from the tip of the door, then the overhanging triangle near my finger can be cut off with a razor. Fold the loose edge into the door and it's done.


This leaves me with three little crab creatures blu tacked onto a paint pot.


Not forgetting I still have the door icons to paint up. These will be mostly done by hand - they just need a layer of black primer too while the airbrush is out.

The doors themselves start with a solid layer of vallejo dark red primer. This probably took 2-3 passes to get a solid coverage.

While harder to see in the picture, I've then gone back over the crevices and vents with vallejo black primer as a form of preshading.


To give a nice sharp edge distinction for the panels, it's back with the masking tape along the outside edges. This will allow the lighter colour red to feature on the upper surfaces only.


The main edges have then been hit with mephiston red air, repeated 2-3 times lightly to build up some bright colour. This has been done around the tip, main sides and part of the edge on the bottom panels.

I've taken a little piece of clear plastic as a masking aid on the horizontal lines. That will let me do these areas very quickly without having to keep adding and taking away tape.


Finally, for the middle of the section closest to the base, I angle the airbrush low and build up some red on the edges of the square area. Some overspray onto the small outer wedges is ok - I'm mainly trying to keep a dark shadow line just under the raised edge.

Pulling the tape off the first panel - looks pretty good. The red really brings the colour up against the primer - the outer edges look like it's the same red but just in the shade of the fins.

I might have gone a little over the top putting some extra tape on the inside of the doors before the final mephiston red steps. This was largely uncalled for but I noticed that I was getting a bit of paint on the latex gloves quite easily. Just a bit of peace of mind that I wouldn't accidentally put big red fingerprints on the inside of one of the doors.


With the tape now off, the final shape is starting to come together.

Repeat the mephiston steps with the other pods.


Ok - so a couple of photos there are terrible lighting on my kitchen bench. The colour is fairly solid though - I have wanted to have a go at airbrush painting up drop pod doors since Luther put a tutorial up a few years ago. This was definitely a fun stage, and all the airbrushing was done basically in one afternoon of a couple hours. From here it will be back to brush details, which as usual will take a good bit longer to work through.
No comments:
Post a Comment