On the home stretch on the rather fun, if time consuming process of building drop pods. This is the last round with a few snippets of painting, plus final assembly.

I'd last finished up the airbrushing of the external doors, with the interior having been effectively finished. I've kept doublechecking the fit of parts as I go - the fins seem to still be ok when wiggled into place on the pods themselves, and the doors line up when closed around them.
Possibly one of the more time consuming steps of these (along with just about any blood angels models I have done), is to go around and pick out metallics with leadbelcher. Leadbelcher has rather good coverage, however the row of locking bolts need a couple of passes of thin and thick paint to get into all the crevices and details.
With the silvers in, I then switch to black for the fin detail areas. I've used a vallejo air paint for these, and a very large tank brush. This takes a few layers to build up as the paint is quite watery, however keeps the overall finish smoother.
Around about this point I realised I had made something of an engineering oversight - all the test fitting of the doors onto the main engine housing were great, I just never did a dress rehearsal with the fins in place. With the doors now painted, and the magnets being relatively powerful... it will be next to impossible to pop the doors open from fully closed once the fins will be glued into place.
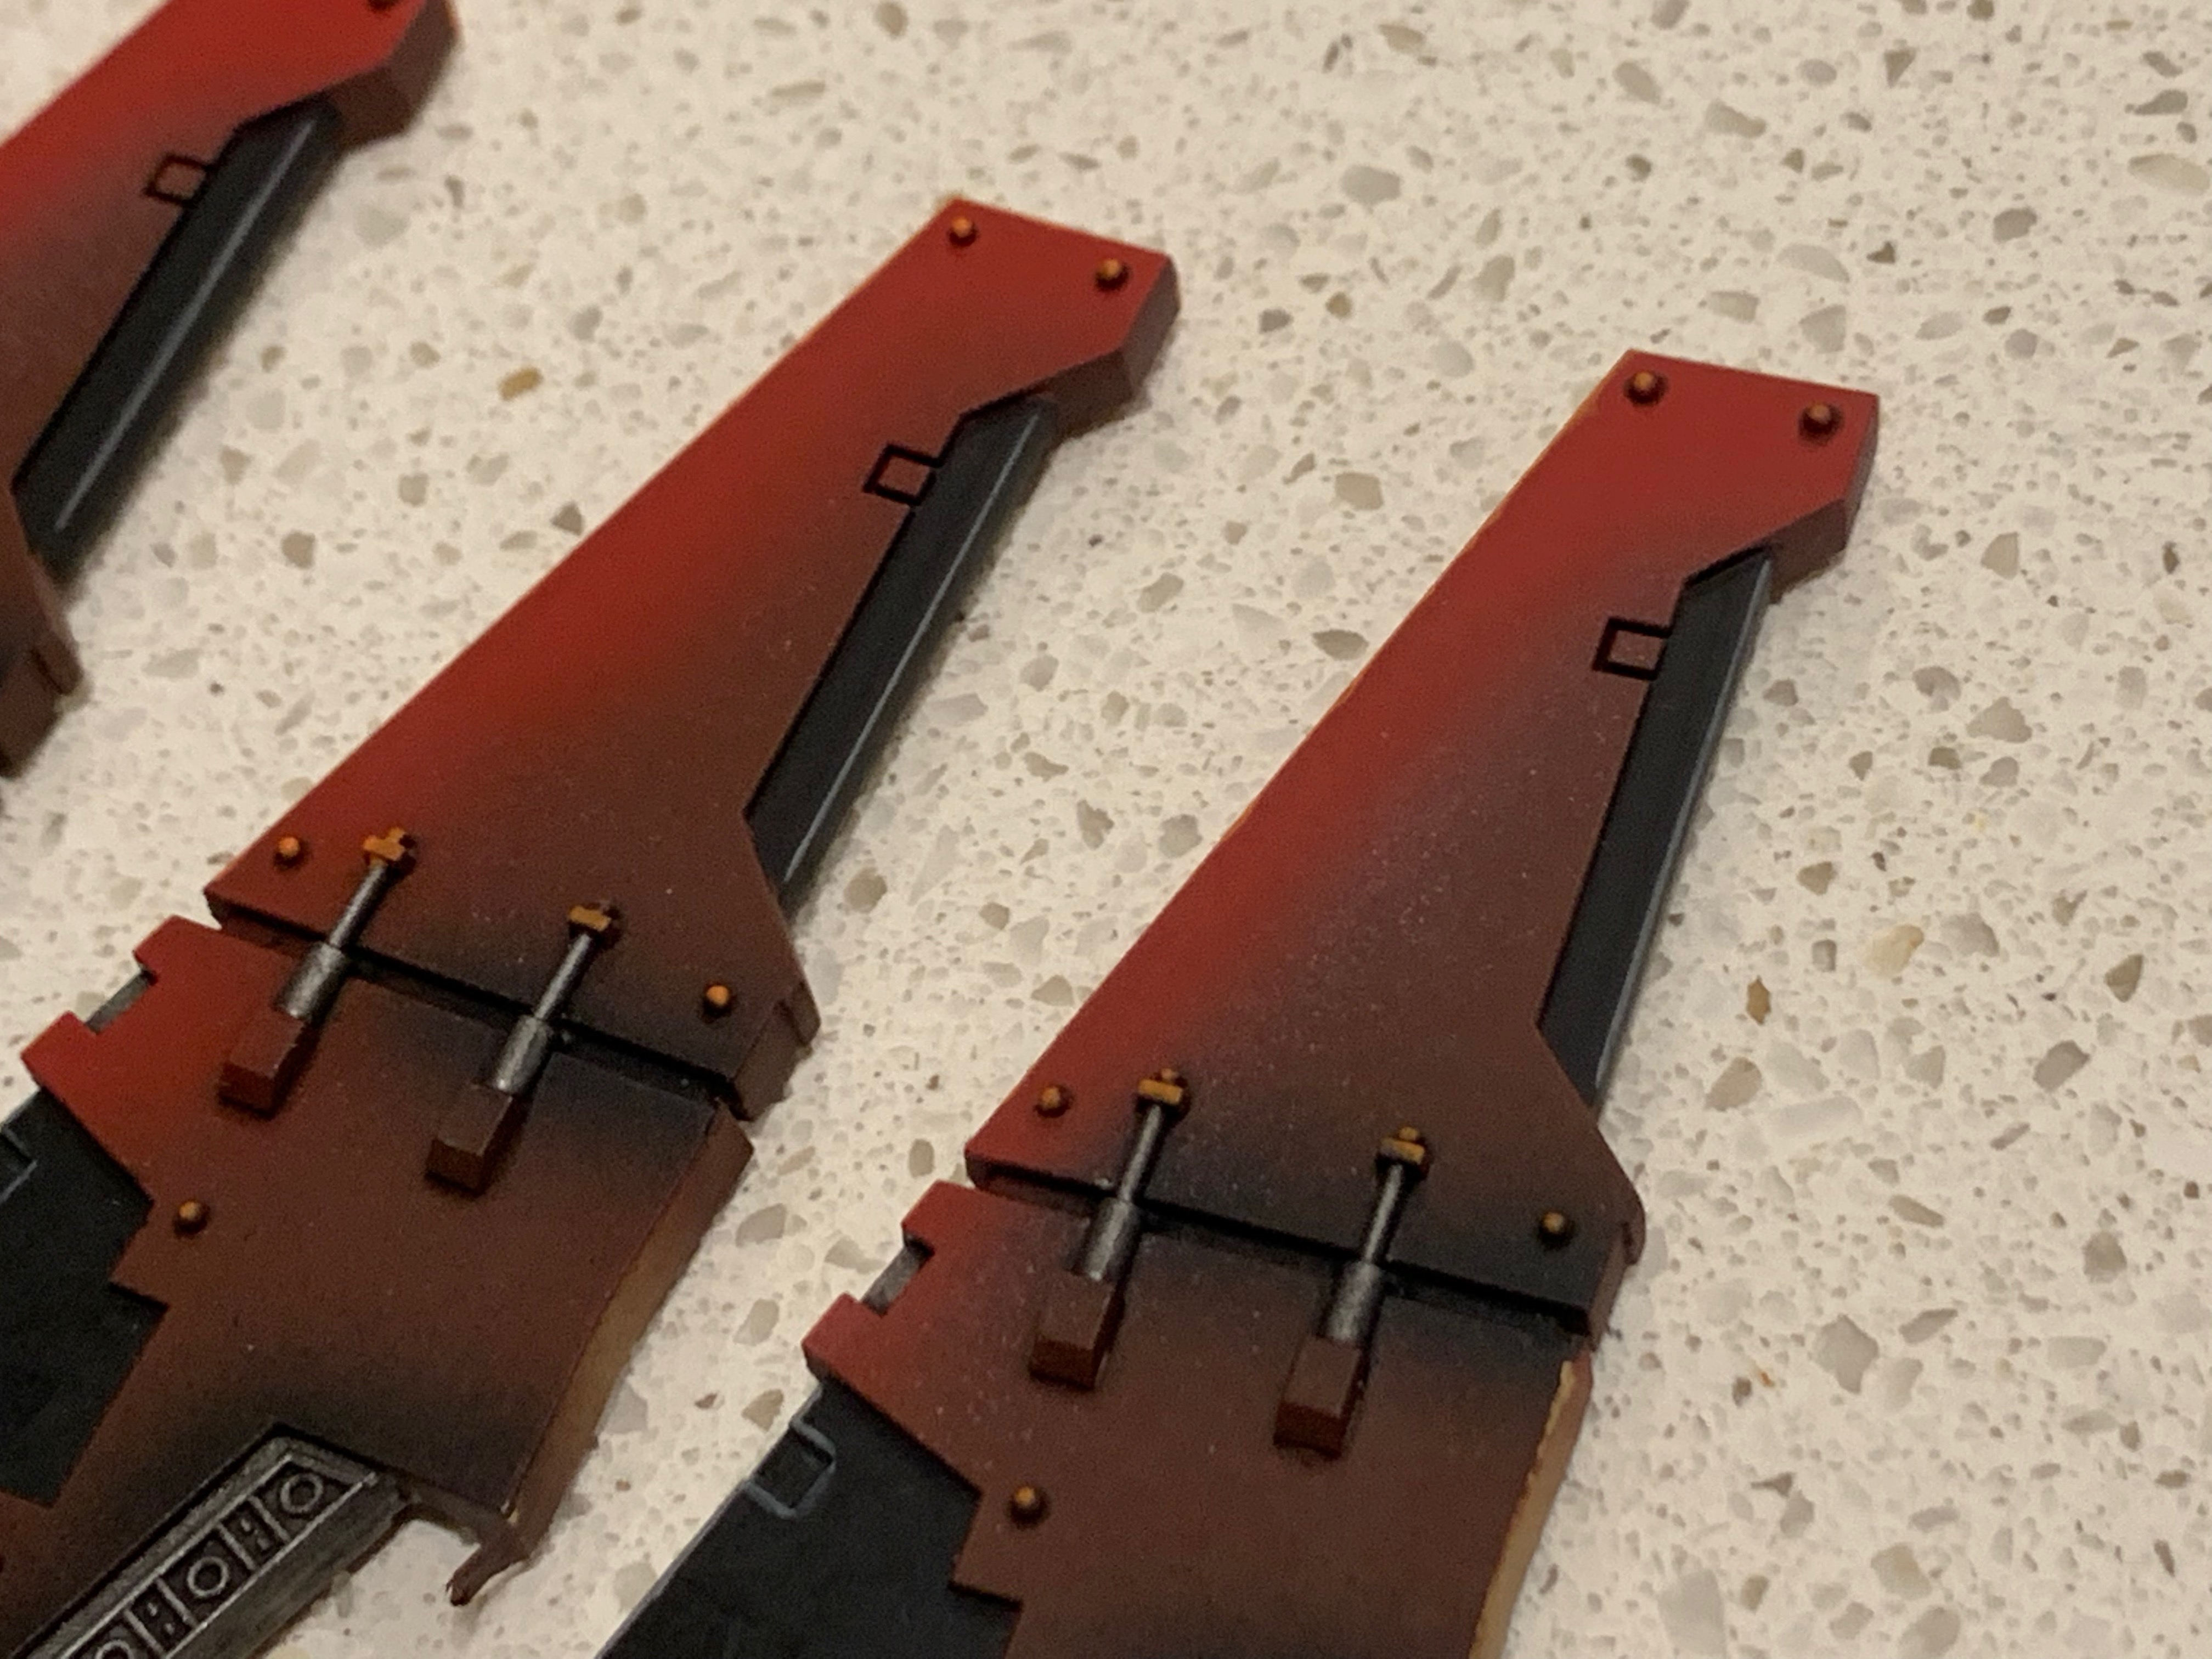
The working fix is to take a triangular shaped needle file and score into the upper edge of the door. This will make a groove that will allow the door to be pried open with a fingernail. This would be neater if it had been done during construction - from time to time things need to be modified on the fly.
Since the outer edges of the door were still largely just vallejo hull red primer, it was relatively easy to then cover the exposed plastic with the same stuff using a brush. And then go over it with a couple of layers of gloss varnish/hardcoat so that it can stand up to more wear than the rest of the model.
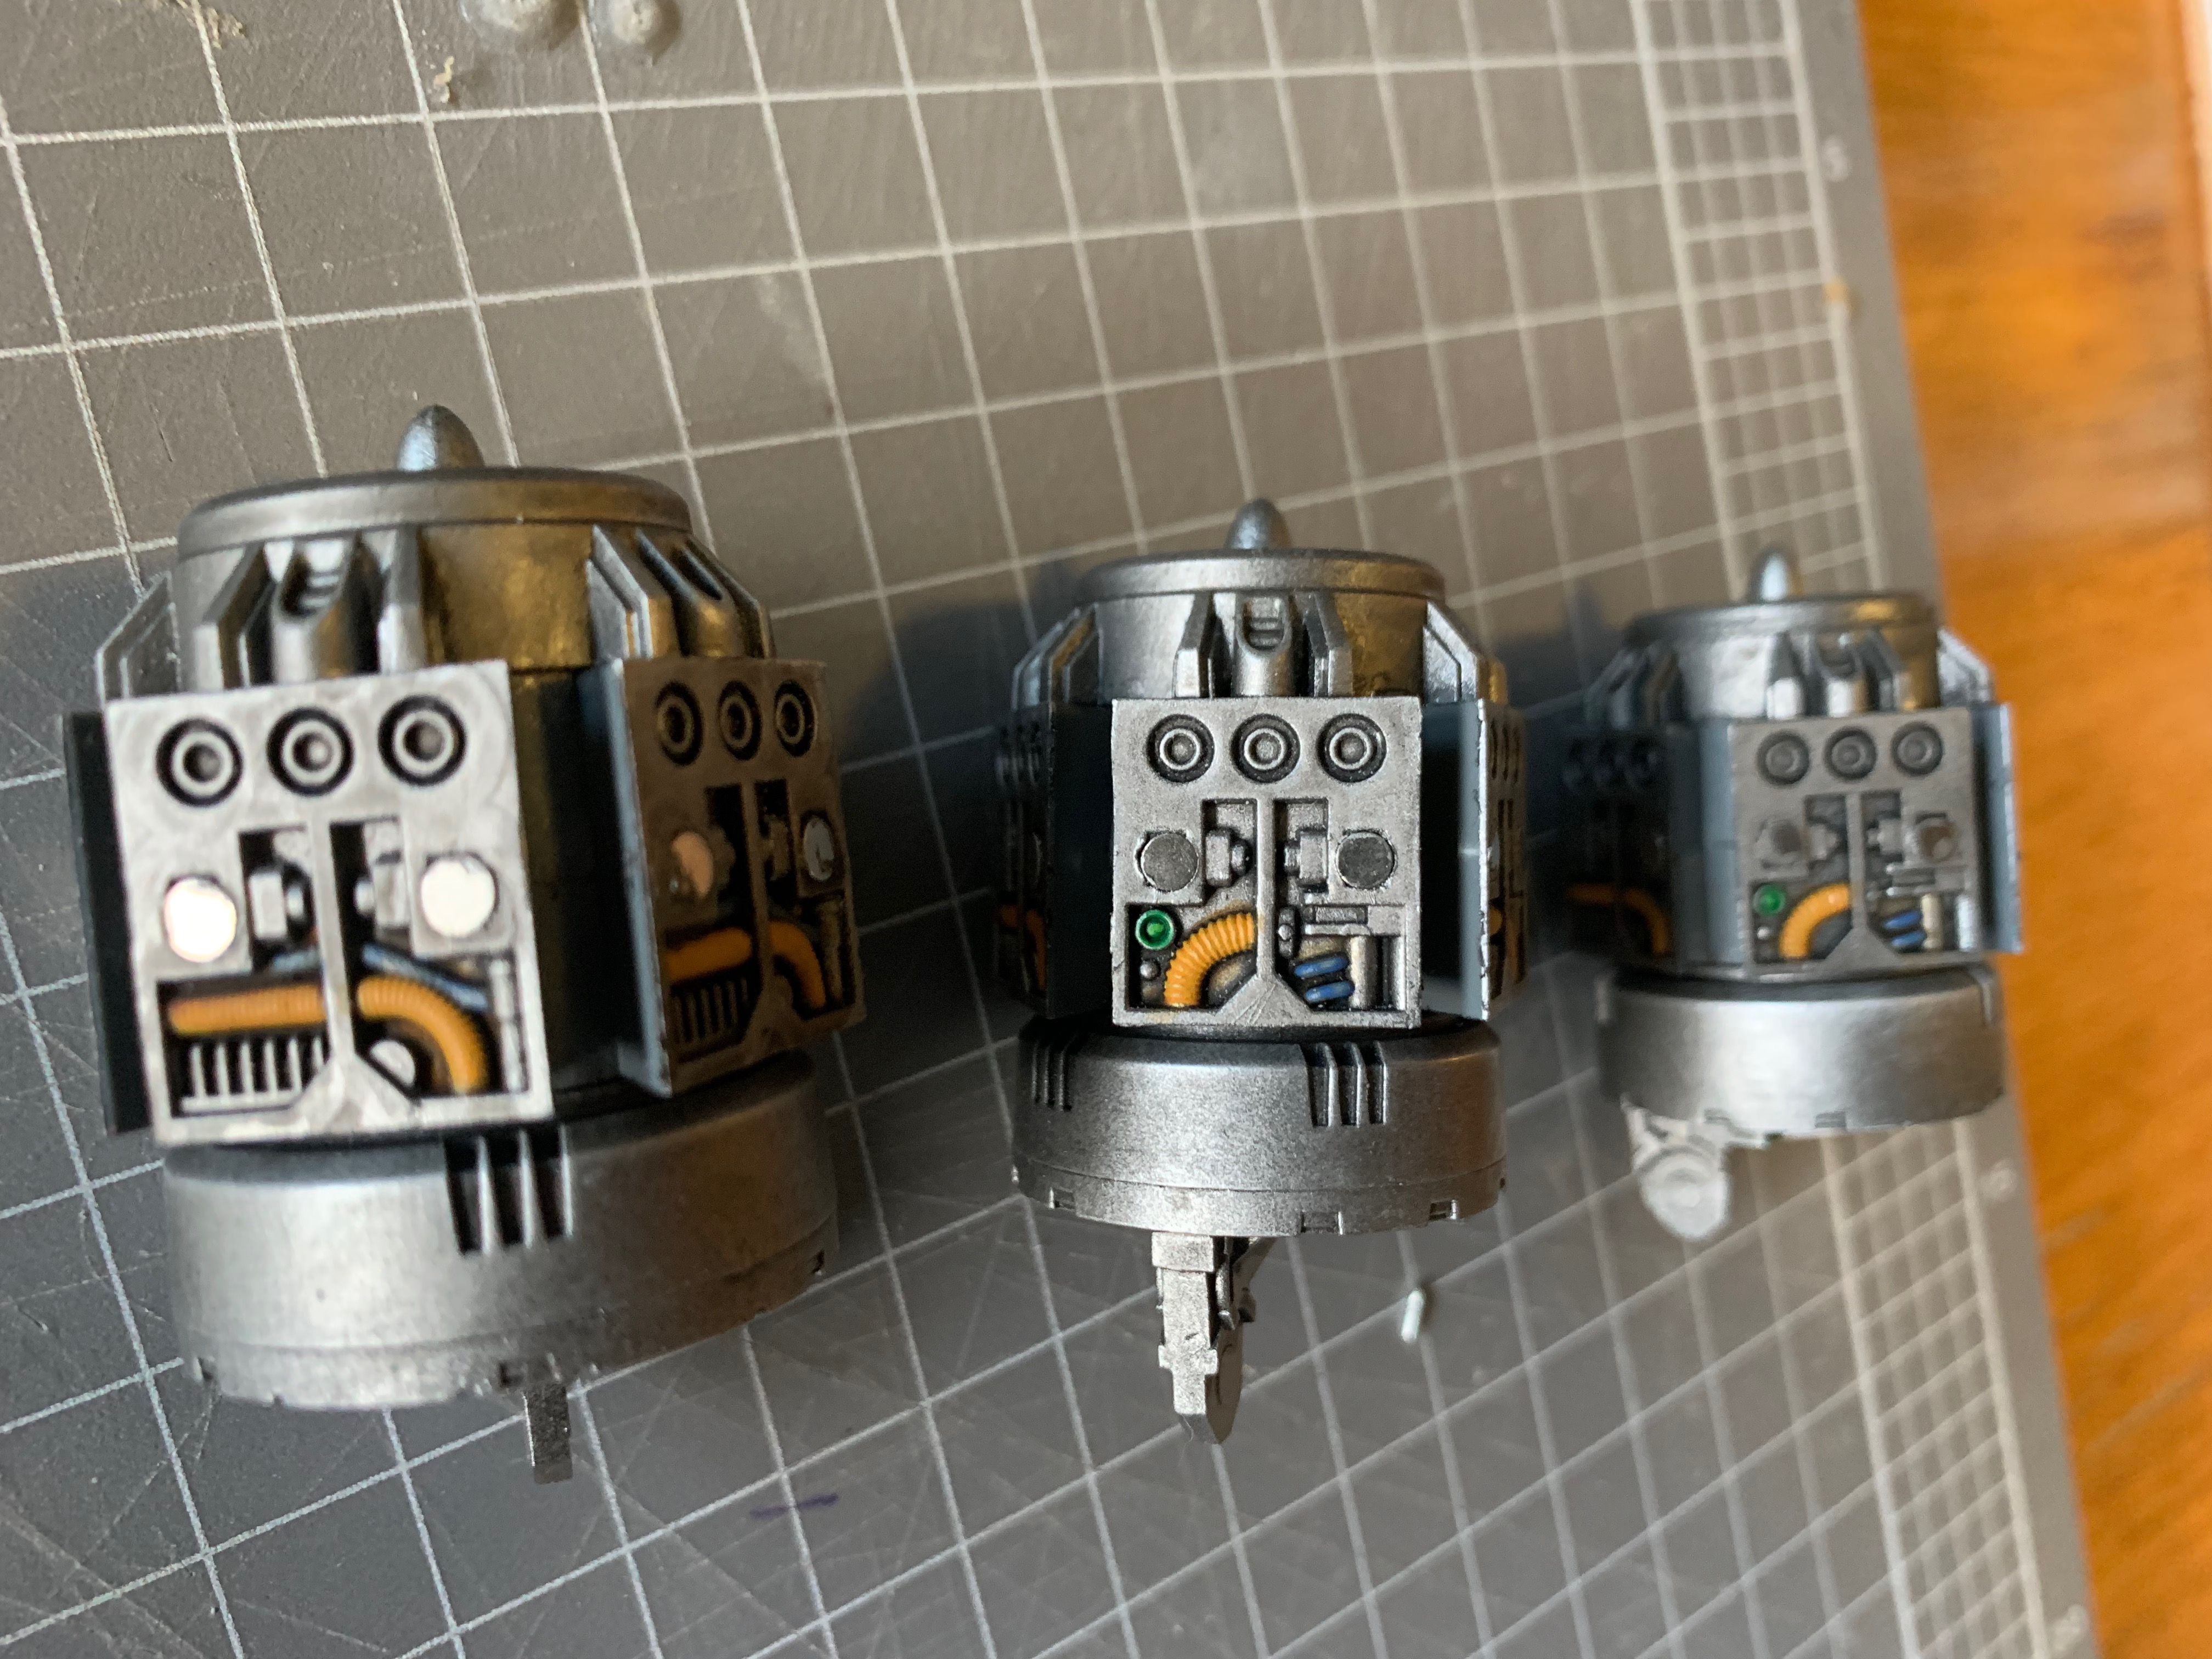
I have been quite looking forward to doing the door details - this has just been a couple of rounds of ulthuan grey followed by white, and khorne, mephiston, wild rider reds for the drops.
I didn't want to do a lot of edge highlighting of the pods, however as something of a compromise I went straight to troll slayer orange; just on the upper edges and raised rivets.
I got a little carried away then and did all the panel edges on the black sections of the fins using dawnstone. The black probably needed the edge highlighting more than the red as this was all a single block colour rather than airbrush fading.
Select edges of red also had troll slayer orange applied.
And that is all the parts prepped... I took several shots of the assembly as I had spent a long time on the individual pieces and several will be barely visible once everything is glued together.
The masking tape inserted into the engines and fins to make sure that the final bond was a solid plastic glue contact now need to come off.
That includes the carefully protected base plates.
The engine details are glued together first. Careful to allow the spindle to continue to move within the housing.
There are some different schools of though on whether to glue the fins to the engine and then squeeze the whole thing into the base. My preference is to add the console to the base first and then add each fin individually.
To insert the fins, I first allow the magnets on 3 doors to hold the engine in place. That keeps everything else lined up neatly and the two contact areas exposed.
Plastic glue on the fin, into place, then pinch those 2 doors closed around it to keep it lined up while drying. Repeat with one of the doors on the far side.
The only area to be careful of is snugging the harness cables into place on each side. Once they are just about there, it's then easy to push the top part of the fin into the engine.
Repeat sides until finished. Invariably 1 of the 5 fins on each of the pods has a tiny bit of wobble where the bond wasn't perfect. However with 4 really good points of contact around the engine, everything feels quite secure.
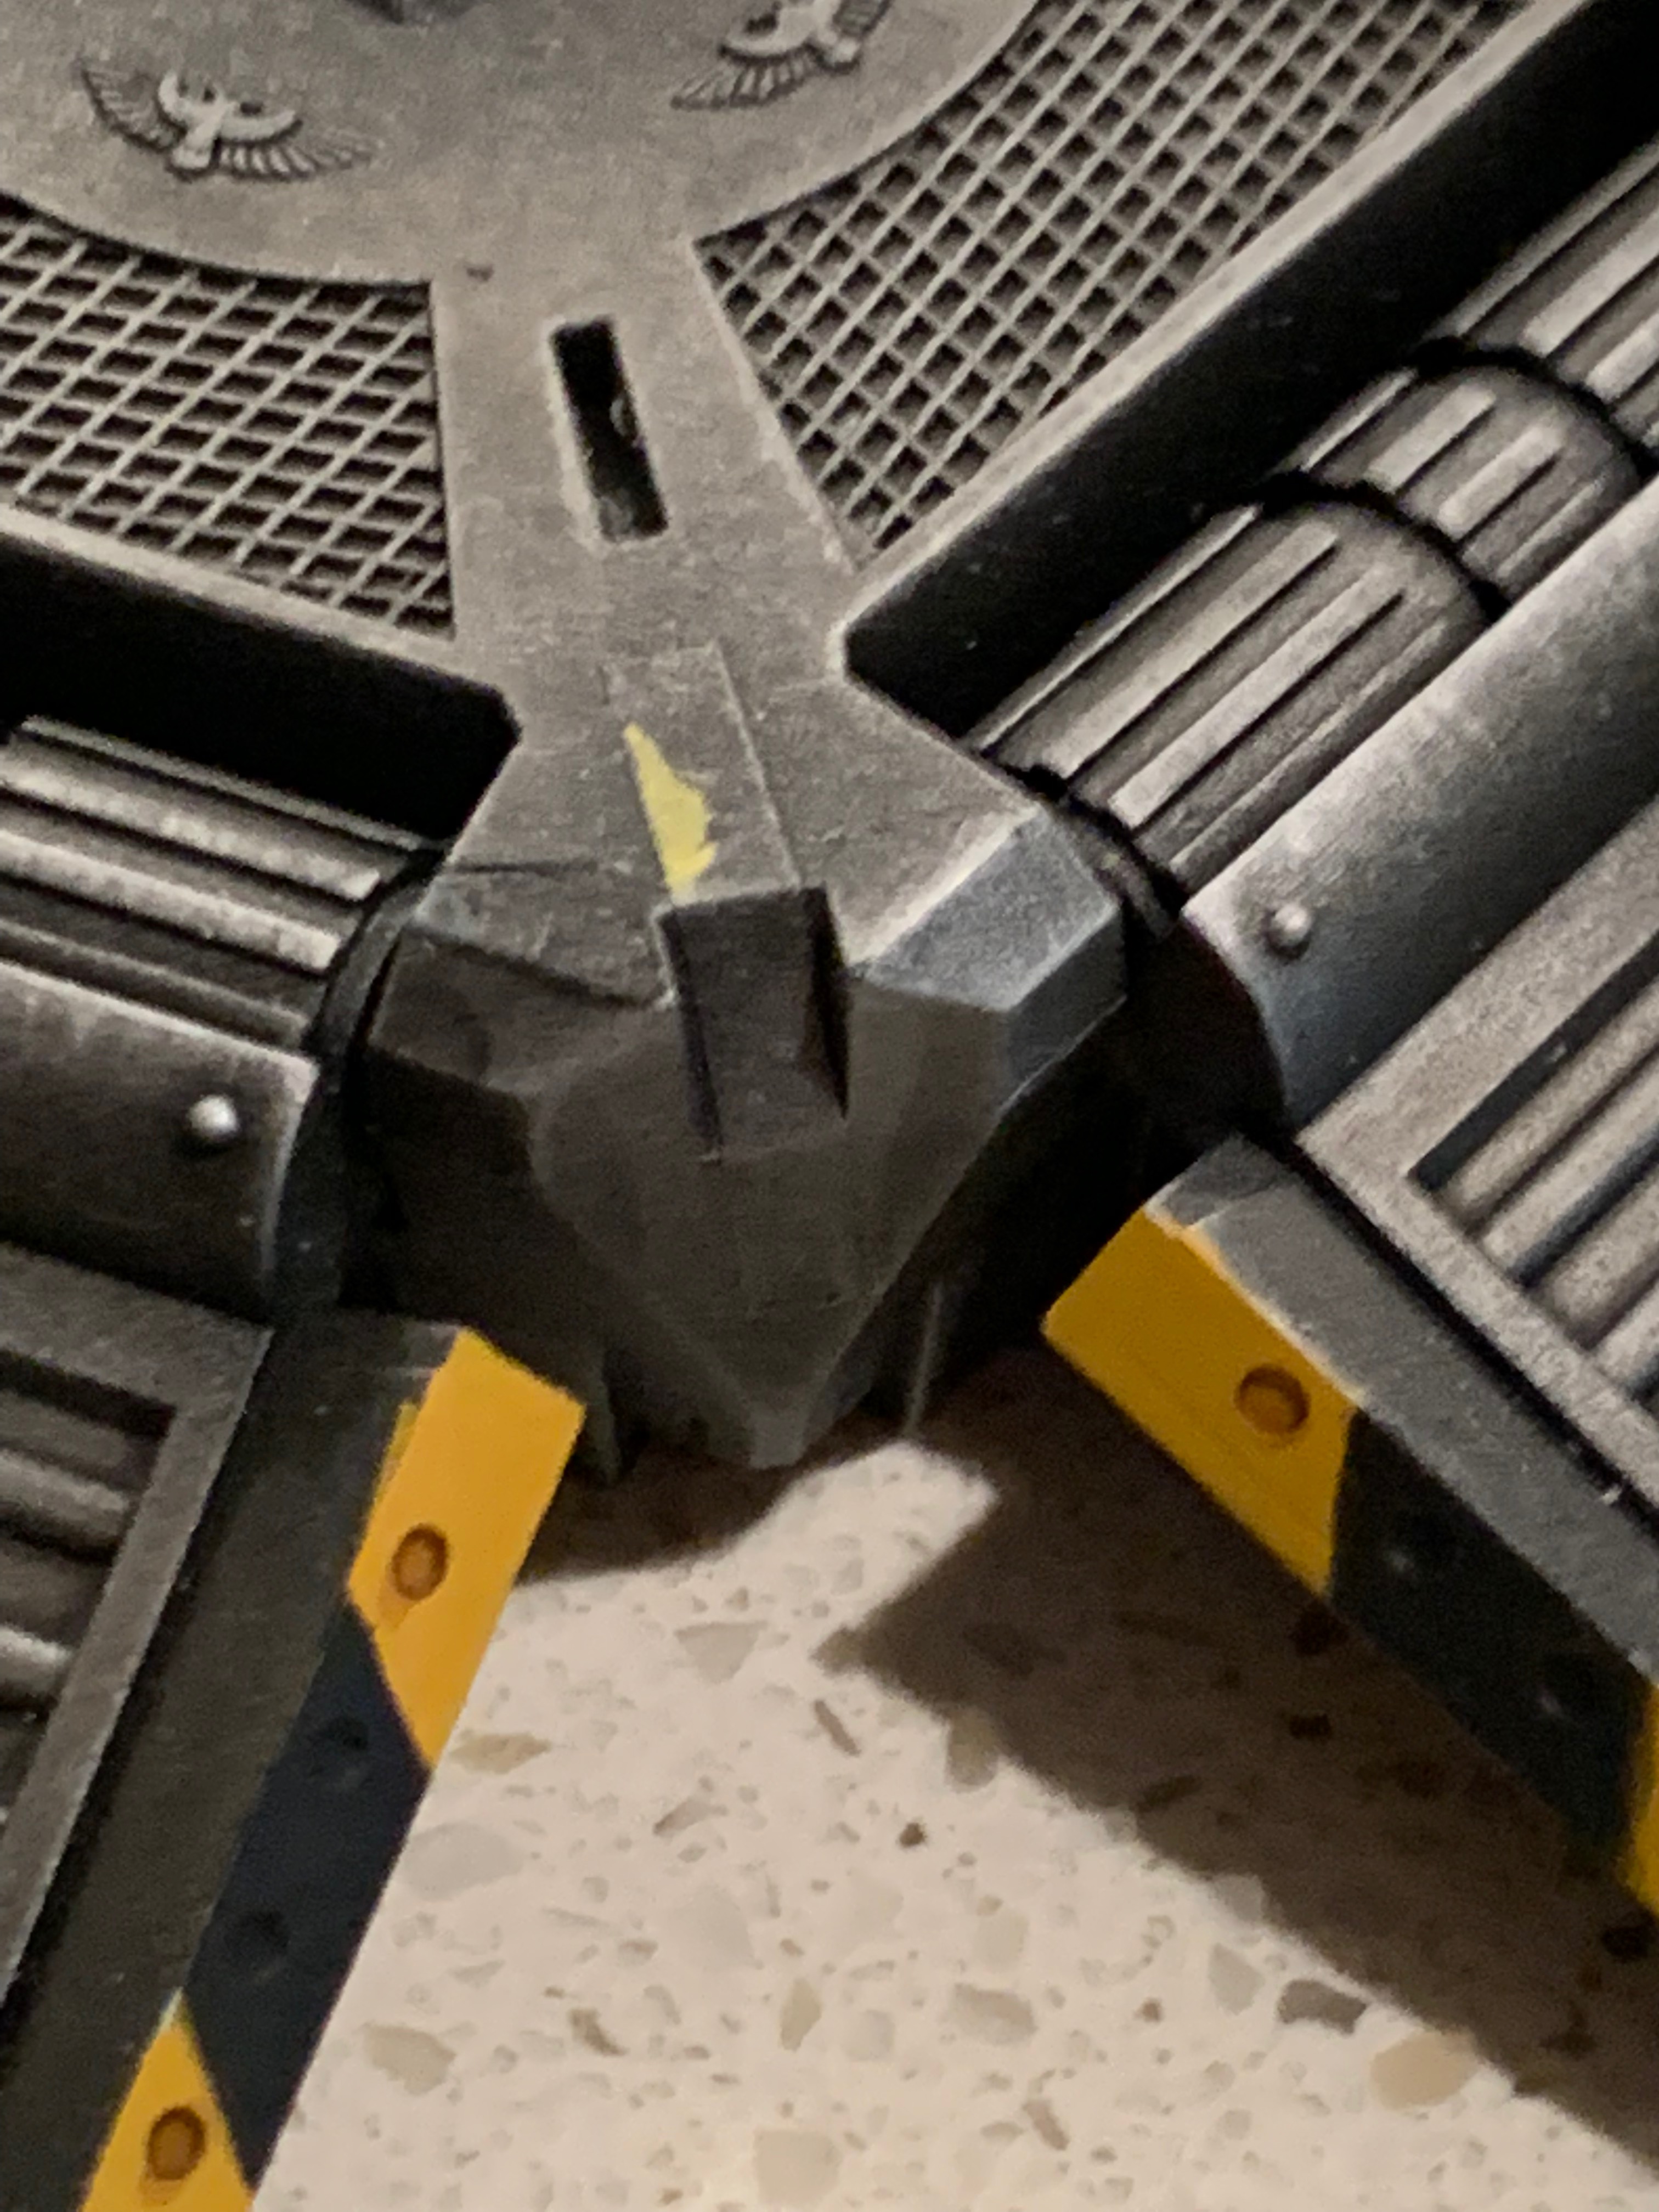
With all the joins dry, I had some fun popping the doors open and having that nice little snick when the magnet pulls it the rest of the way closed. The notches cut into the top of the doors work fine and are hardly noticeable unless you go looking.
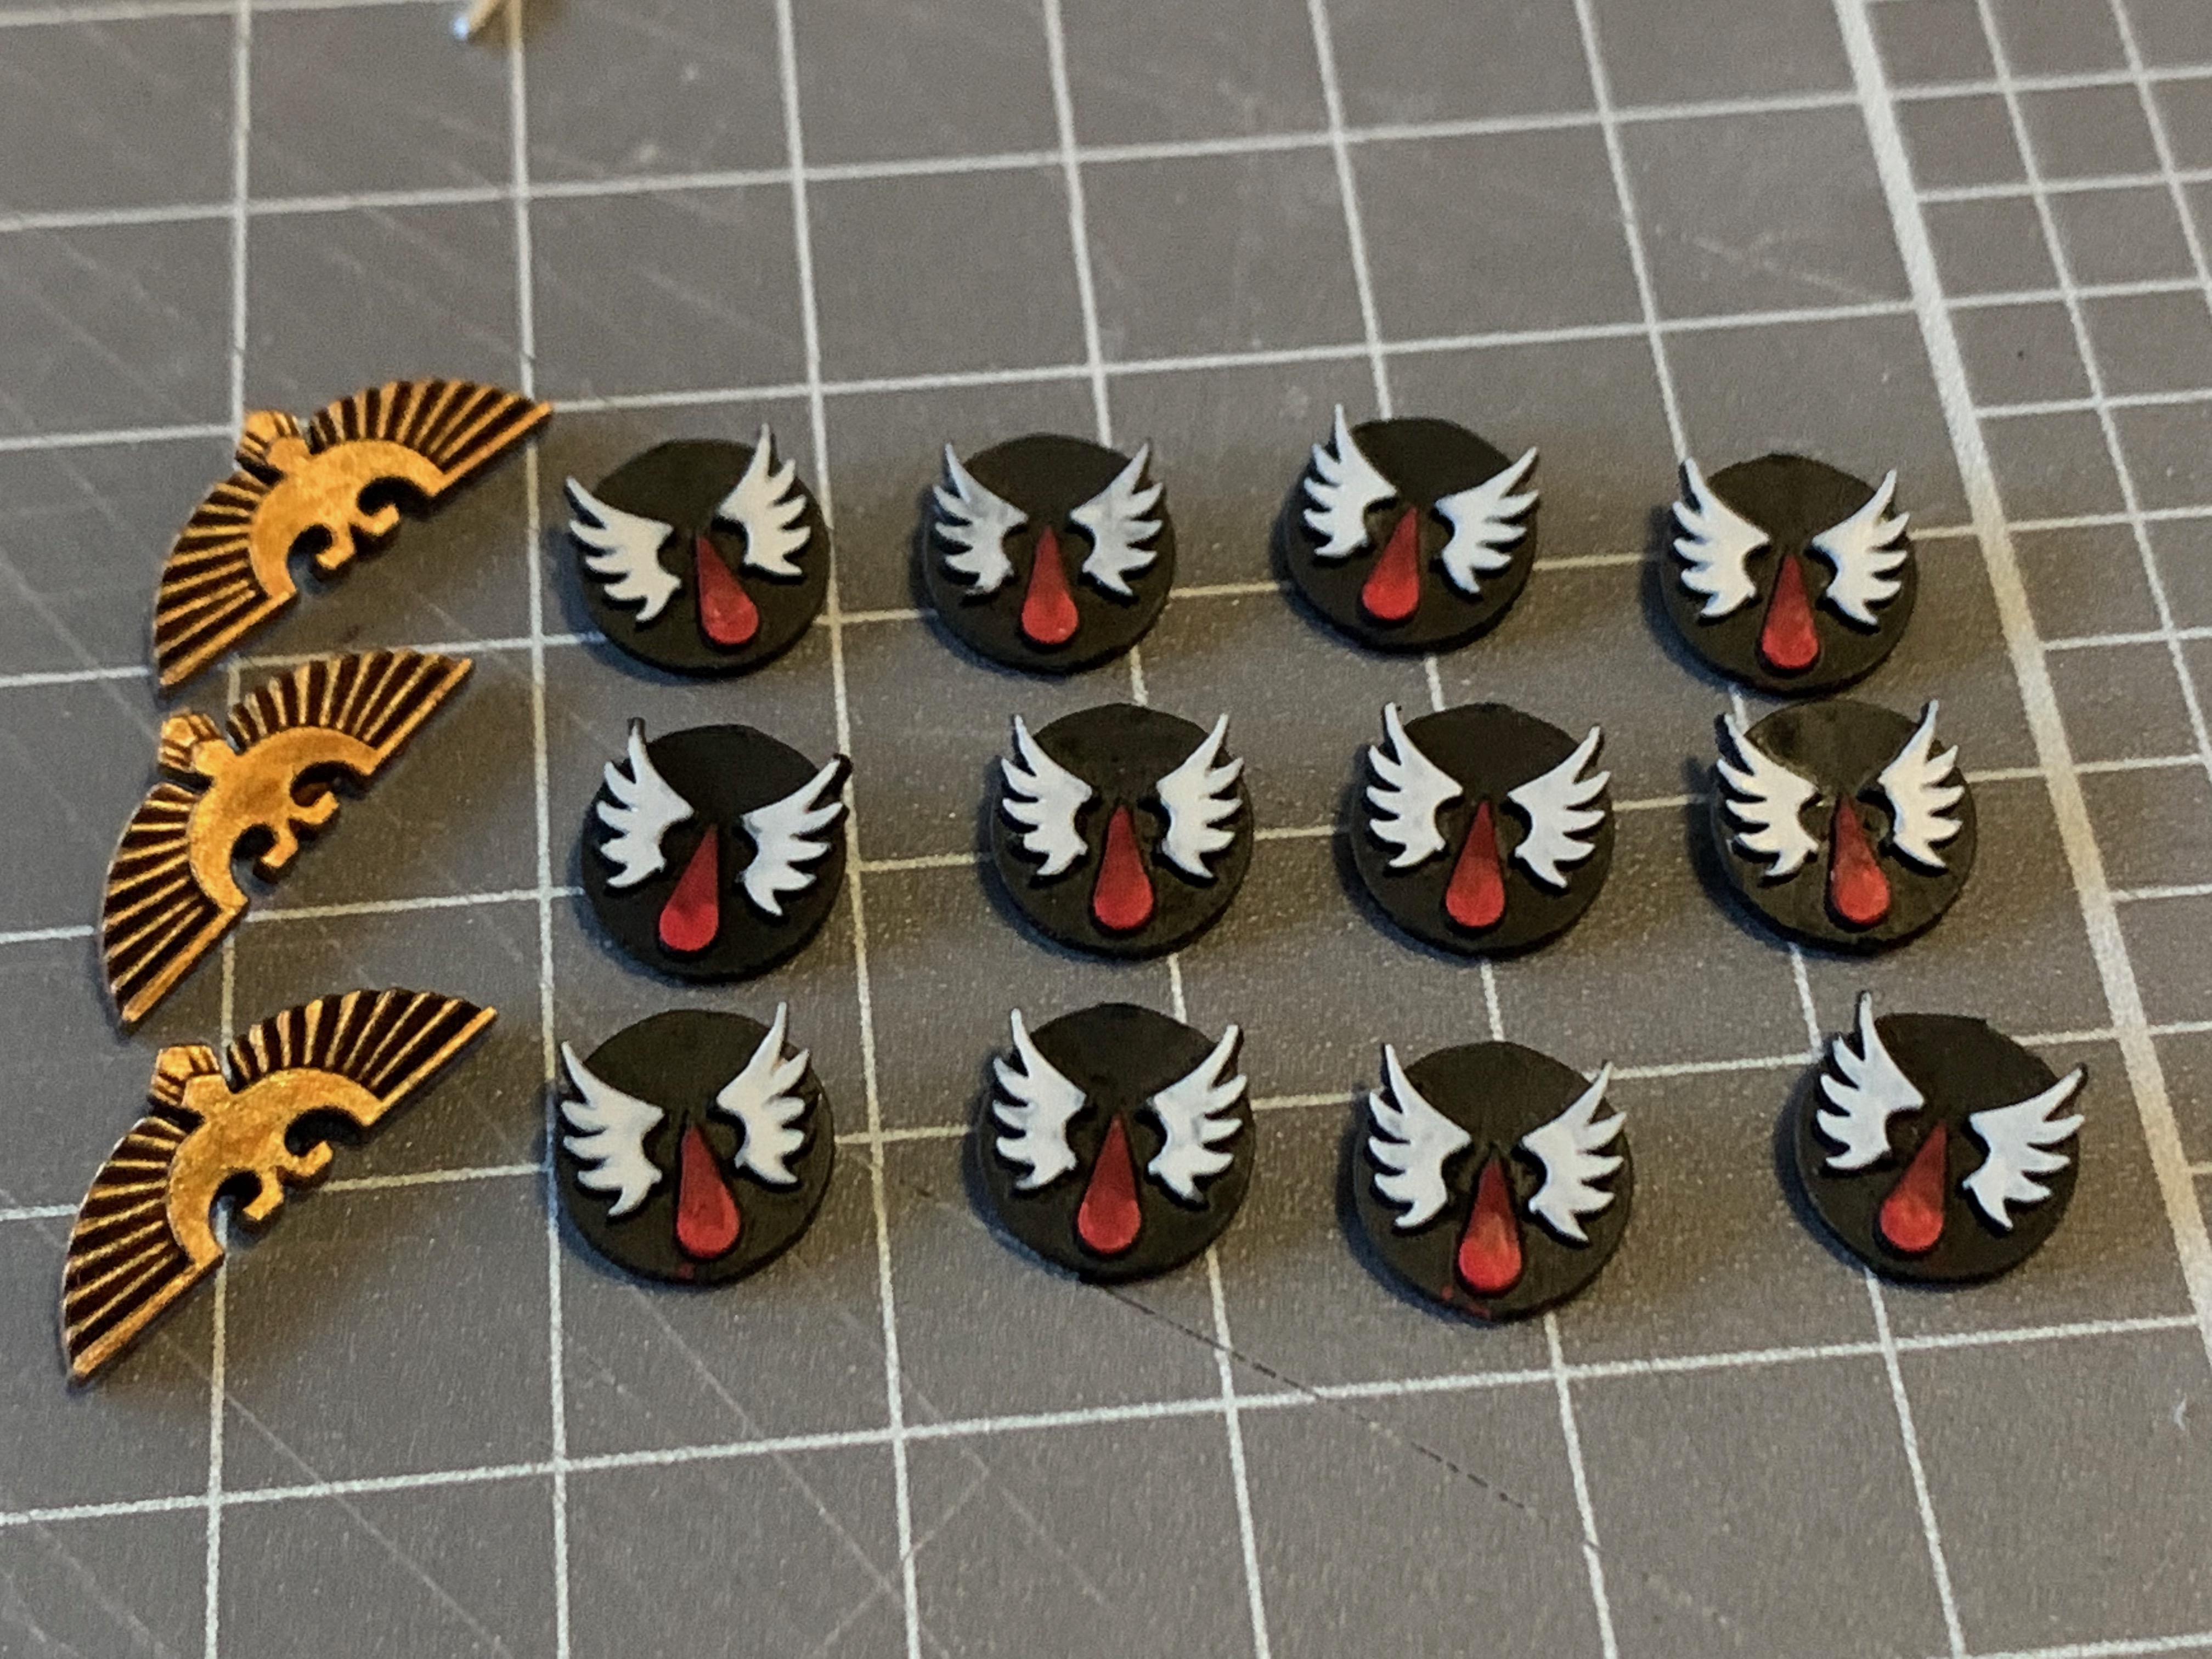
Final details to add. 4x chapter markings and then a sergeant icon.
These are easier done with superglue and a pair of electronics tweezers. Always good to try and keep the amount of superglue to a minimum, and then keep it well ventilated while drying to minimise the amount of white frosting that can occur with superglue.
And they are fully done - the red airbrush finish came up really well, and the detailing breaks up the colours enough to give it some punch. The chapter markings are stark enough against the red that you automatically look there first.
These are now snugged in with my (95% finished) rhino bodies - although at some point I really want to set up a game board with most of the infantry company crawling all around the pods and the doors opened out on display.


No comments:
Post a Comment