The continuation of what is a rather large project - working up the 6 sector imperialis boards. Part 1 left off with all the stonework and the roadways being completed; all the metal sheeting and detail panels now need to be filled in.

The last thing I had done up was the panel washes on the road plates. 3 colours across the sections and thoroughly dried.

The final big drybrush for the base colours is a solid dusting of administratum grey with as big a brush as possible. A few minor streaks managed to sneak in, but they can always get purged later with rust and oil patches. The colour contrast pre and post drybrush is clear when putting a finished and unfinished plate side by side.


Wow. This next stage was a bit painful. Painting leadbelcher forever. Pavement/footpath sections (I will never understand why the place people are supposed to walk is the most uneven ground in 40k), then onto all the metal plates in the corners, then the big inlaid sections.
This started with the footpaths and a large standard brush - I really do like leadbelcher as a paint; it's a great base for metal, has solid coverage and can be overbrushed onto black for a nice effect or watered down to get into crevices smoothly.


Doing just the footpaths on the first board took probably 20-25 min to get into all the detail. The second one was a little quicker, but still took probably close to 20; mainly as this is the point where you finally need to start painting hard edges and not spilling into the next. And there is a lot of edge with 2x2 foot long strips. I went onto one of the side panels with silver as a bit of a distraction - these will be quicker as there is less total edge to worry about.

Having left everything for a couple of days, I decided I'd break out the airbrush instead. Two reasons - a) I'm hoping it will be a lot quicker/smoother and b) there is a solid risk that I'm going to run out of regular base Leadbelcher - but I have a large pot of airbrush mix that was originally intended for the Space Hulk set built last year (er - actually, I need to post a set of final pics of that too).

The airbrush is something of a trade off - it's quicker, smoother and generally a fun thing to use for laying down paint. However getting nice edges means additional preparation time masking, good accuracy with the brush and/or some kind of cardboard carefully held against the surface.
I tried all 3 of these with mixed results.
Option A: Masking the area - this actually worked pretty well and was essential for covering the small sections of stone around the 'hatch' plates. However, not having endless supplies of Tamiya tape, this wasn't helpful for the rest of the footpath sections, nor for the more random sections.

Option B: Masking with blutac - also pretty effective at sections without a straight edge. Some paint seepage in smaller areas, and takes a reasonable amount of fiddling time to get the stuff into place before painting.

Option C: (also above) holding a piece of manilla folder against the straight edges. Kind of worked however as the card gradually got a little damp and warped, more mist was seeping under onto the stone areas. Not much but just enough to give it a bit of sparkle, which seems out of character for grim dark futures.
Couple of hours later (and one full large pot of leadbelcher air) and all the panels are now have their base metals done.

The temptation now is to jump straight into lots of washes (and do something different from the mass of metal) - however, persevering with a few more sections means that the washes can kill a couple of jobs at once. The still remaining details include manhole covers on the roads.


As well as warplock bronze on the 3 panels with a hatch section. Good eyes might pick up that the footpath sections already have a mix of green (athonian camoshade) and black (nuln oil) washes applied. Yes, I got distracted. I needed to do something other than more painted metal for a while.


The fun details are starting to come in now and are good motivation to keep chipping away. One of the deviations from Duncan's guide was to mark up the hatches with some stripes.
Averland sunset first (this took probably 3-4 layers... grr).

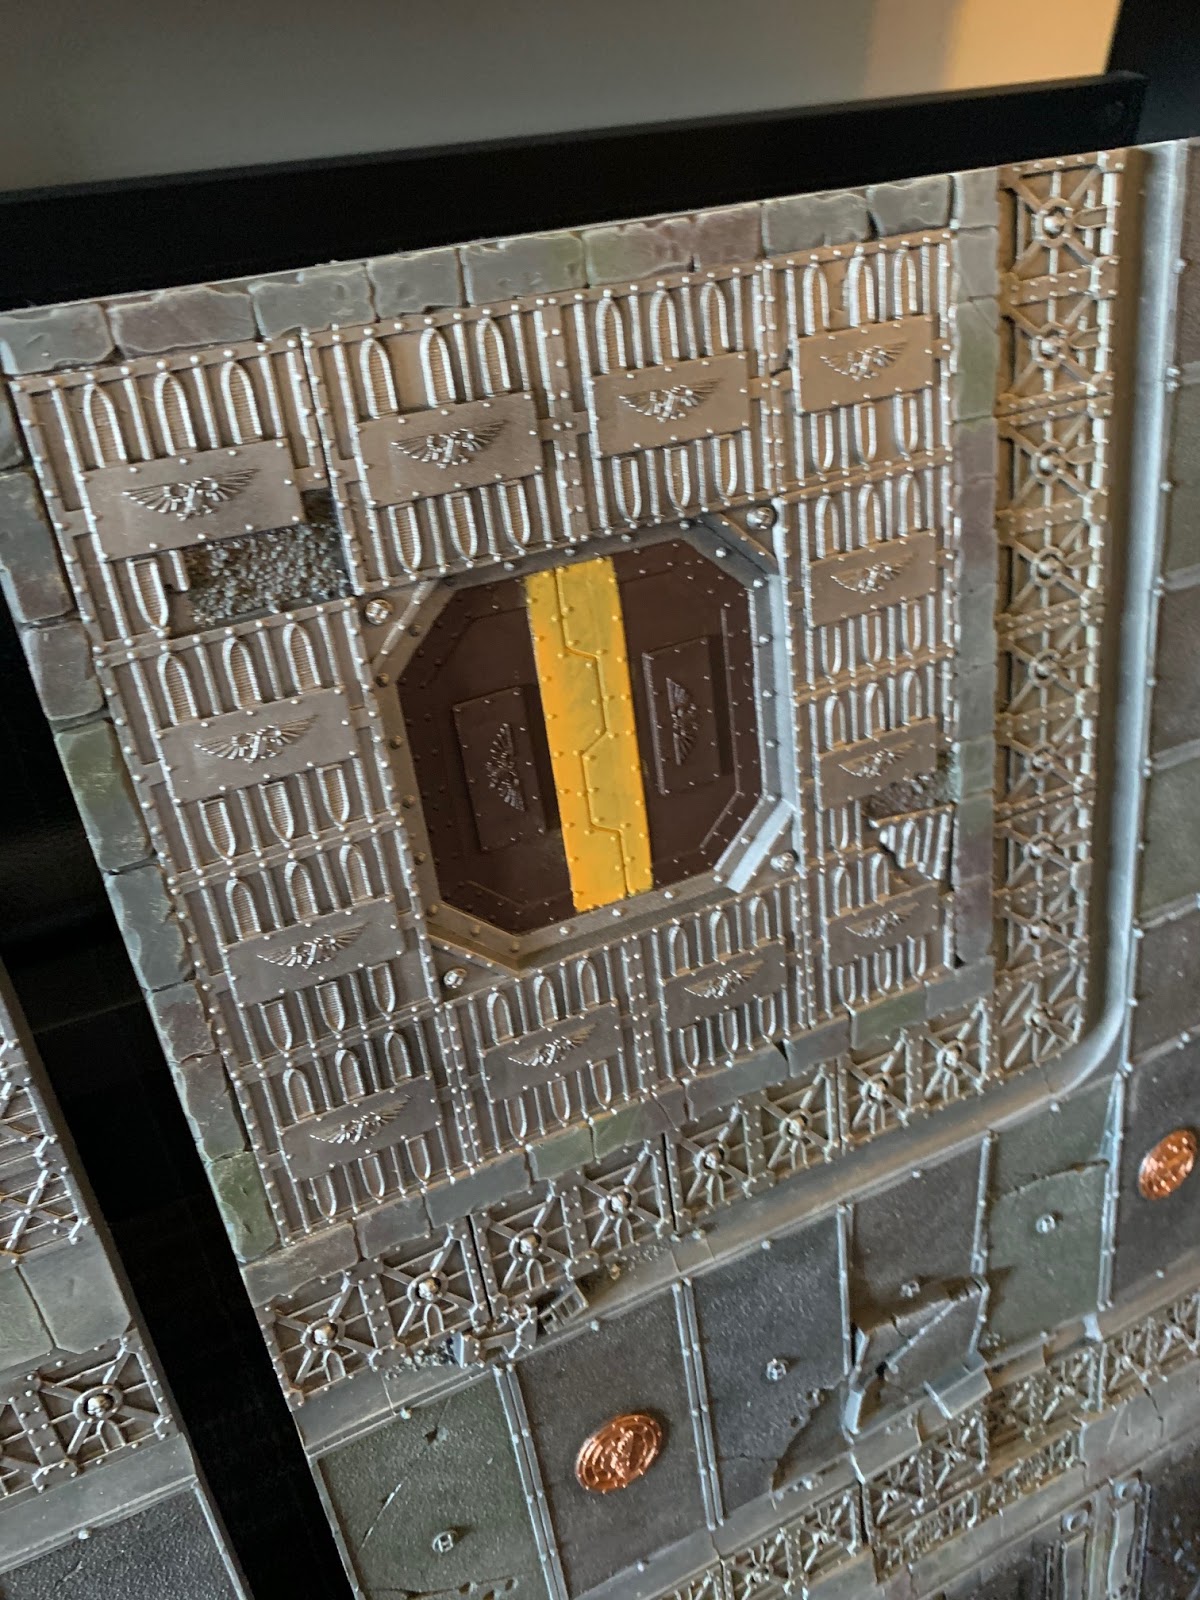

Followed by some short strips of marking tape and then stippling on abbadon black.


Repeat multiple times and this design on 3 boards is getting fairly close to done. Washes and necron compound drybrush will leave only the sarcophagus panels.
Next up will be the brass details and then the final detail sections before a thorough wash of grime on all the metal panelling.
No comments:
Post a Comment