January 2019 I bought a set of the excellent Sector Imperialis boards. They may have sat in a box for the best part of 12 months before making an appearance for painting up. Part 1 gets us through the priming, stonework and roads.

Largely inspired by watching Duncan Rhodes super clear instructions on Warhammer TV... I have largely followed his guide with a few minor tweaks to the panels. Step one is to drag everything down to the garage and get some black primer on. 6x4 foot took pretty much 2 full cans.


I was a little surprised at how much paint they took to cover - although in hindsight, 3 boards per can is an awful lot more surface area than the 20-30 minis that you'd usually get done.

Yeah, ok - so having brought all 6 back into the living room that is quite a large amount of surface.


For at least the first few stages, I'm sticking very closely to Duncan's colours and technique. No doubt there are more interesting and unique colour schemes, but a whole bunch of what he has talked through are slightly different techniques and colours to what I'd usually use.


Using a solid 2 inch brush, adding skavenblight dinge to the roads and stones was pretty quick. Slightly more towards the overbrushing style, this gave pretty solid coverage in 1 decent coat and I only had to do a few patches a second time.


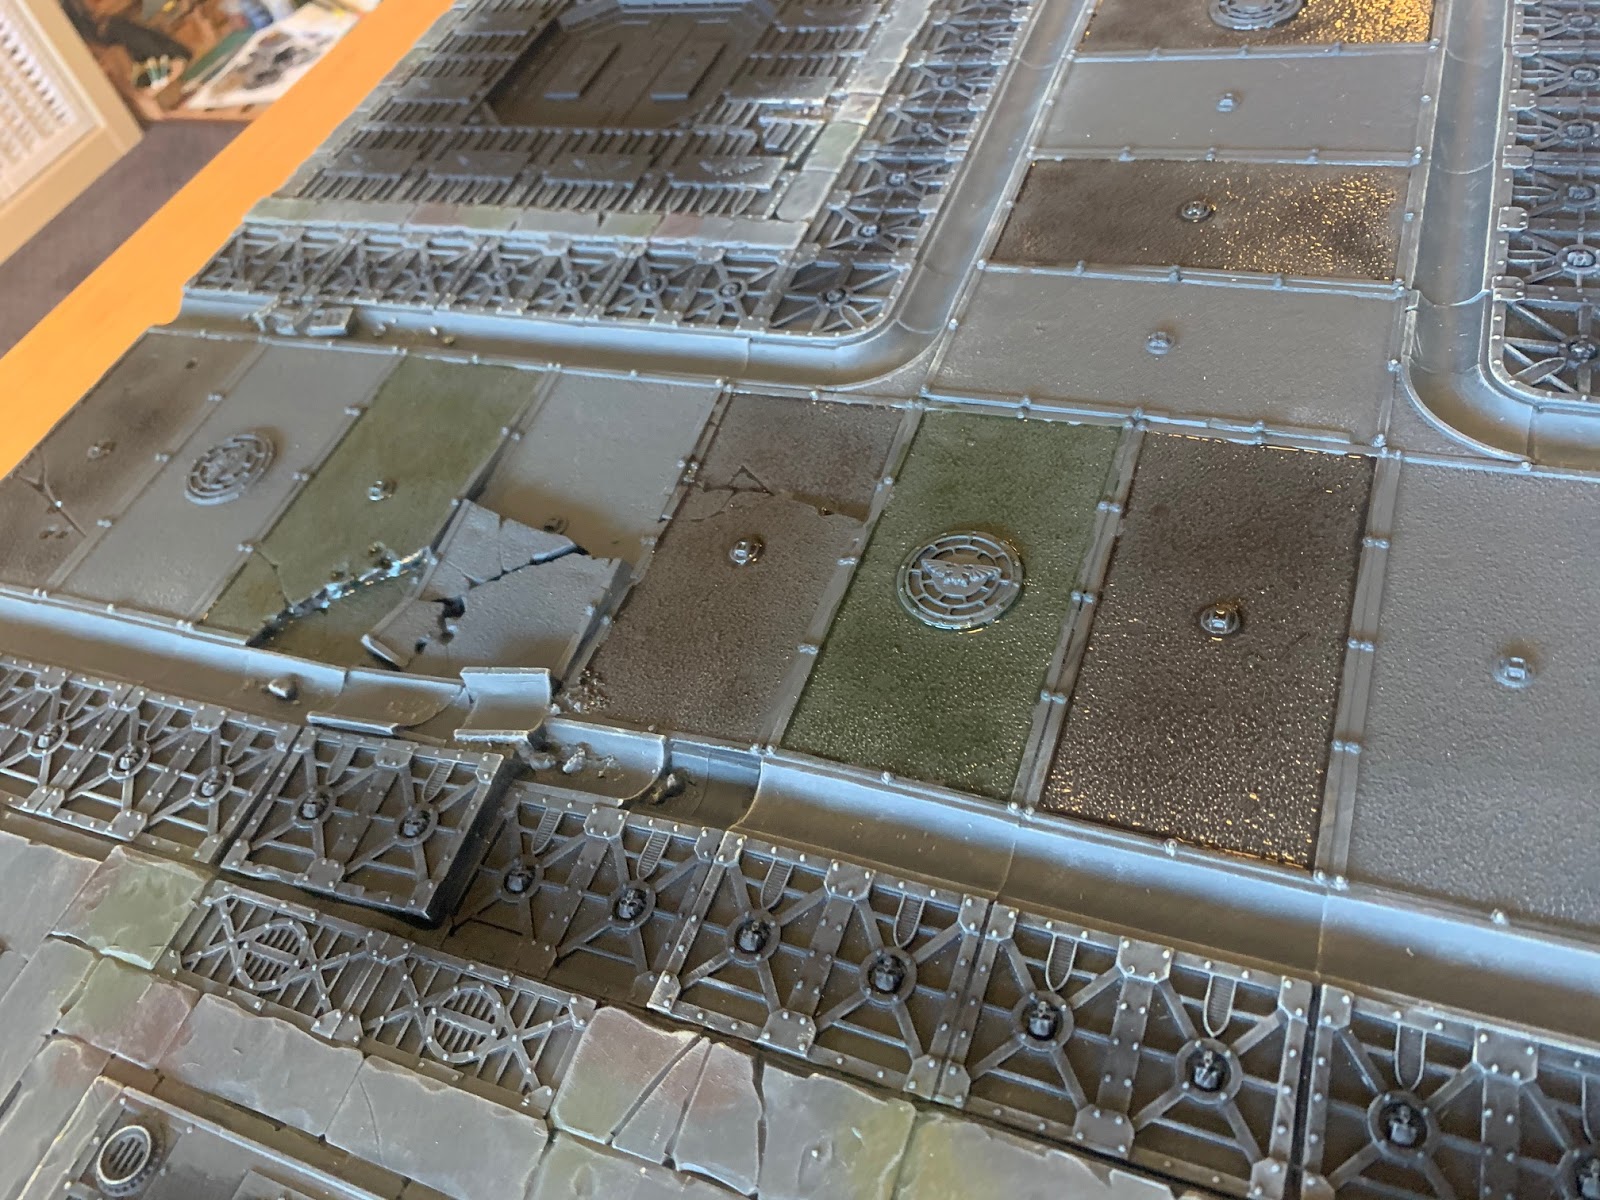
I've then gone around adding blotches of dryad bark and castellan green to the stonework. Must admit - I was worried at this point. Those colours look really stark on top of the grey and I'm thinking everything is going to need a repaint.


Having put on some drybrushing layers, this actually does start to blend down and look a lot more subtle. Dawnstone first, then ushabti bone. Not getting these colours to stick well in the gutter areas for some reason - will have to make up for that with dirt and washes later on so they don't look too plain.


I was also looking forward a bit to slapping on layers of wash - having done mainly recess shading with agrax & nuln oil, the chance to drop lots of colour down quickly sounds like good fun.
Everyone always says to make some of these things 'random' but I like my random to end up balancing out overall. So... somewhat OCD mixing of the colours on a spreadsheet beforehand and I've got an even number of each of the three washes (agrax, nuln, athonian camoshade) across the boards.

Damn the rough surfaces also soak up wash. Having done the first 3 boards with 3 to go, I'm legitimately thinking this project will have me run out of all washes before our lockdown is over and I can get more.


The straight road sections technically took up less wash (with fewer panels to cover), but across 6 boards just for the road sections I've gone through about 3/4 of a bottle of each of the 3 colours. I still have 1 full unopened bottle of each, but with the rest of the surface area to go (footpath sections and then all the metal panels) we might finish with very close to zero wash left.


Laid out - that's actually quite a lot of surface area already covered (with the roads on the straight boards still drying).


Feels like I'm making quite rapid progress so far being able to slap lots of paint down - however, from here on the rest needs a higher level of accuracy to start getting sharp edges between colours (then any finer stuff will get exponentially longer to finish). Overall, enjoying this style of project - the finish won't be as clean as on individual minis, but it's nice to do something with big brushes and not worry about getting accuracy to the millimetre.
Up next will be what I'm expecting to be a bit slower and more annoying - filling in all the metal panelling with leadbelcher. Also hoping that my supplies hold out for the metallics.


Up next will be what I'm expecting to be a bit slower and more annoying - filling in all the metal panelling with leadbelcher. Also hoping that my supplies hold out for the metallics.
No comments:
Post a Comment