Last episode finished up with the white/marble inlay sections completed. That now leaves me with really just the aquilas to paint, plus all the weathering & rusting to finish up. This phase will also include some other little nuances.

With all the metal areas washed, the aquilas themselves still need to get back to black - vallejo black primer, straight from the bottle with a large brush fixed that up quickly. Primer can take a little while to set/cure. It's still even a bit wet in the pic herer.


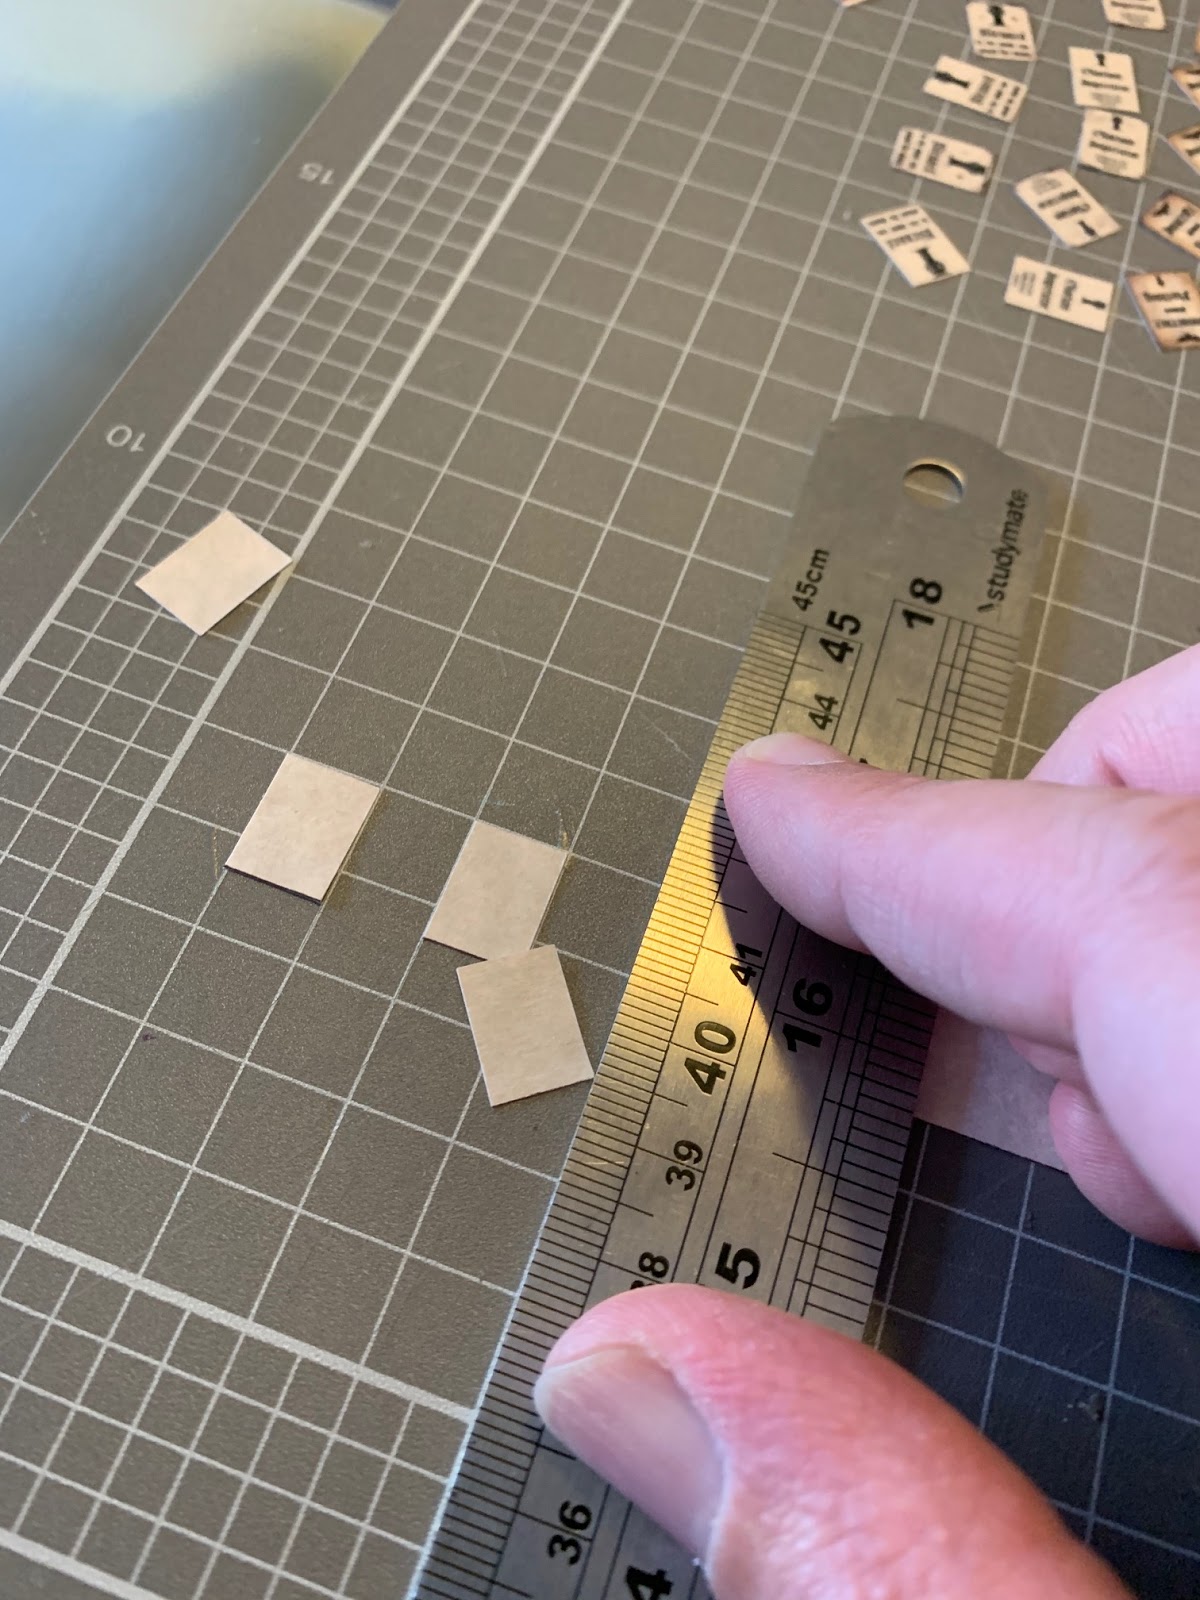
While nobody is currently in offices and able to use nice colour printers... I still have a couple of sheets of propaganda posters that were made up years ago for the kill team ruins. Cutting out a bunch (probably more than needed) to scatter in some random places.


Something I also noticed when doing the kill team stuff - it all makes sense for these to be face-out on walls, but if you have some random ones scattered on the ground, invariably a few should be face down otherwise it just doesn't quite look like they have fallen naturally.
I've still got a few sheets of paper in a parchment tone from a calligraphy set - chopping a couple of strips of this up into the same size as the posters.

That leaves heaps of little papers to mix up into the 6 boards.


In order to not look like they were too carefully placed, I actually ended up being very prescriptive - there are 2 designs of board, with 3 of each design. 1 of each design would get 8-9 posters, 1 each with 4-5, and then 1 with only 1-2.
The tiles getting more posters kind of feel like they need a 'pile' - maybe where the bill poster was dragged off and dropped his bag of paper behind.

Also think more of these (when not attached to a building) will accumulate in the roads and gutters rather than in the footprint areas for the buildings. So more groups of 1-2 near the edge of the road areas.


I had quite a bit of fun with the gutter ones - 50:50 pva and water mix, letting the paper soak for a few seconds before plastering them into place. Added bonus is that it kind of seals the paper as well as shaping it to the surface.
Different mix of papers on different tiles of the same design.


Unfortunately, the parchment paper, even though it was a coloured/tan up close... looks just about like a pure white against the otherwise drab terrain.

Back to the aqulias though - with the black thoroughly dry, these get a fairly heavy drybrush with caliban green. Not really showing up too much though.

The plan was to work the drybrushing up through greens then come back with some stippling and streaking to get more of a green marble effect. Unlike most of the hard metal edges on the rest of the board, the very soft makeup brush in the background is good for this.


It's still not super bright, but you can see the contrast and overall dark green finish alongside a board yet to get any colour.

At this point I sort of ditched my plan to do these up properly as green marble - the green drybrushing probably took 20 min for all 3 versions, whereas the white marbled slabs on the other boards took close to an hour each for marginally better result.
Calling these bits done, and we're officially down to weathering and rust effects left to go.


Last small thing before finishing up this post... to knock some of the stark whiteness out of the posters, I've gone back with a wash of agrax earthshade (mixed 50:50 with water) and coloured all but the darkest with a thin layer. For the ones that were pure parchment, they got maybe 2-3 layers of wash to darken them further. Posters are still easy to spot, but now they look like they had some age and grime rather than dropping straight out of a photocopier.


Home stretch now - but under no illusions that going around 4x6 foot of metal areas with rust will still take some time. On the plus side... since we're not going to an office these days, 10-15 min before work each day should help knock this over.
No comments:
Post a Comment