Fitting and assembling a squad display / storage board from Tablewar... since I now have a couple of units gathering dust on the shelf, it makes sense to finish up a couple of trays and tuck the marines safely into the display case on my floor.

I actually picked up a few of the trays before I bought the full-size Tablewar display case, but as I didn't take any photos of them before they went together, thought it worth revisiting the parts & construction while assembling a new one.
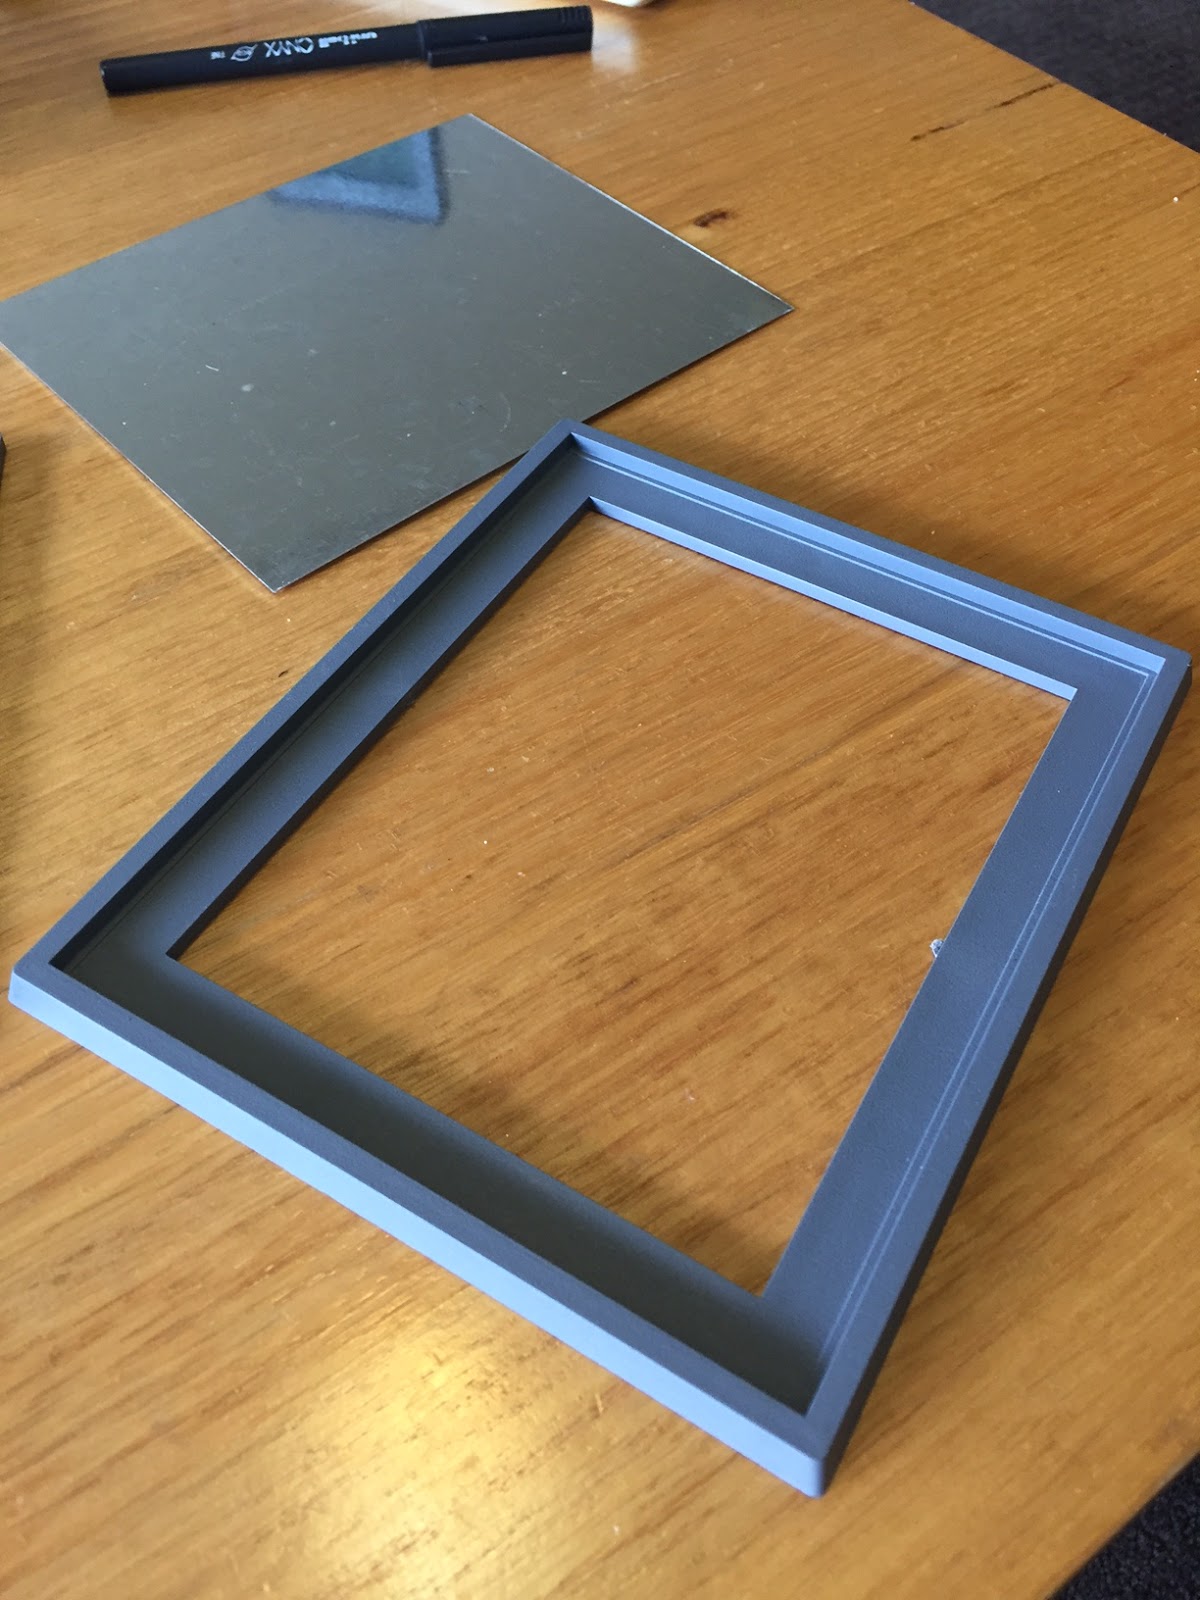
The trays typically come in 3 parts - a base, a thin tin sheet (so magnets in miniature bases will stick down) and a topper/unit frame. There are a bunch of options for combining these:
- Base: can be standard or double width (taking 2x standard toppers)
- Topper: the topper can be bought in multiple base sizes or types:
- Topper: the topper can be bought in multiple base sizes or types:
- 25mm, 30mm, 32mm, 40mm 50mm, 65mm and even oval base sizes...
- Custom 'rings' so you can sit minis in specific spots where you want on the base
- Left out altogether if using fantasy/square bases (or you just want to stick anywhere)
The 'standard' tray for my 5th company is based on the 32mm x12 slot panel. This leaves me with 2x spare 'slots' for a 10 man squad in a 4 rows by 3 column configuration, so I can either put the troops in a block of 9x at the back with sergeant by himself up front, or 2x 5 man combat squads in a 3, 2, 3, 2 layout and 'hide' the 2 empty slots in the middle behind the front rows. Anyway... the tray -
Three separate pieces that come separated; the inside of the base has a nice little lip that the tin slips into and leaves a bit of extra plastic to make contact with the topper.
I've found the fit with these to be generally very good - I've had maybe 2 minor issues with the tin sheet so far; one had a slight curl where the tin-snips cut cut the sheet and the other had a bent corner. In both cases, a few taps with a hammer and then firm clamping while supergluing into place made this essentially unnoticeable.

The topper drops in pretty neatly and can (probably) be glued just as it is - although I took a few minutes with a bit of sandpaper to rub down the 2 little nubs on one end from manufacturing/sprue.


The extra step I took before adding any basing material was to go around the join in the topper and add a little bit of filler/spackle. This is likely unnecessary but I'm a little OCD for this type of thing... small cost of extra time up front can save a bigger headache later on.

The last detail worth a mention is the tray stability - Tablewar sell magnets sized for miniature bases to lock onto the tin sheet, but they also sell larger magnets that lock the tray into the display case. These fit neatly into a slot on the underside of the grey plastic, which can then have a corresponding magnet attached to the display board housing to lock them in.

I'm also planning out a custom tray for my command squad and core characters... this should consist of 5x command squad, captain, librarian, chaplain, sanguinary priest. I'll likely end up with a second chaplain but attached to the death company and he can roll with those guys instead of command. Ie, a group of 9x minis = command unit.
The tin and base for this are the same as the standard unit, but with individual plastic rings that can be placed around the tray as per desires.


My one gripe with this setup is that the rings are a little too thick to give a lot of options in the tray. The best I could manage if wedging the rings together closely was to get 9x rings onto the board. While that is enough for my command group, if you had a 'standard' squad of 10x troops, the custom board isn't an option unless you started to cut the edges off the rings and managed to sneak a couple more in. Otherwise this isn't the tray for a 10 man marine squad.


The tin and base for this are the same as the standard unit, but with individual plastic rings that can be placed around the tray as per desires.


Having said that - the 9x layout should be ideal for the command group. Captain at front flanked by librarian and chaplain, priest behind and then the command squad & company banner for the back 5, with a little it of space near the front to maybe put a plaque or icon on the ground.

Once I've superglued the rings in, I'll have to build up a few layers of putty/filler in the space between to level out the tray and give a surface to put rubble/grit on. That should give a nice little display unit for the dudes in charge - although I'll probably procrastinate on that until I assemble & basecoat the command squad guys and have a more pressing need for the storage space.
No comments:
Post a Comment