Finally adding some pics of the WIP Rhino exteriors. These copped their undercoats back in November but haven't been touched for a while...

To start with, these were undercoated with a layer of vallejo german red primer. I love this stuff for adding depth and shade that isn't pure black, but it can also be something of a pain in the butt to run through the airbrush. Could be operator error, but I've generally had to up the PSI and force it and/or clean the brush out a few times. 2x coverage of 3 tanks and several sponsons/hatches took quite a bit of time.

The tank on the right has then had a thin line of black primer run into the crevices to effectively pre-shade the mephiston red.

There is a little bit of glare on this shot (window was behind me) but you can see that the black has been taken a bit heavier on the lower ~1/4 of the sides of the tank as well. Starting to get a sense of highlighting already.

Areas around the exhaust vents have been shaded up as well - these will likely need a layer of black soot after the whole paint job is finished, but may as well lay it down first too.

Pre shading applied to the 'lead' tank - I wanted to take the cup logo that will sort of be my motif for the 5th company captain and carry it over to a few other places. Using the insert from the Baal predator kit will sort of designate this as my command tank; the magnetised sponsons and turret can pop off and it can run as a slightly more blinged Rhino.

Third tank pre shaded. Front view shows a couple of the other areas - as the 5th company marking is a black drop, I wanted to make sure the side front panels weren't too dark and risk having the black decal blend into the background.
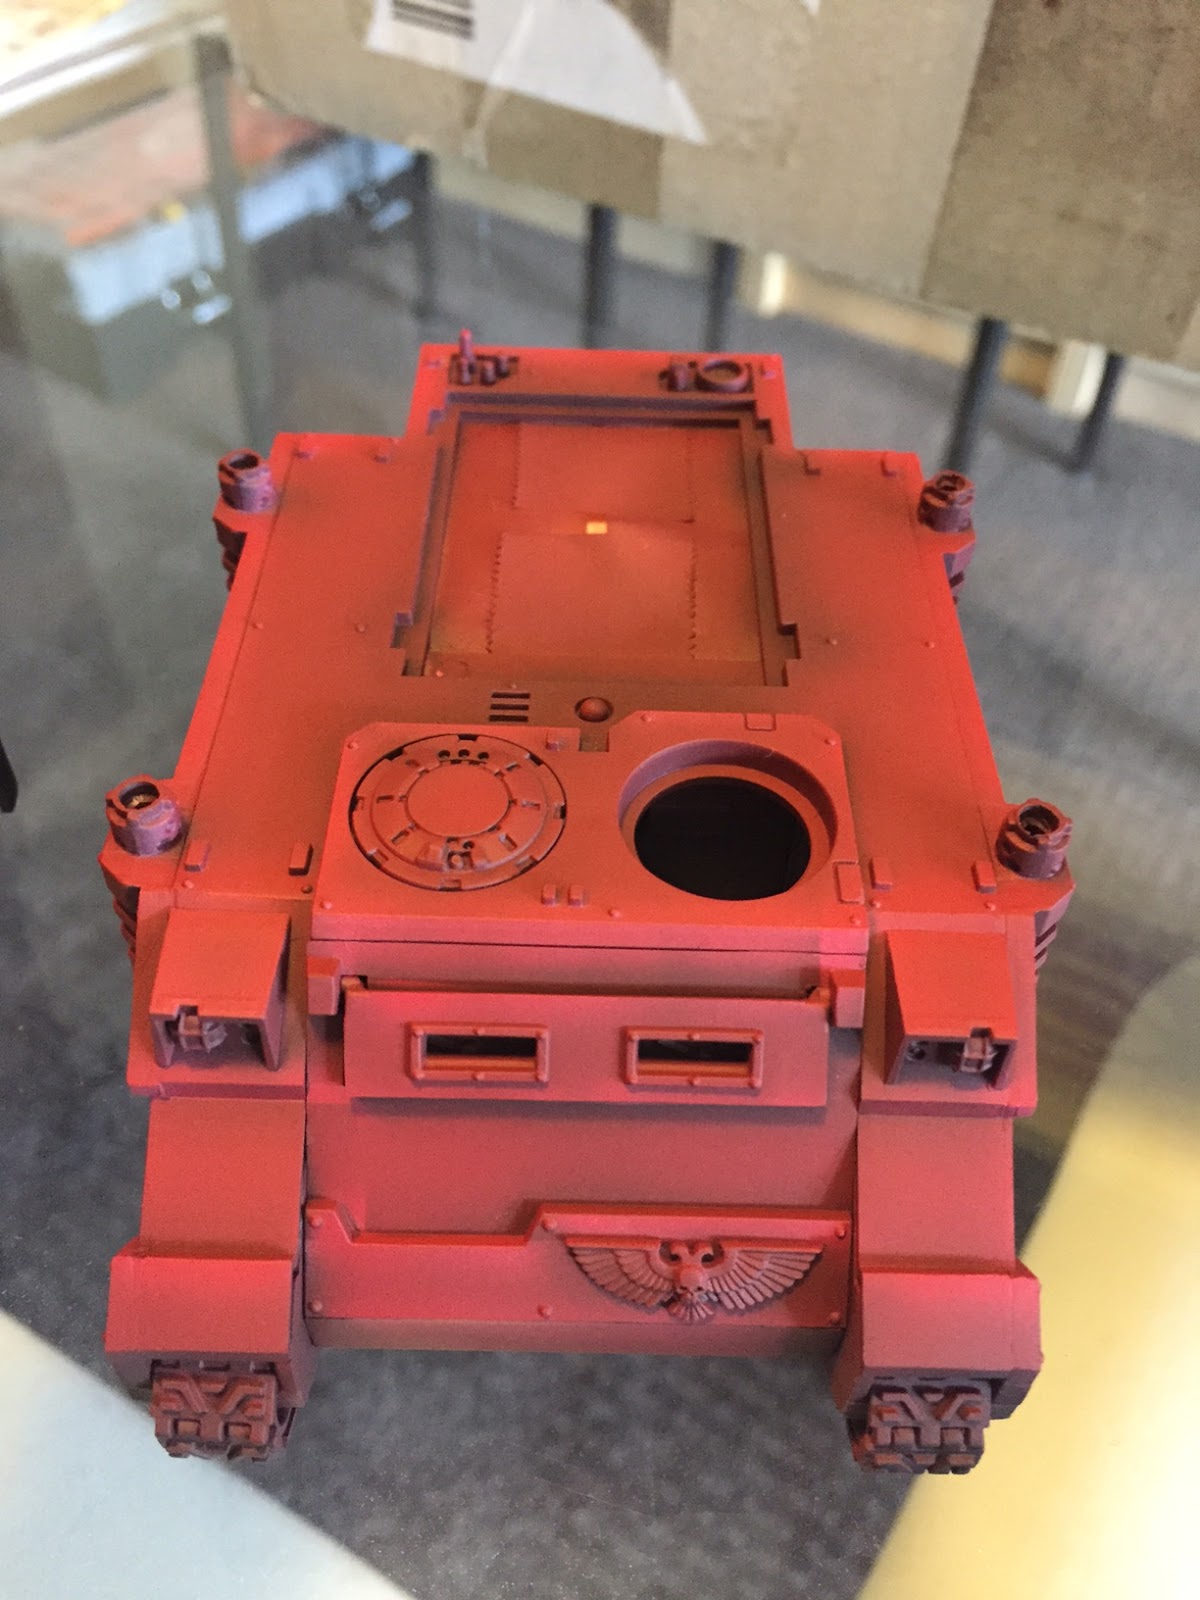
Turns out I shouldn't have worried... With Mephiston red air across the whole thing, a lot of the preshading is lost anyway... It's there, but more subtle than I would have liked. I missed getting a photo of the inbetween stage, where a hint of grey primer was added to the edges with a bit of card to mask the hard spots. That stage seems to have been a bit redundant in any case - little bit disappointed that the contrast (as well as some extra prep time) was wasted.

I guess when viewed at a distance, the job isn't too bad... shading washes will bring some of the depth back, but I'm seriously rethinking just blowing mephiston air onto everything in future and just fixing the rest in post-shading. Would save some time and swearing when having to clean primer out of the airbrush mechanisms.

Sneaky last photo... all three have had a layer of gloss varnish added to seal & allow the washes to run smoother; I couldn't help adding a little quick colour to one before packing away - the tracks have had leadbelcher (+nuln oil wash) added, as well as a quick hit of balthazar gold on the imperial eagle front.
These will probably be on the shelf for a while while I work up some of the devastators and finish up my last part-time university course - that little extra bit of colour is a nice reminder that it won't take too much to get the tanks up to a tabletop-usable level :-)
No comments:
Post a Comment