It turns out there are an awful lot of parts to a rhino if you intend on painting them thoroughly and including an interior. It took the best part of an afternoon to paint the interiors of the group - although to be fair, that was for 3 tanks, including some extra wash drying time for the large amount of agrax that went on the floors. It was the first time I have painted a rhino of any form, and in hindsight I can see a couple of shortcuts and things I wasted time on that just plain won't be visible.

The end result for the control stations is probably a good image to lead the post with...
The starting point was to get a layer of grey primer onto the parts, and a pre-shade layer of steel legion drab (air). For sharper shadows (like the internal side-hatches), I added a heavier pre-shade, while the flat areas (underside of the top hatch) are softer spray.


I have found pre-shading using citadel paints to be a little bit mixed - the layer paints (and even more so for base range) have a heavier opacity than stuff I've used from Vallejo and a couple of other brands. Higher opacity can be a good thing if you want to get quick coverage in less passes of the airbrush (and makes it easier to get the exact same colour on an army), but also makes it harder to get a good contrast with pre-shading. As with the red on my marines, a good bit of the pre-shading effort is lost if you aren't very careful/light with the top layer.
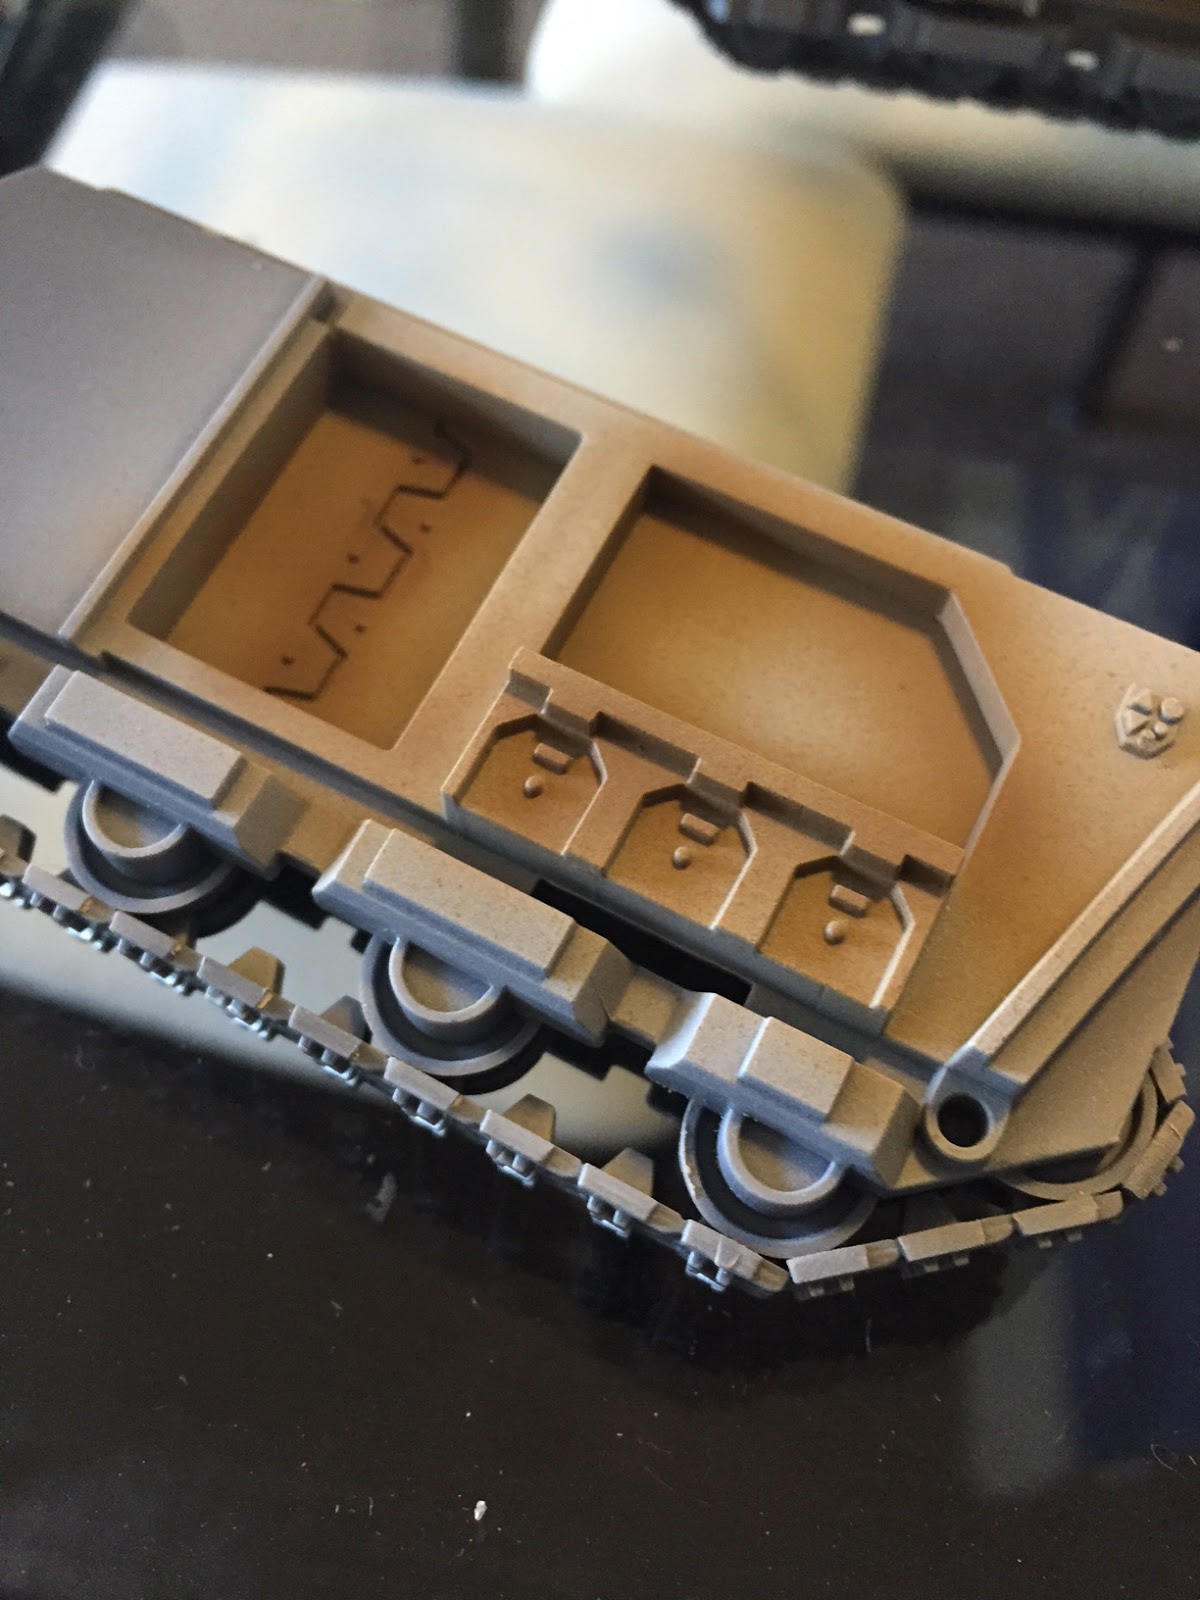
For the interiors, I've then added some terminatus stone (air) in the image below (this is more obvious on the seat)...

While still a little patchy, I decided to stop adding terminatus stone while there was still some random contrast in patches... not perfect, but at least the pre-shade hasn't been bled out altogether.
This shot also has a layer of agrax earthshade added to crevices for shading. This was a good reminder to add gloss varnish before washes - I had figured that shading without gloss would be ok for a roughed up interior of the tank, but this also meant that the big areas (mainly the recessed area above the seats) had more wash seep out of the crevices and leave a tide-mark further out.
2 options I could think of to fix the tide mark on the fly - were either run the wash over the whole panel, so that there is no tide mark (but then everything takes on the wash colour) or follow the wash with another brush full of water and wet the area that would otherwise have a tide mark form. Option 2 ended up being less than perfect, but a reasonable fix for the big panels recessed behind the seats.

I guess the bit that I was most looking forward to on the interiors was the set of control panels that go at the back of the driver's compartment. These feature lots of detail and are effectively the first thing you see from the rear of the tank when open. I've seen some shots of people having gone absolutely nuts with the detail - individually painted keyboard keys... etc. I've compromised on adding as much detail as I figure you can reasonably see from outside the tank. While relatively clean, it won't feature in any Golden Demon entries.

The finishing touches for the interiors were to add some moderate paint flaking with a standard brush (dabbing black on the edges followed by ironbreaker flecks inside the black), and then a set of BA icons sandwiched between a layer of 'ardcoat.

This process also has me pondering weathering levels for Blood Angels - there are some excellent examples of really heavy weathering & chipping of marines & vehicles around, but I figure Blood Angels are rather proud of their appearances & would be more likely to freshen up their paint jobs vs some other chapters?
Lots of assembly still to go before the outside can be worked on, but fairly happy with the way these have come together for the inside.
No comments:
Post a Comment