Still plenty of steps to build up the bikers and accompanying bling. This post will cover a good chunk of the process with lots of pictures.

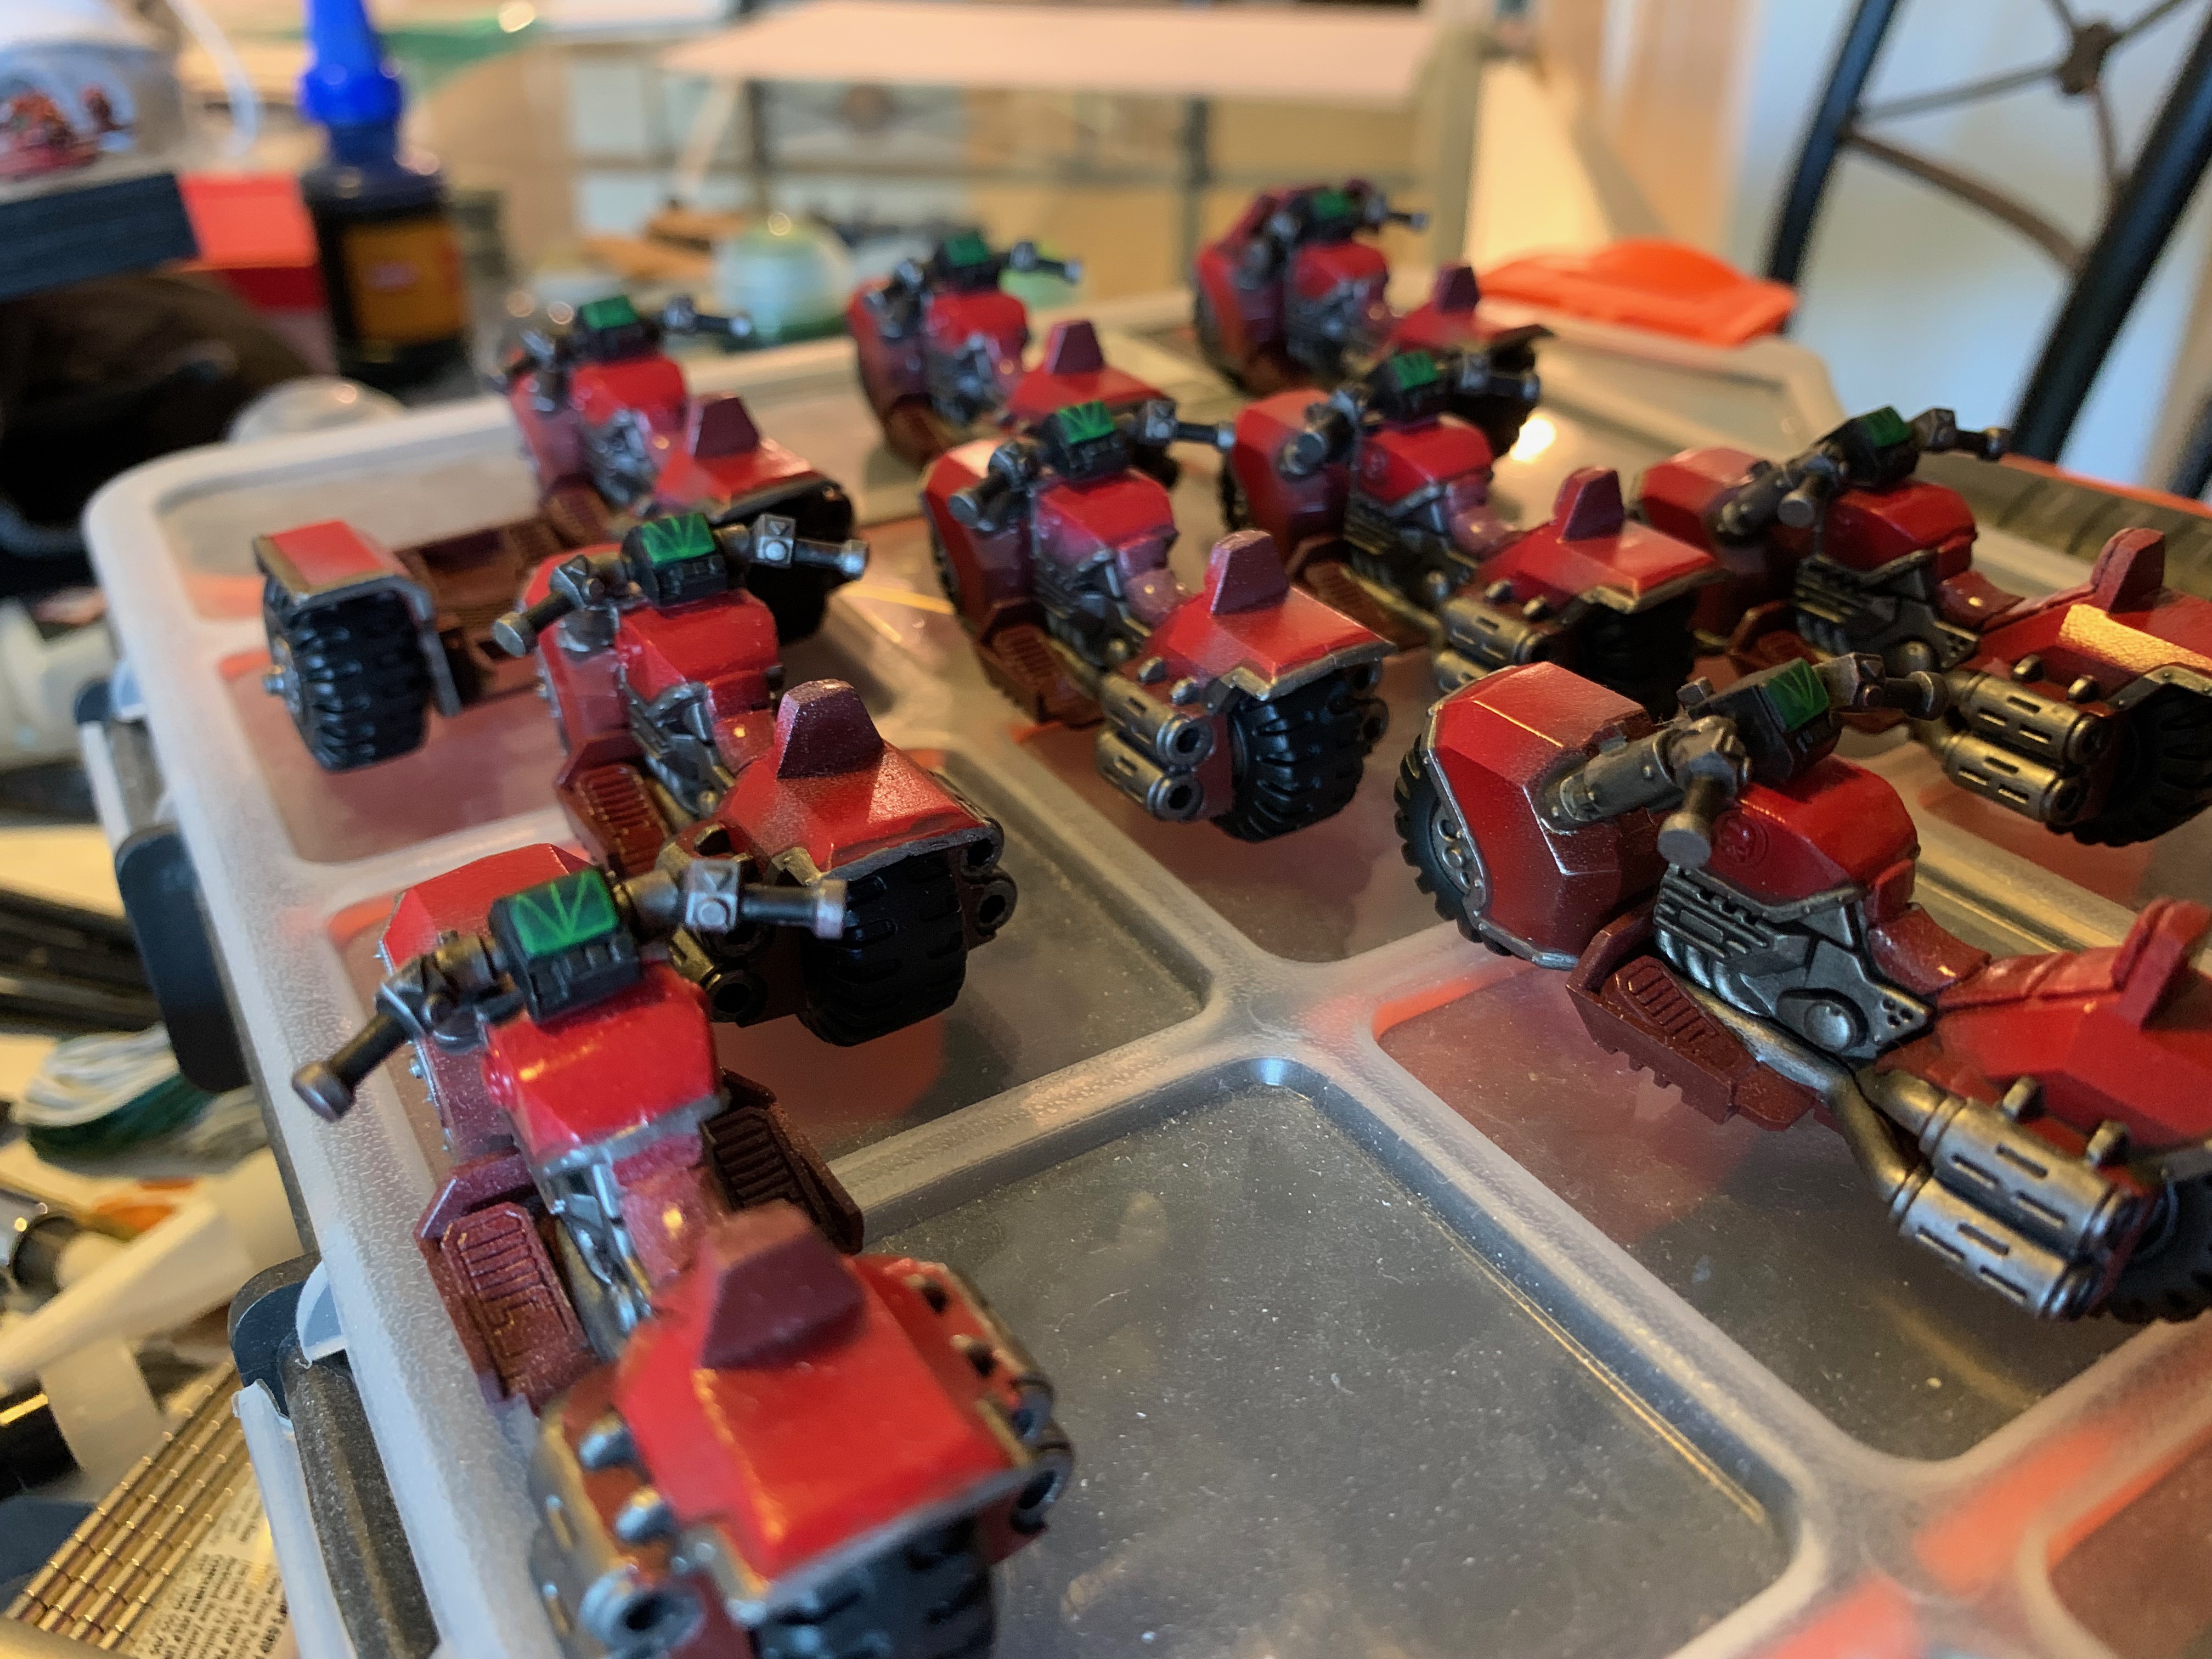
Across most of the Blood Angel models I have built, blocking in the metallics on top of airbrushed red is usually one of the most time consuming and tedious. Bikes turn out to be no exception as there is quite a lot, and it's mostly detailed - silver trim on several of the panels, exhaust tubes, engine workings.
The metallics add a lot of definition, and start to give a good sense of what the finished product will look like. After spending a good long time applying leadbelcher to anything that moves, I needed a little switch of pace. The screens mounted on the handlebars are a fun little area to pick out. Albeit really useless for the most part as they are only visible from a couple of angles over the rider shoulders once the model is finished.
The whole screen is done with caliban green, then warpstone glow highlight followed by a smaller line of moot green. The whole thing is covered with biel tan green to blend it together, then I go back with a thin set of lines in moot green to make the pretend radar effect.
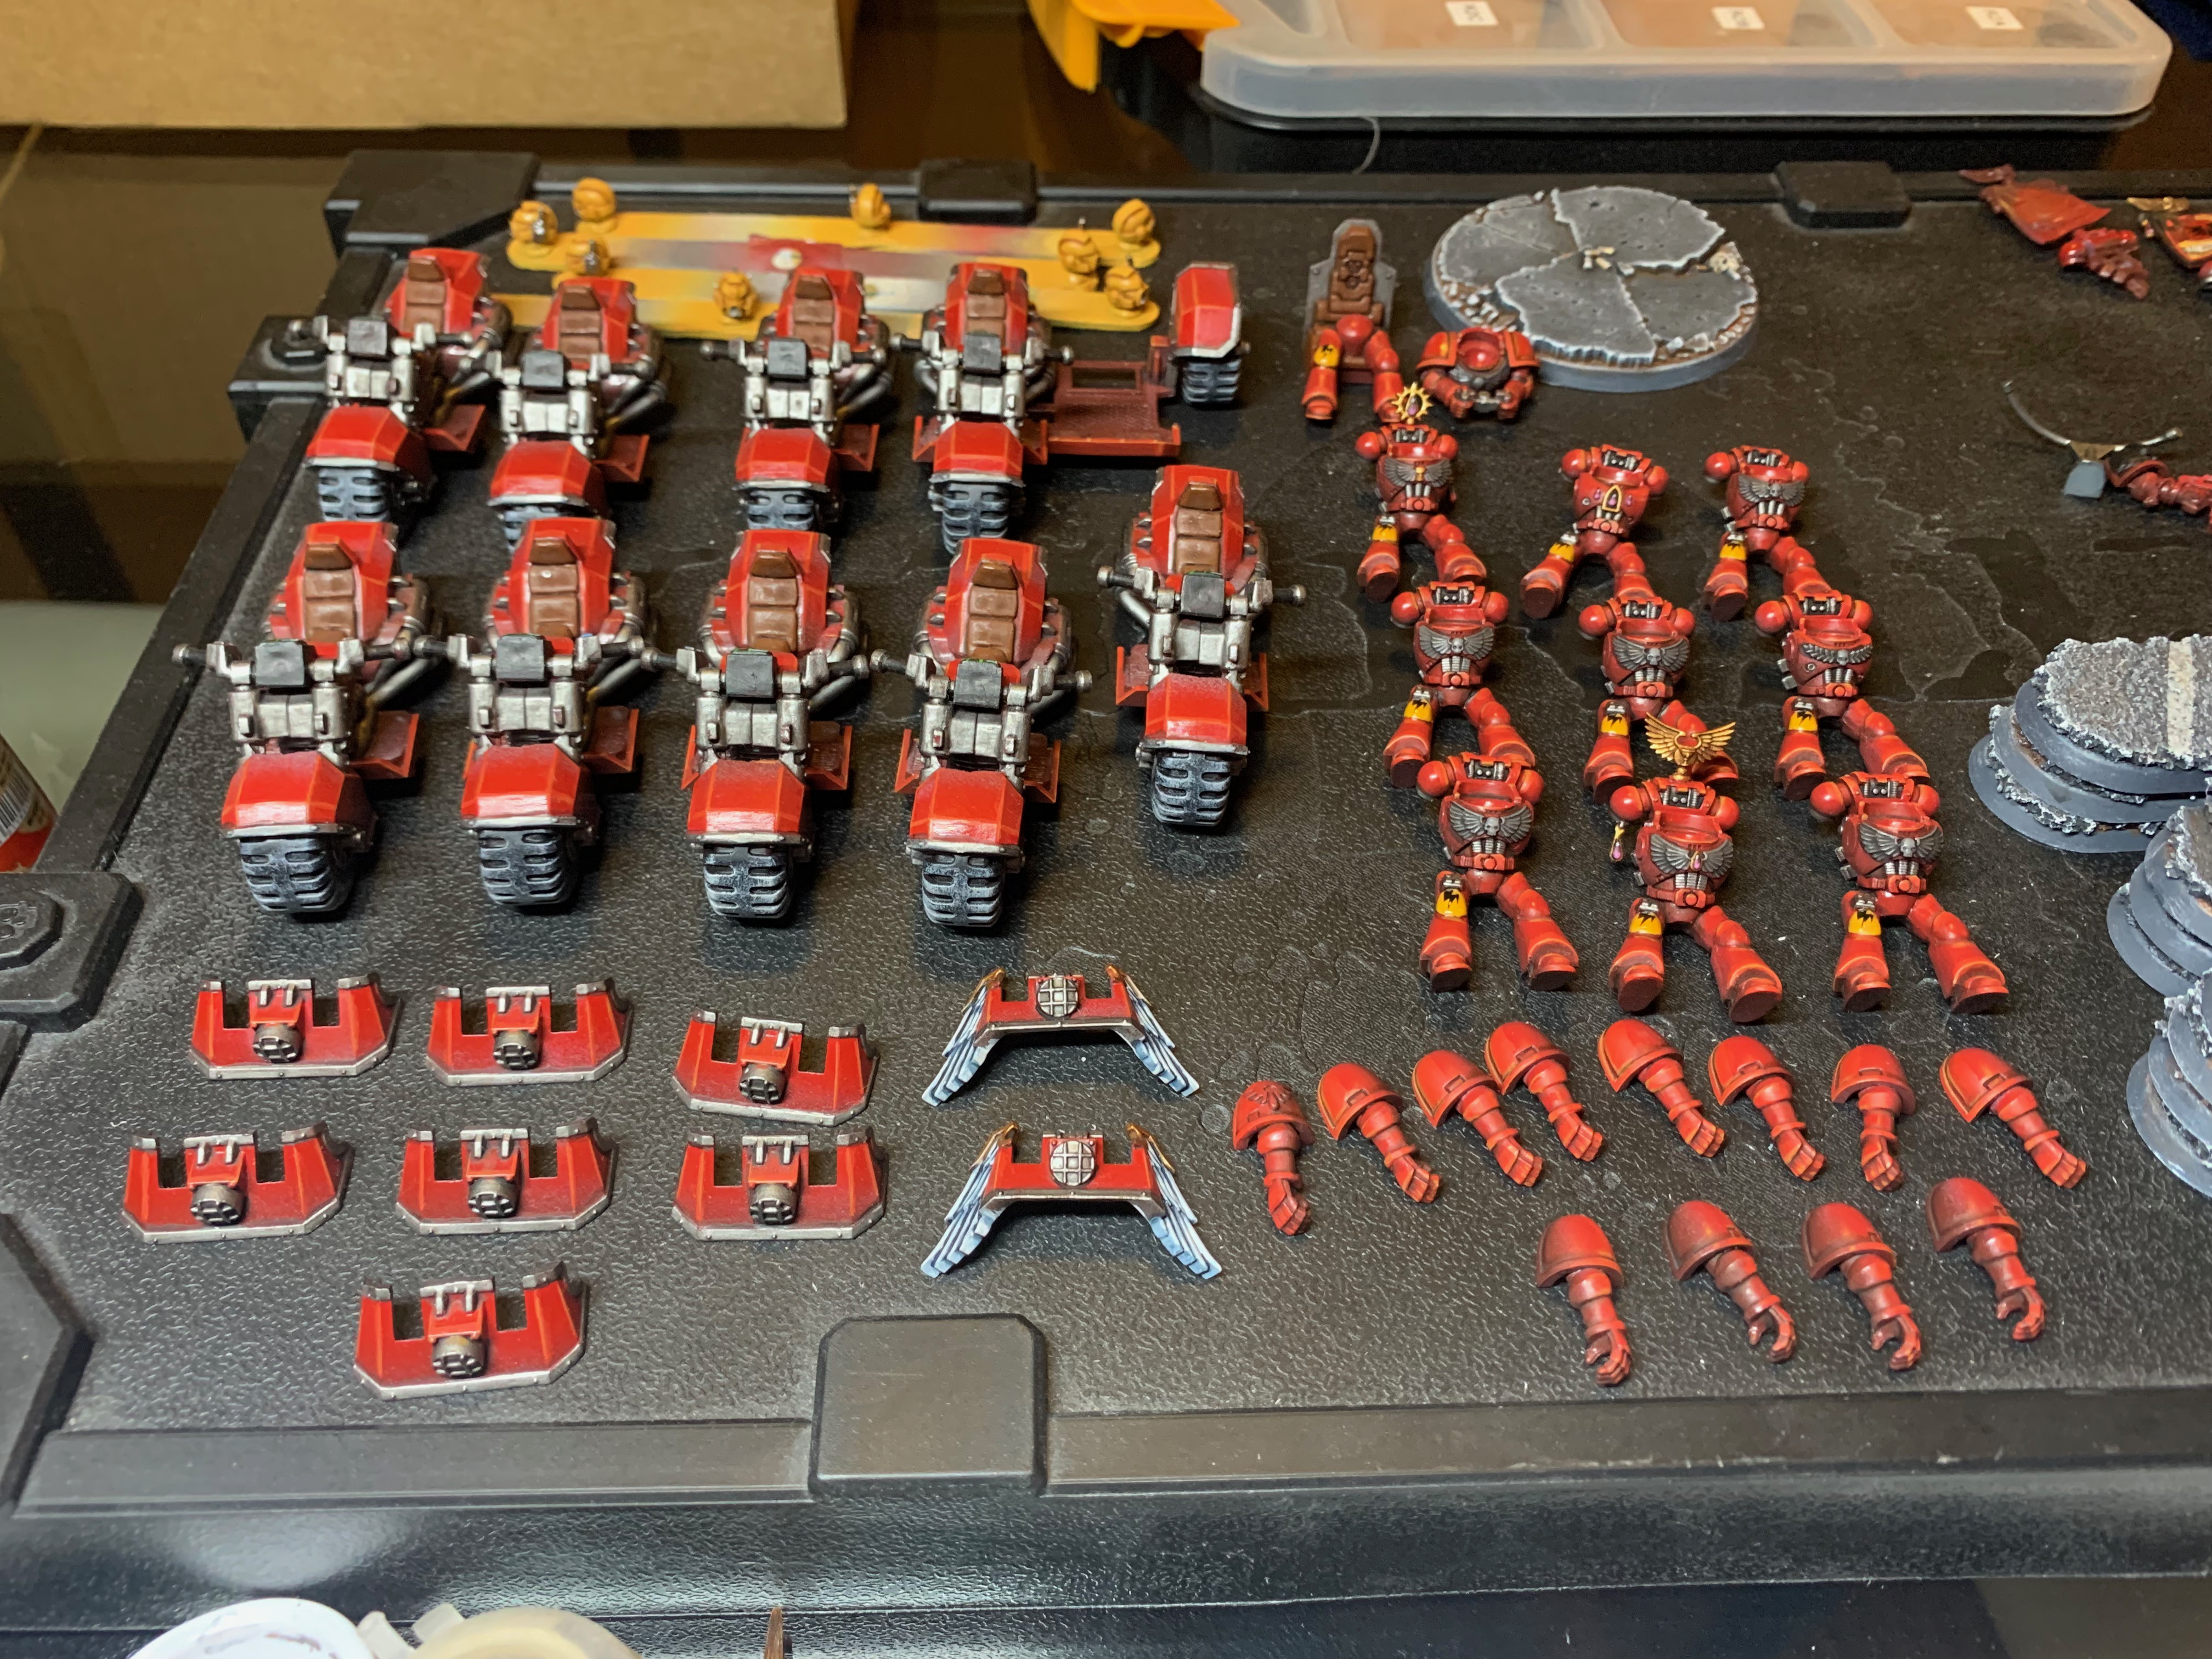
In the meantime I have swung back to building the other 'half' of the models - the riders and arms. The legs are all standard from the bike kit, but I have mixed in a number of BA torsos and backpacks from various kits.
In a less clever move - I also decided that I wanted to be able to magnetise some arms for a few troops. In the codex, you can run either pistols or chainswords, and I wanted the option to show these if needed. Not all, but 4x troops have a magnetic shoulder (both arms on the sergeant) that allows for a pistol or chainsword. That way I can put 2 on each combat squad and say 'this whole squad is armed with x'.
The chainswords themselves took some searching - most troop options are for the left arm, so I ended up getting a packet of right arm chainswords from a bitz seller who had a collection taken from the command squad kit.
Also got to work on bases. The long slottabase for the bikes is actually a really nice size, and I wanted to just add something to simulate a road surface. 2mm cork sheet glued on large and then the edges broken off with a pair of pliers to roughen it up. The squad leader/sergeant had a couple of extra pieces added to give them some height.
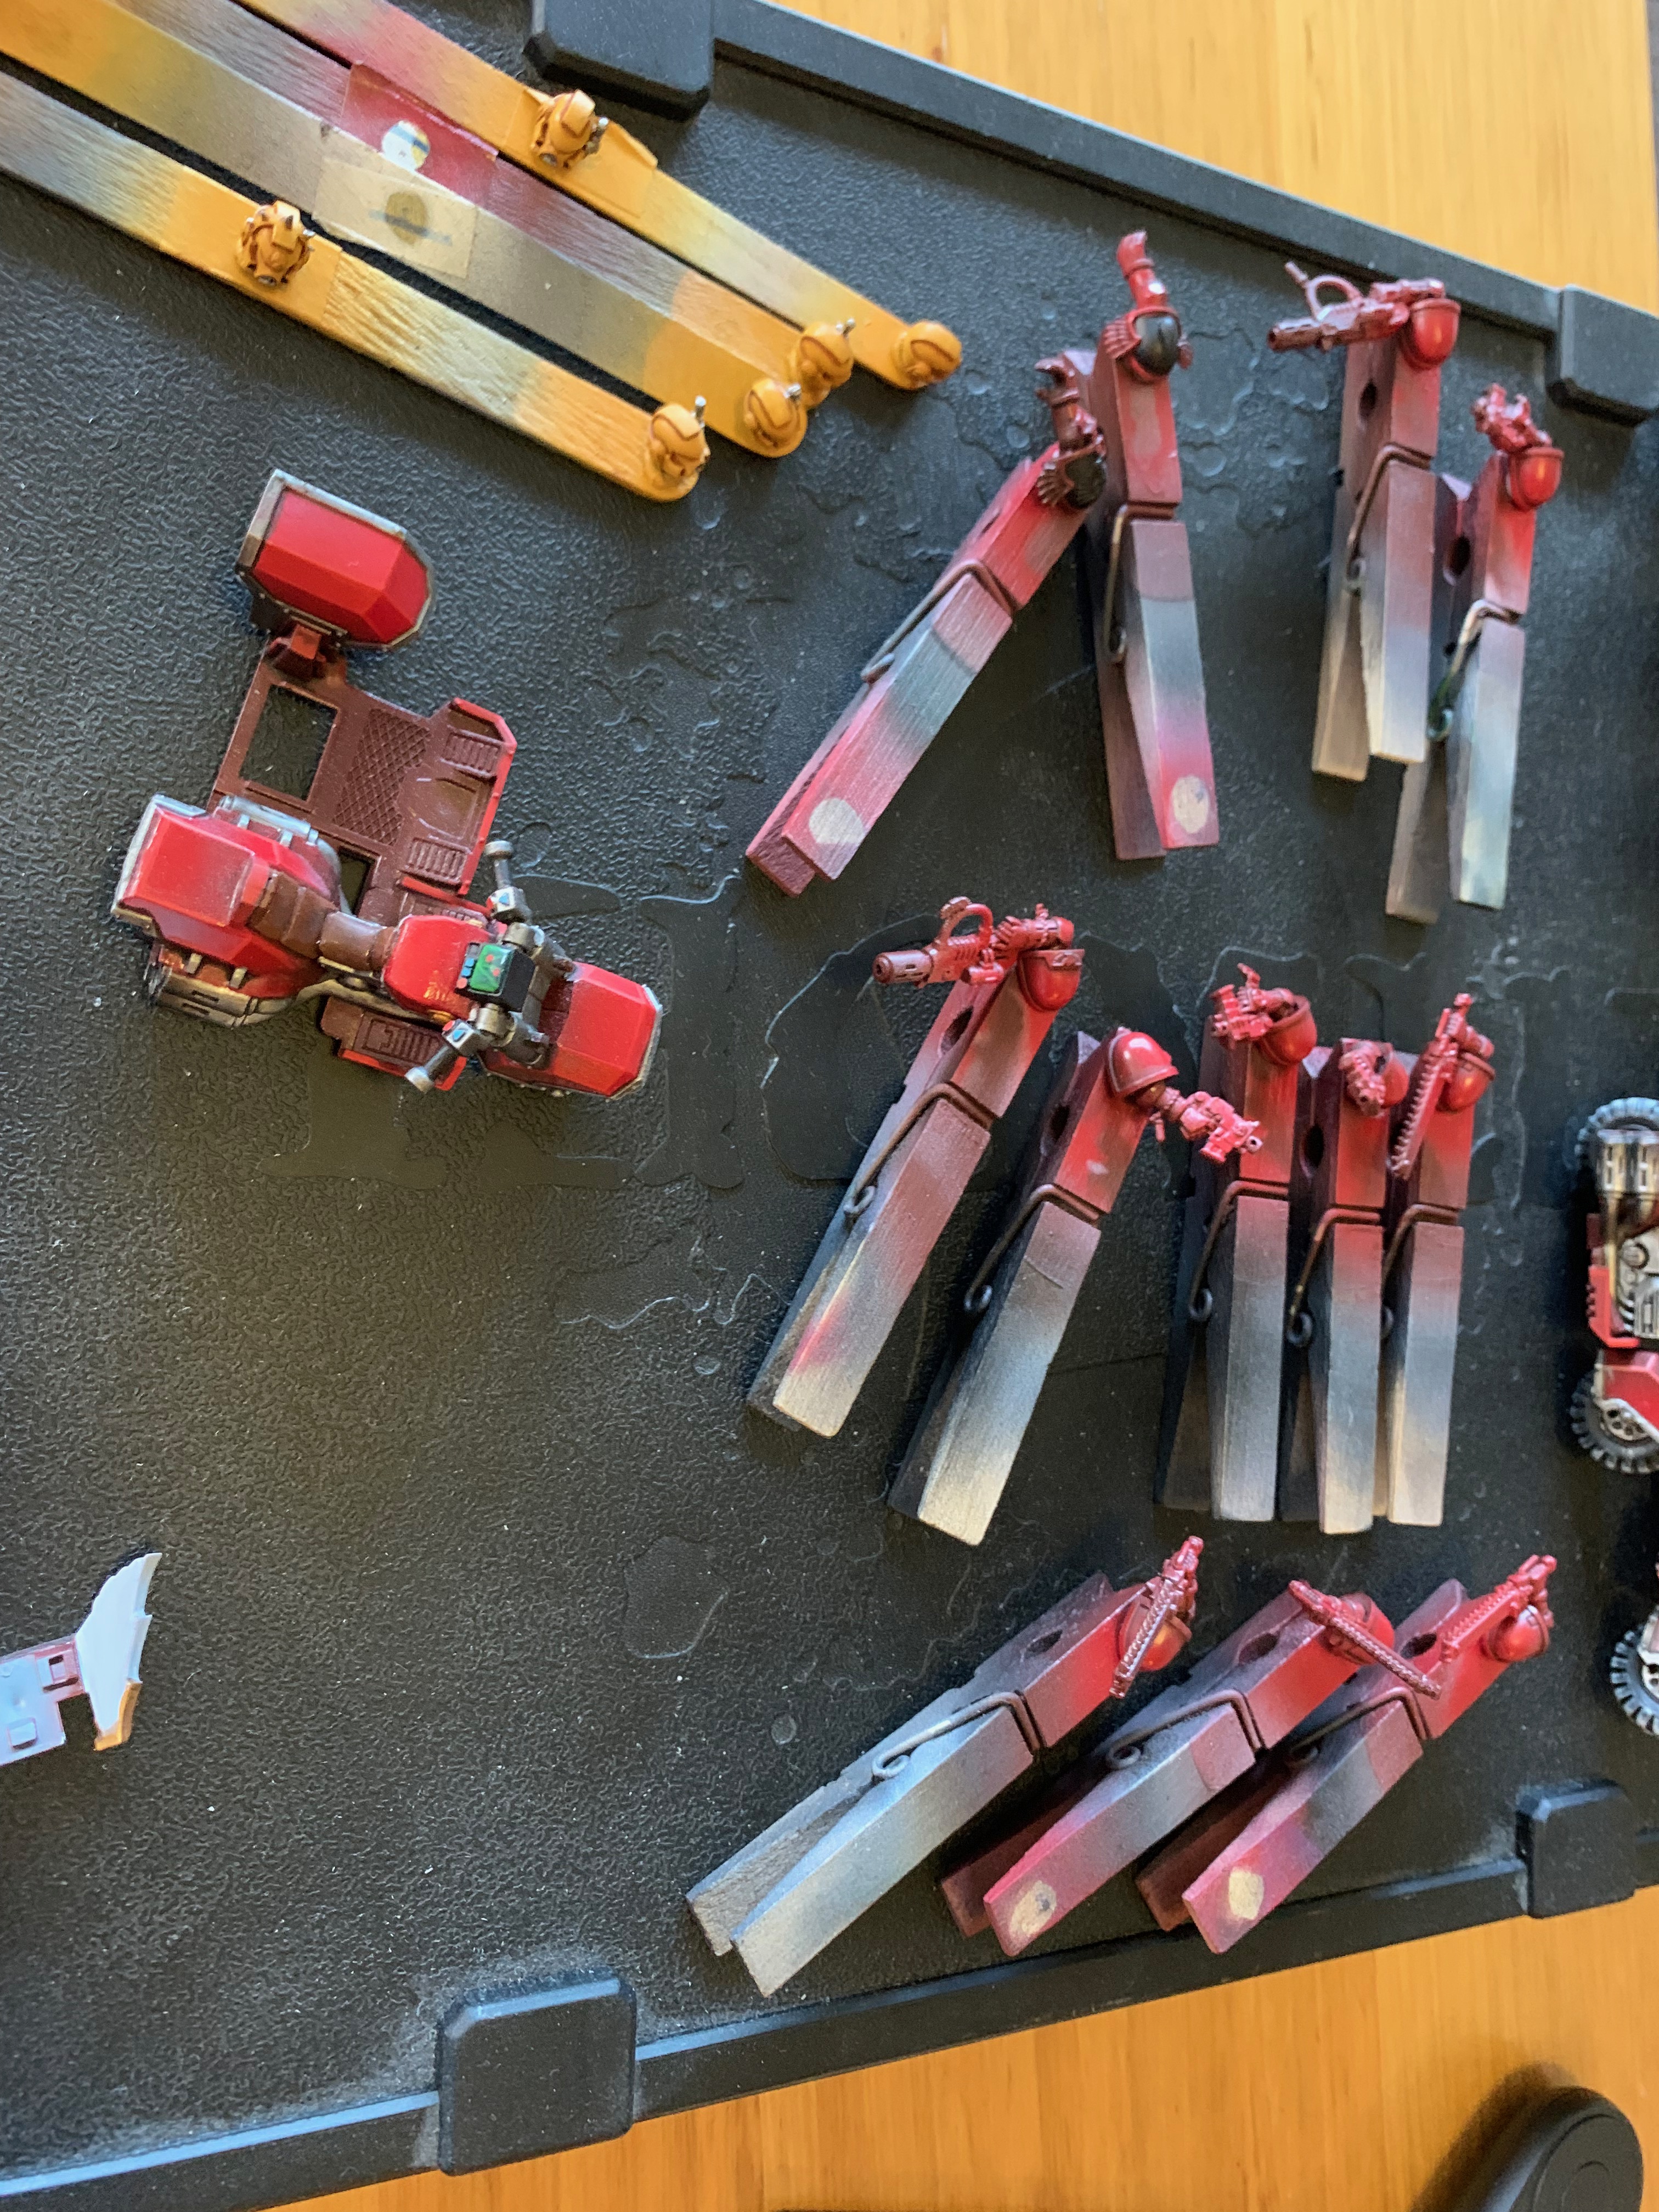
Ok - second half of the project into airbrushing. I was also doing 20x bases for tactical marines at the same time - these are a mixture of different resin bases that I have accrued at different times. Bases started in black and the riders in my usual red & grey primer.
While I usually do bases in dawnstone and then a wash, I wanted the road riders to be a bit darker and closer to tar/asphalt. There is a dark grey vallejo air I have been playing with on my eldar bases that was quick to put through the airbrush.
Before drybrushing with lighter greys, these were given a stippled application of white or yellow to simulate some faded road markings.
While at it, a few of the tactical bases have some red strips added to look like panel/warning lines.
About this point I realised that all 9 of the sergeant right arms had not had the embossed company marking added to the shoulder. For 5th company, the marking is a black drop, on black background - I found years ago this was easier to show with an embossed 3D printed piece (although technically there are a few hard-to-find decals that have a thin white border that can be used flat). Getting these in just the right spot while using superglue is easier by attaching the resin part to the bottom of a knife with blu tac.


In theory, any of these options could be used for the biker sergeant - obviously using 2 ranged weapons at the same time and having no hands on the handlebars might look a little reckless. Otherwise they can be used for the rest of the tactical squads too.
The arms for the rest of the bike squad include 4 pistols, 4 chainswords as well as a couple of meltaguns (technically still a legal loadout?) just in case I ever want to swap these around. My tactical specialists things like meltaguns are permanently attached and I can build a new model spare if I need to, but I figure for the bikes I am very unlikely to want to build more of these just to change the weapon.
I also managed to snag a few parts from the Dark Angels bike kit - with the DA markings removed, I'll have one each of these for the sergeant and corporal.
Part of doing the riders separately is that I really wanted the benefit of being able to paint some details before the bike was attached. Putting on the knee decals for example turned out to be a lot easier while they were still separate. Getting leadbelcher into the engine areas if the legs were already in place would have been about impossible to do cleanly.
With the bikers now largely ready it's almost time to assemble. It's amazing how many pieces go into these kits - once together each bike will only take up the size of the slottabase on the table.
Small and harder to see detail - I went back to the screens and painted in some coloured switches with teclis blue and wild rider red. Along with some dots of red on the screen to simulate blips.
So this leaves me with a big pile of painted parts ready for assembly. The last shot above is usually how my workspace looks at this point - pieces everywhere, many paints out as all the small coloured details use up the full spectrum for switches, eye lenses etc.
Looking forward to getting this one finalised and the dining table back to normal use.


No comments:
Post a Comment