Catching up on a post for a squad finished a few months ago. This is the only bike squad I have done (and probably the last) so I took a bunch of excessive pictures of the process.
To start with - there is quite a bit of plastic going into the mix. I know you can have bike squads of various sizes, but in my mind each squad in a battle company is 10 troops - so this is 8x bikes and a 2-man assault bike to even up the numbers with all my tactical squads.

Plenty of clipping of parts before anything even starts to come together - in practice, the fact that there are 10x riders and 10x bikes make this the equivalent of doing 2 squads in both assembly and painting.

Mass production step one is lining up and gluing all the wheels together. Technical equipment borrowed from the laundry basket to assist. I did an excessive amount of smoothing out the join line with files and a little bit of sandpaper as I wanted to make sure the seam wouldn't be visible after painting.


For some reason the 2 halves of the bike shells remind me of lobsters/prawn shells that have been split in half. Several didn't fit together super well at first - there are a few points where the sprue connections needed to be filed back before they would line up.


Lots of pressure while gluing helped join these up pretty neatly. As with the wheels themselves, I then went around and did a good bit of sanding to smooth out the join. For this type of thing, I prefer to put a bit much glue in place and have a little excess squeeze out. It's usually better to be able to file it smooth rather than have a gap that needs to be filled with putty.


The foot plates felt much quicker/easier to get into place as this is the first part where there aren't any seams that needed to be smoothed and filed after :-)


At the same time I was building the bikes, I was also bolting together the last tactical marine squad to bring me up to battle company size. I always magnetise my sergeant loadout options (including for my bike sergeant), although each of my existing sergeants only had a single set of equipment made for them. So... as part of this batch I wanted to make a pool of extra weapons that can be swapped between squads and give some alternatives.


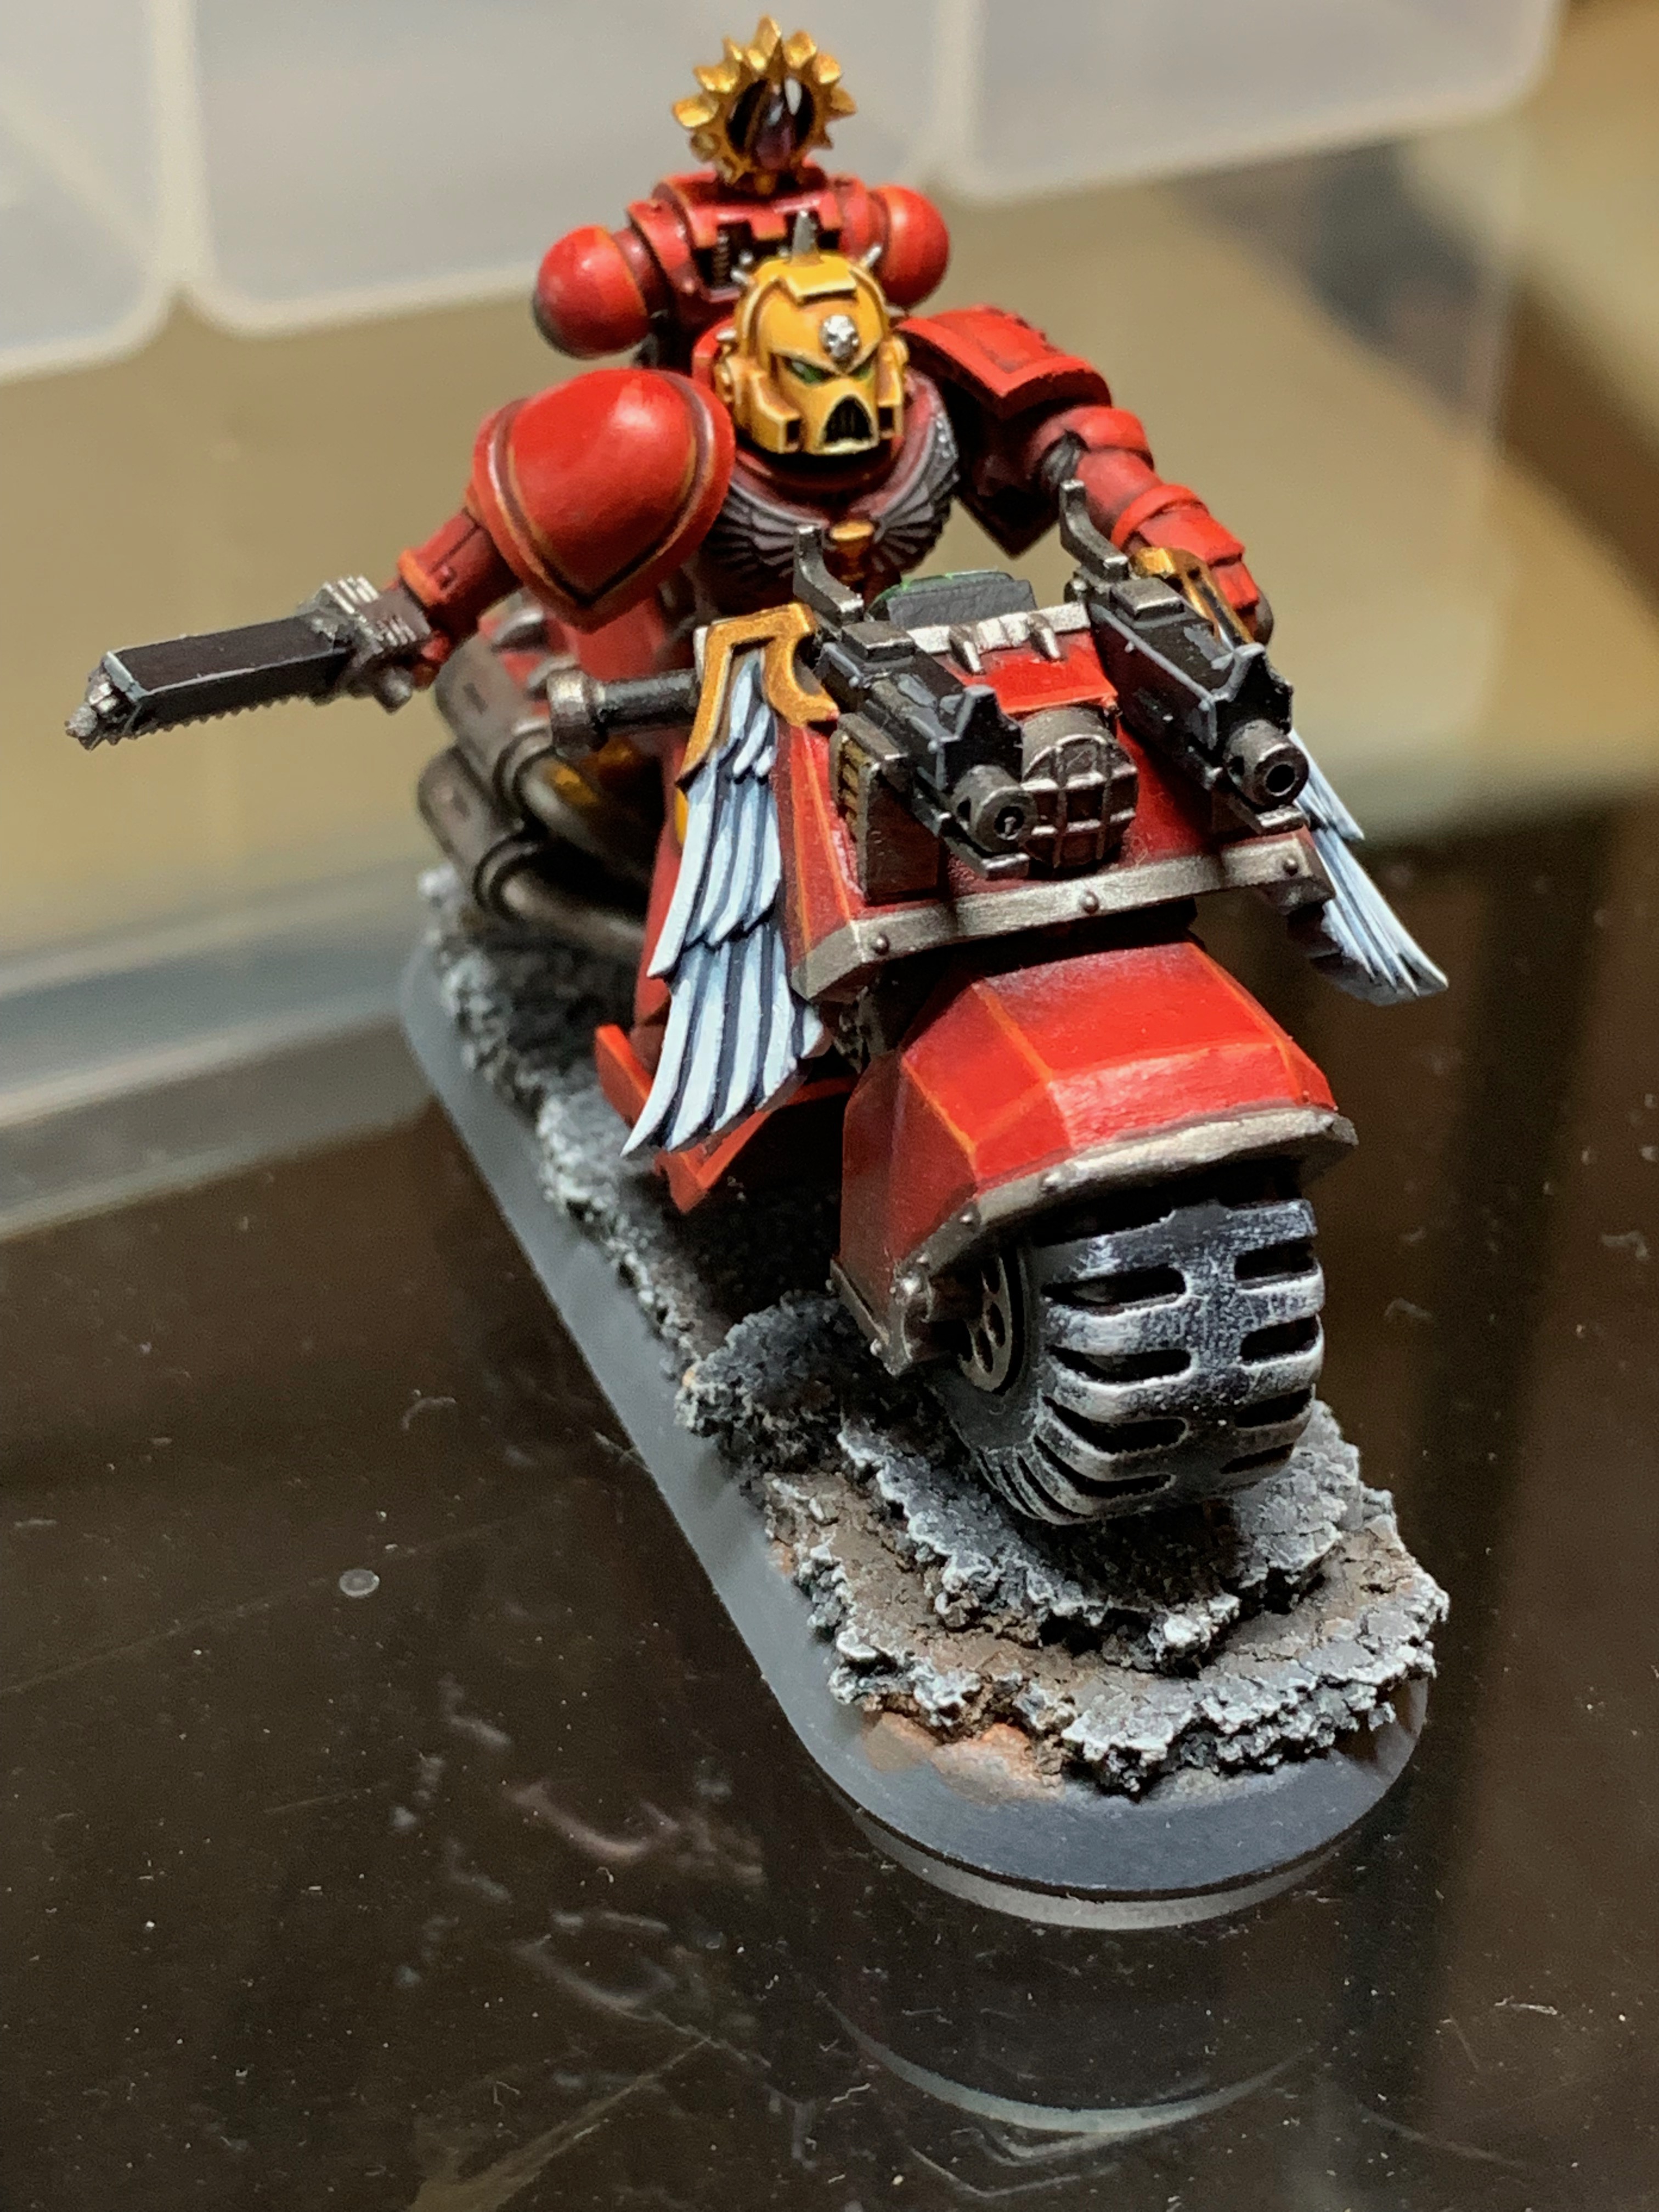
With all the pieces for the bikes themselves set up, it's on to priming and airbrushing. Most of this will be done in usual red/grey primer and tinted with Mephiston red. The front bolters will stay black.


I didn't take many detail photos of the tactical marines being painted in this batch - they are largely the same as the many squads I have done before. It does feel a bit funny to think of an extra 20 marines as being a small side job - it probably took me 6 months to paint and detail my first 2 squads.


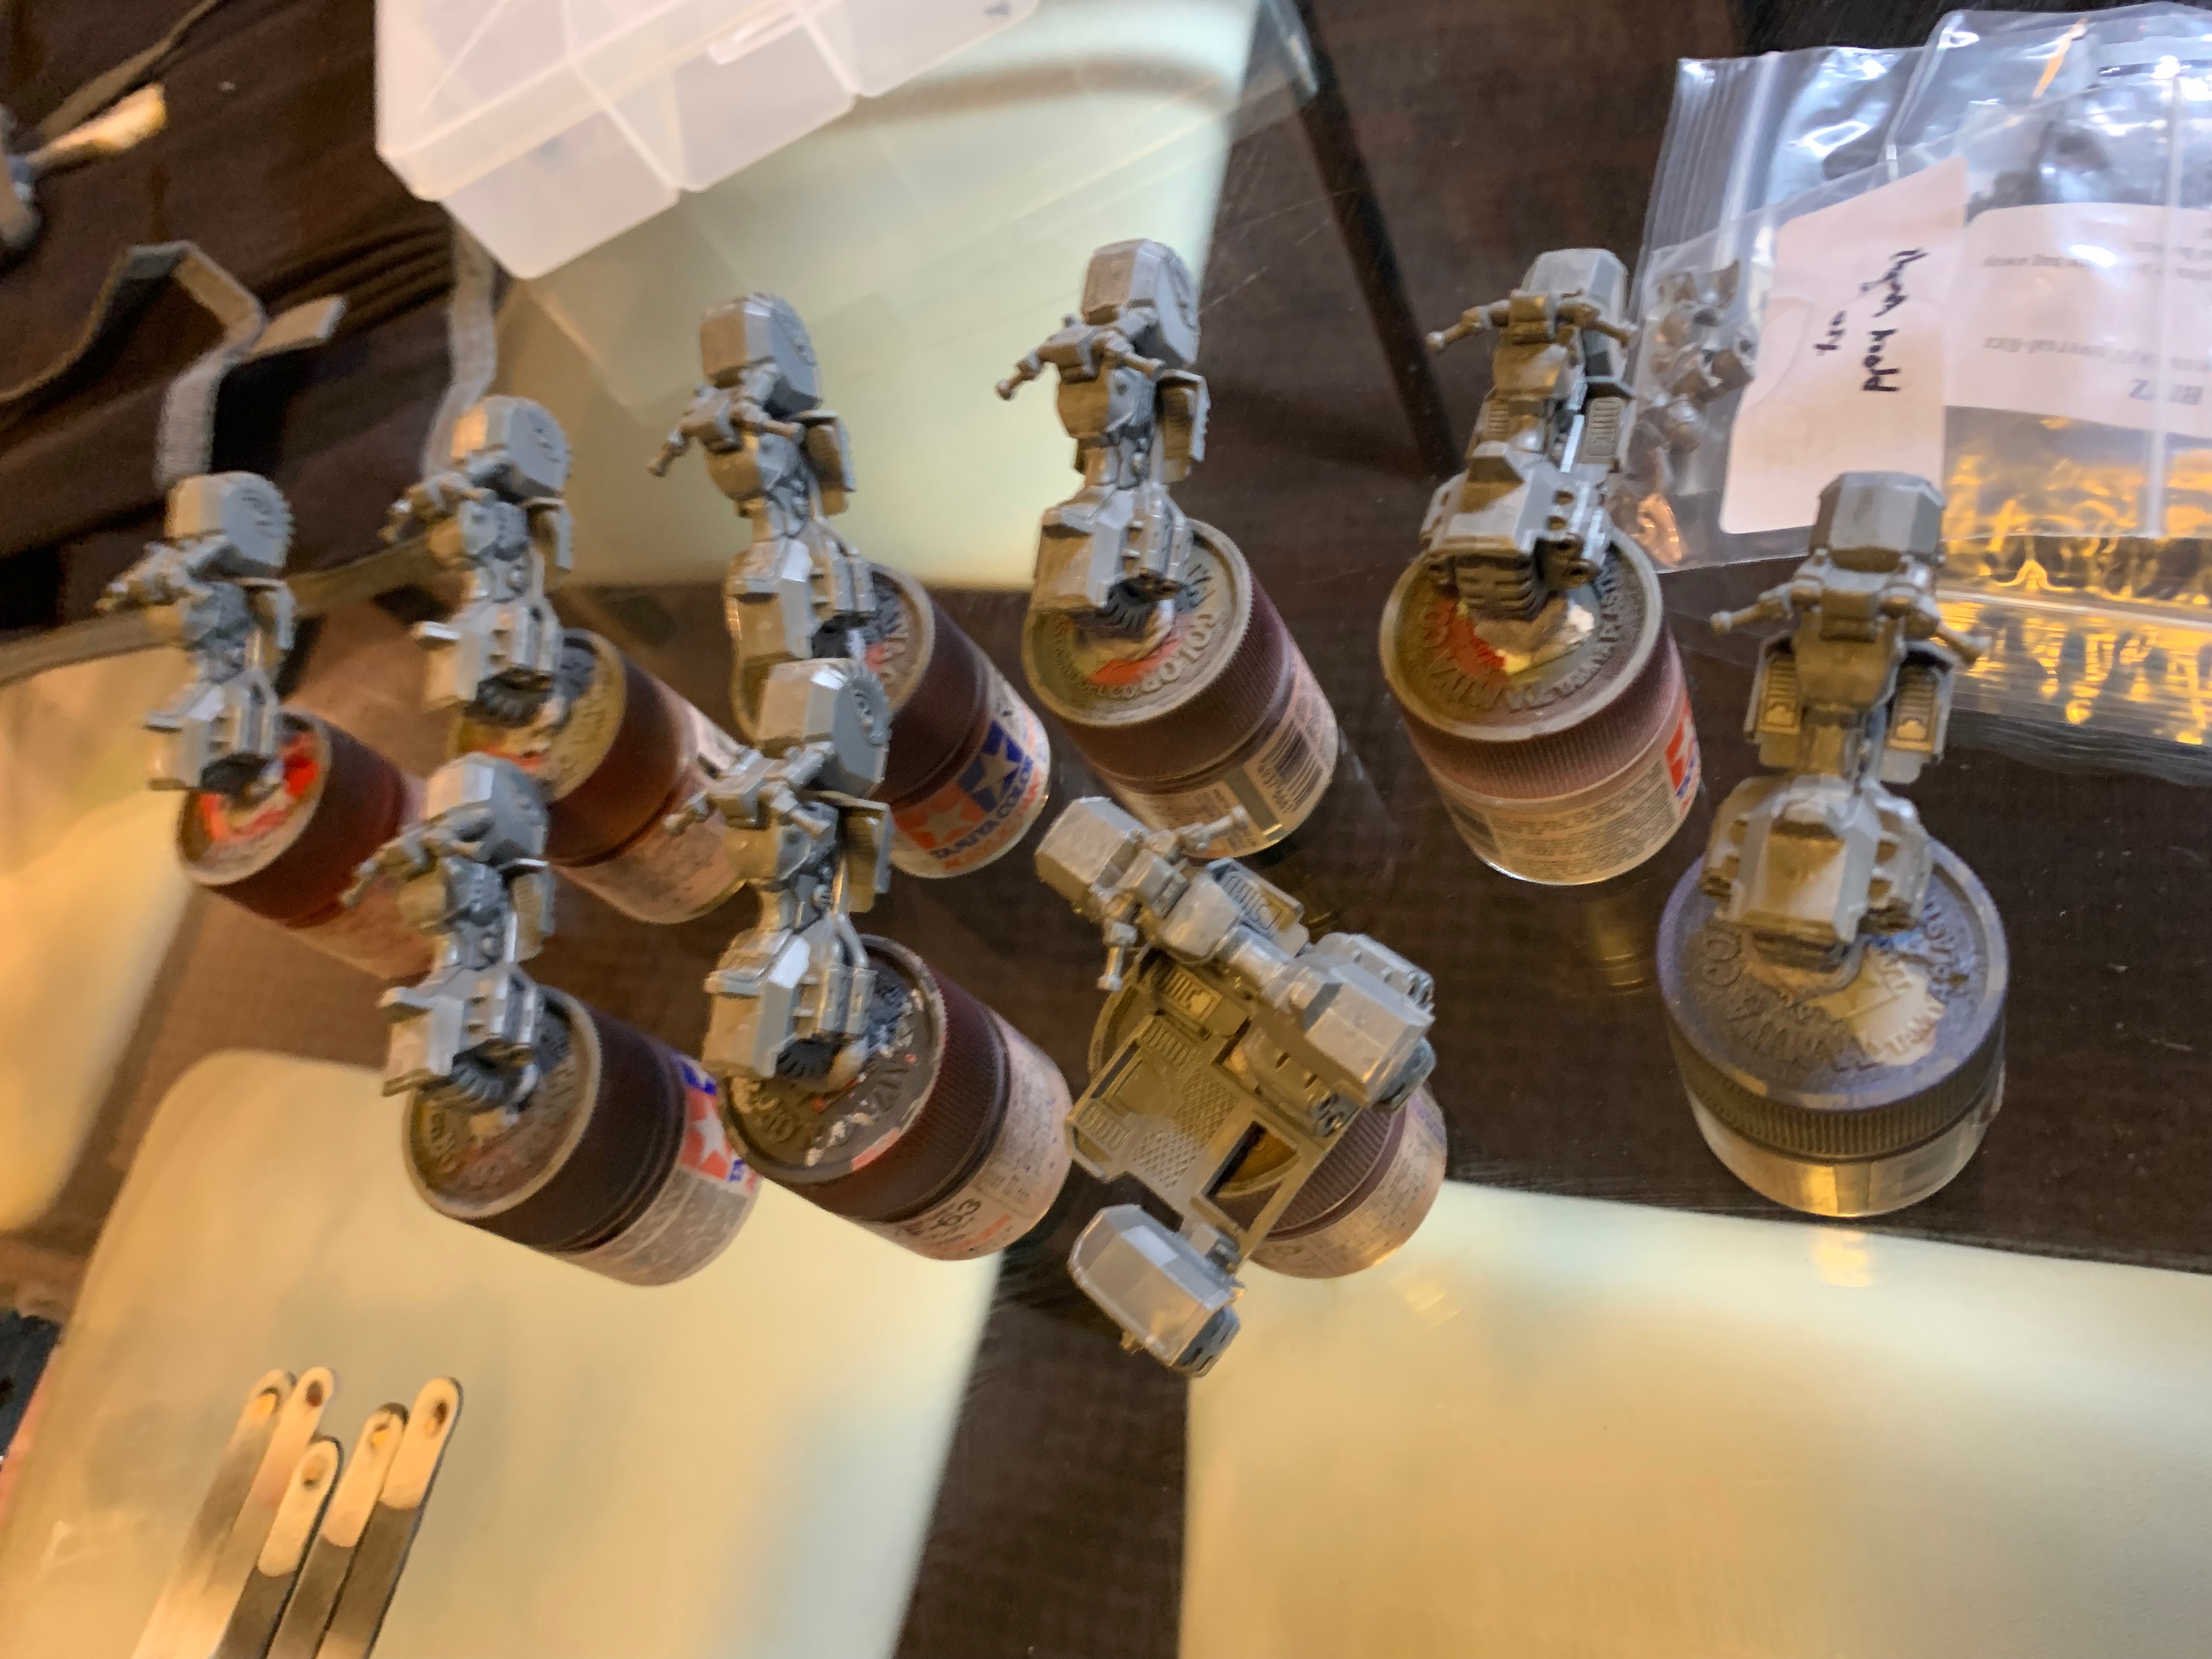
The ingenious tools of the job - the bolters were stuck onto a strip of masking tape reversed onto a usual paddle stick. Super easy to prime the whole thing without needing to move the pieces around or take them off.


The bikes after red primer and grey primer highlighting. Looks like they have been out in the snow.


That just about brings these up to the half-way mark - I usually feel like once the priming & airbrushing is done that the corner has been turned. All the superglue and construction tools are away, and generally it's about half way through the total time. The bikes I think might be already further along - there was a lot of construction & building to go at the start.
Next part will look at the detail of the bikes, and then adding the riders themselves.
No comments:
Post a Comment