Home stretch now - putting all the many many pieces together, along with a few bonus extra painting steps to finish them up.

Ok - everything that is getting glued together. Bikes, riders, heads, 'permanent' arms and bases. Not sure why I took so many photos, but quite a bit of time had been spent at this point and several of the areas will never be seen again once the parts are glued together.
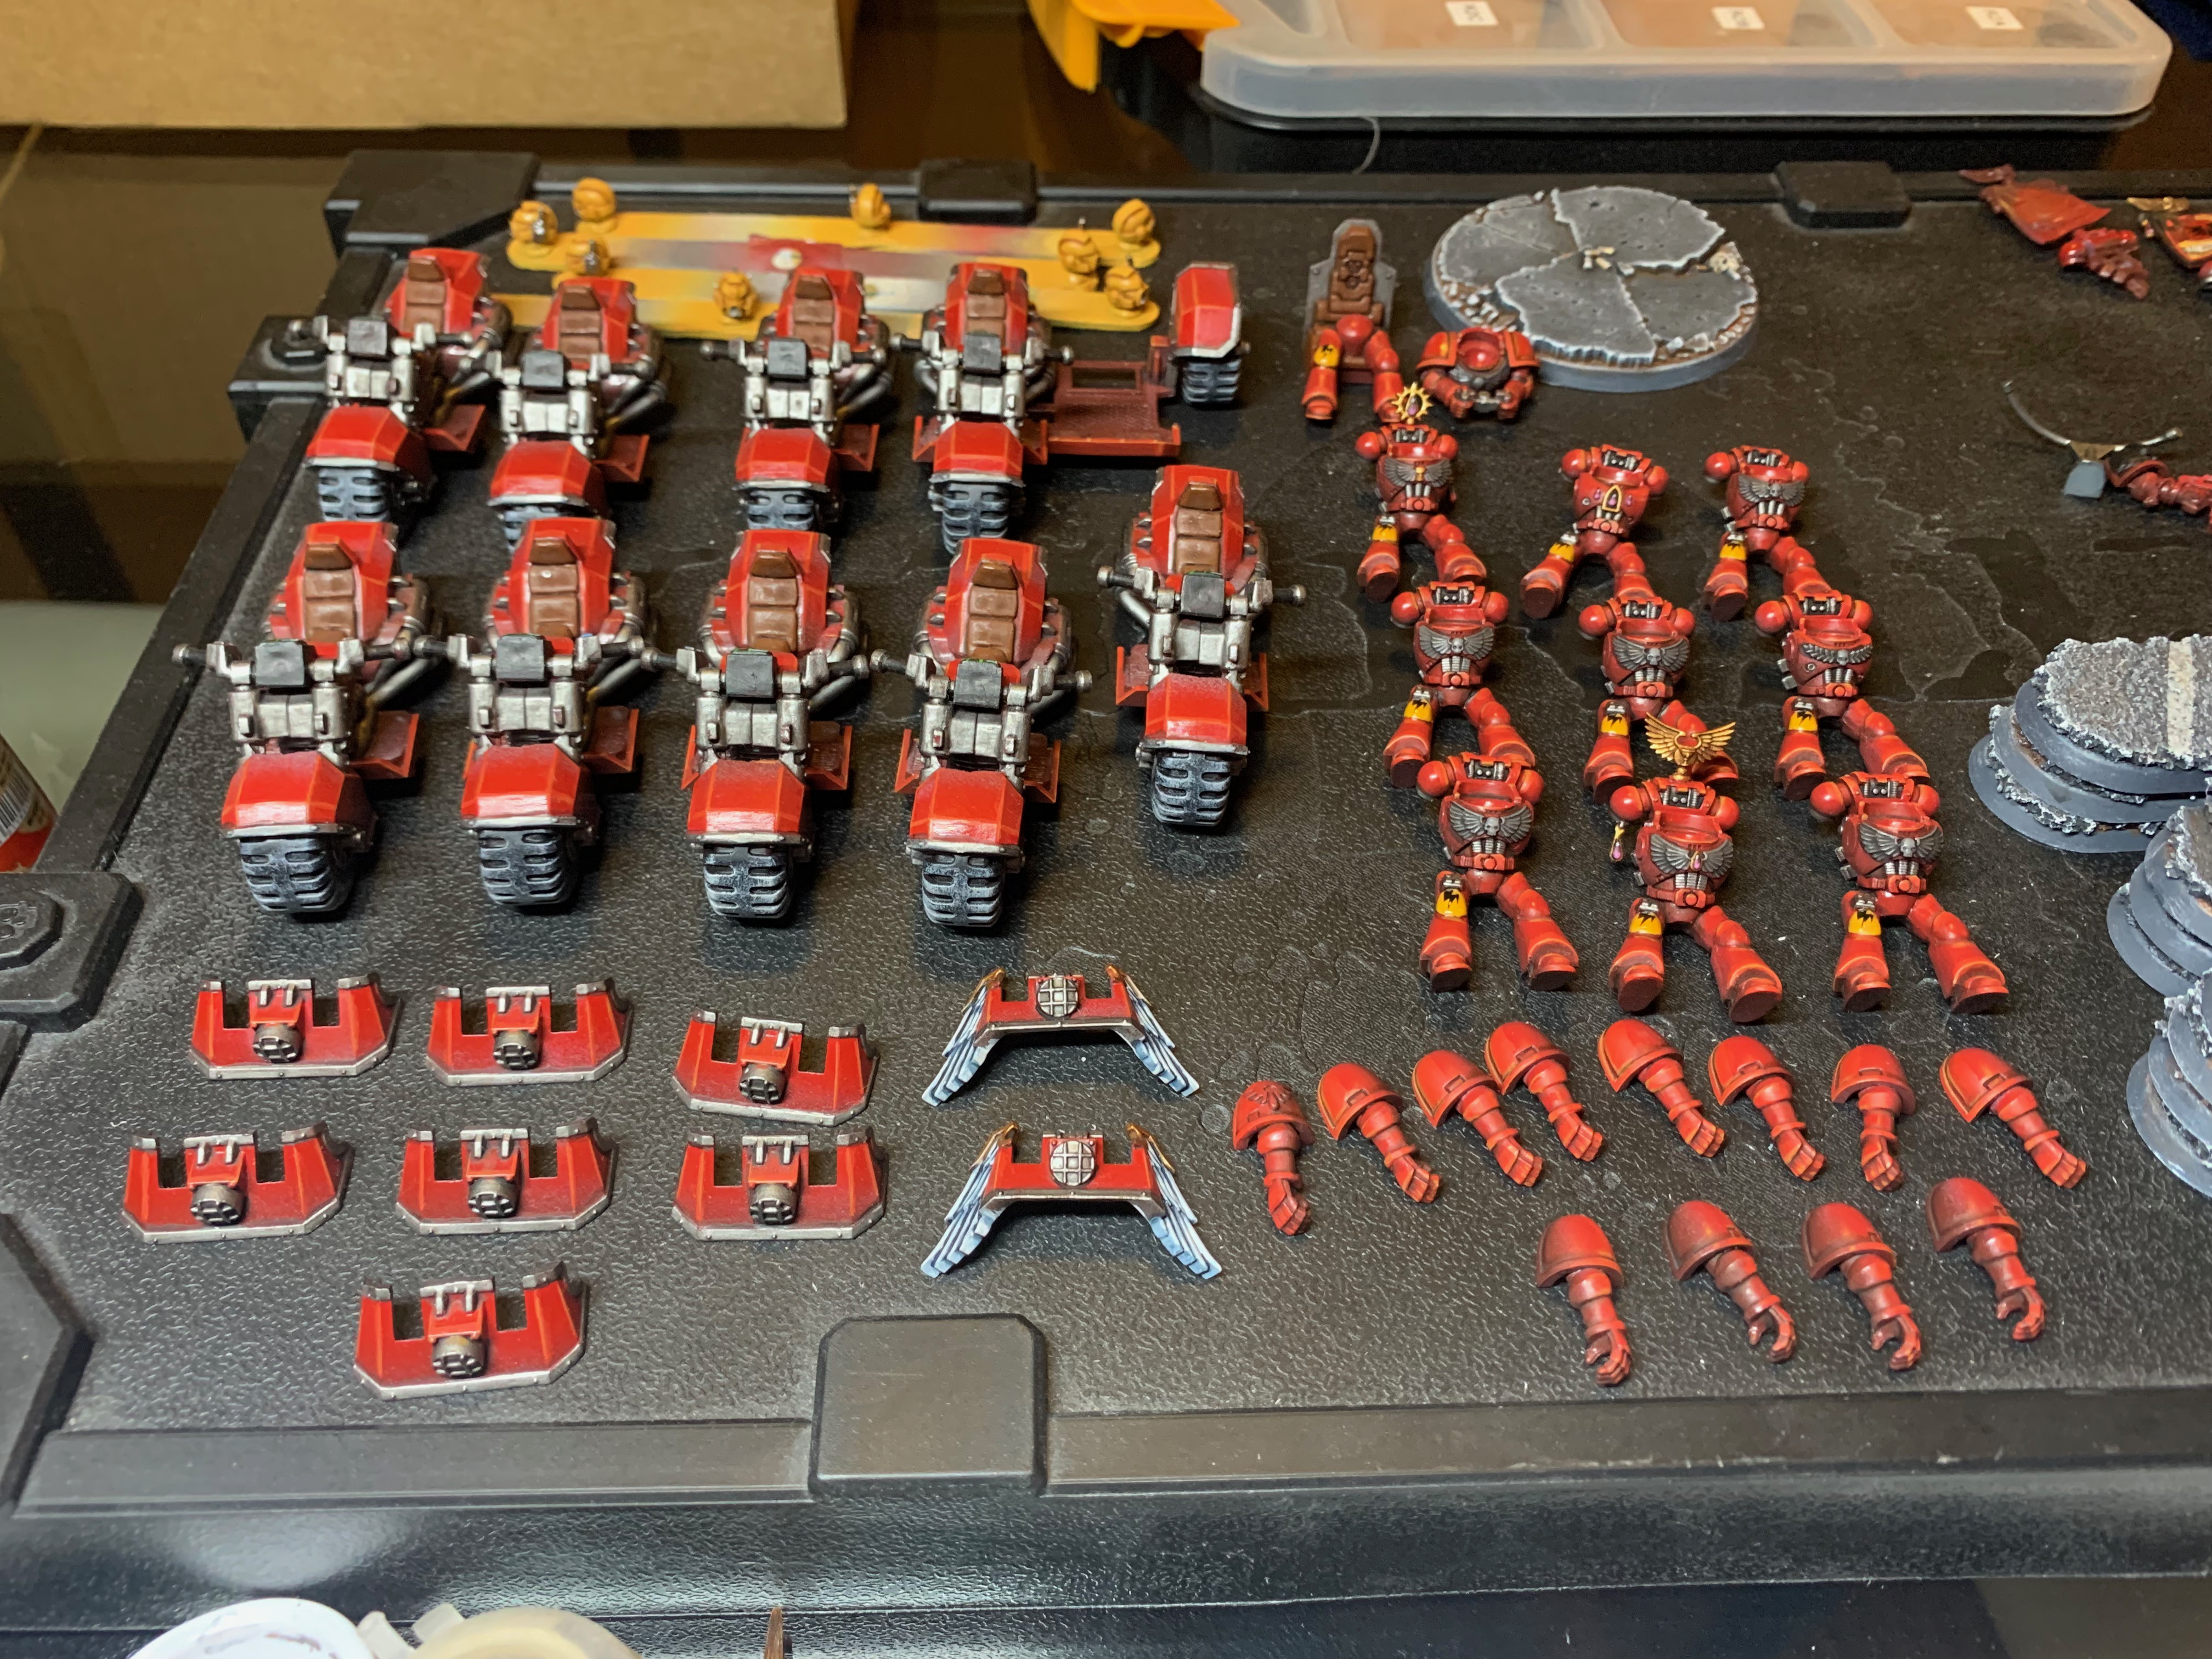


Starting with the legs/torsos - as always plastic can be a bit funny; despite all of these coming out of exactly the same molds a few of the legs were very tight and had to be forced into place while some were loose & easy. Some of the backpacks and torsos (the ones that came from non-bike kits) had some edges that rub against parts of the bike. Always test fit these before priming stages.


Arms going on. The sergeant (black shoulder) at the back is magnetic, while the rest of the hands holding the bikes are glued permanently.

Swords and pistols are magnetic - with the whole squad seated into the bikes with arms on it's getting closer to the final effect.
Attaching to the bases involves a paperclip pin, easiest located through each wheel. For the attack bike, that really helped to be 3x wheels. I was tempted to leave the base off the attack bike, but putting one on means all the models have the same head height.


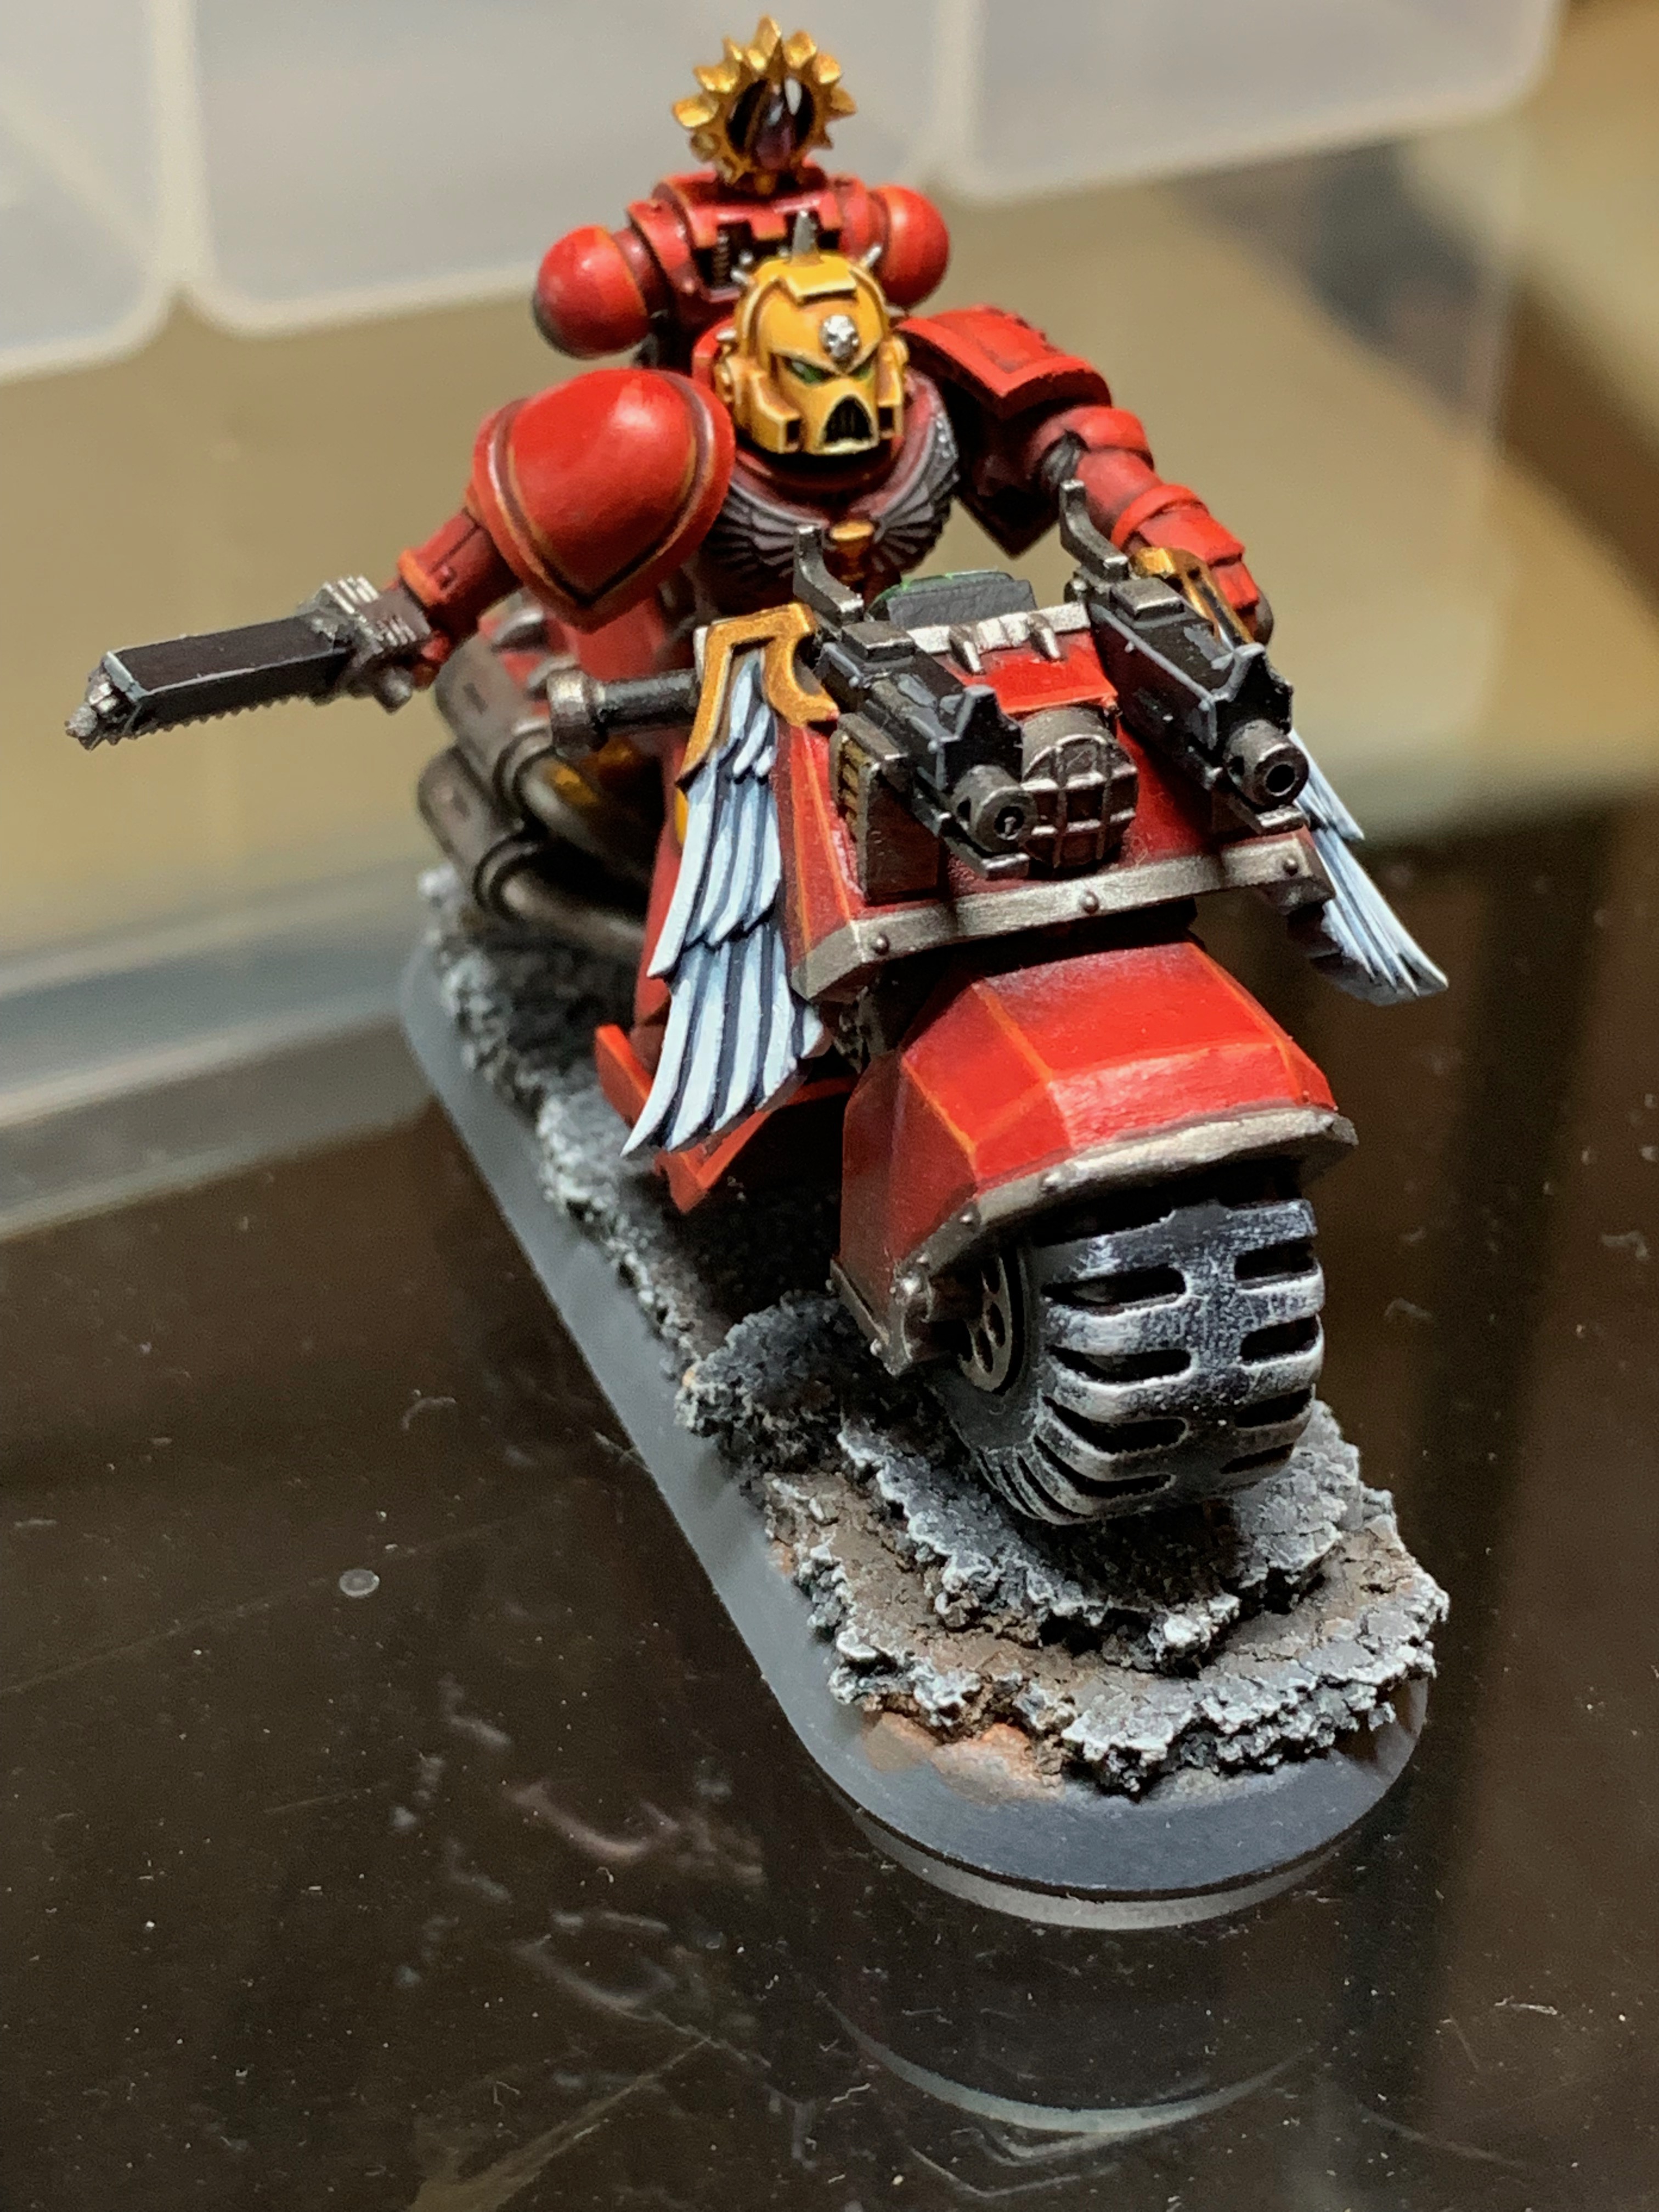
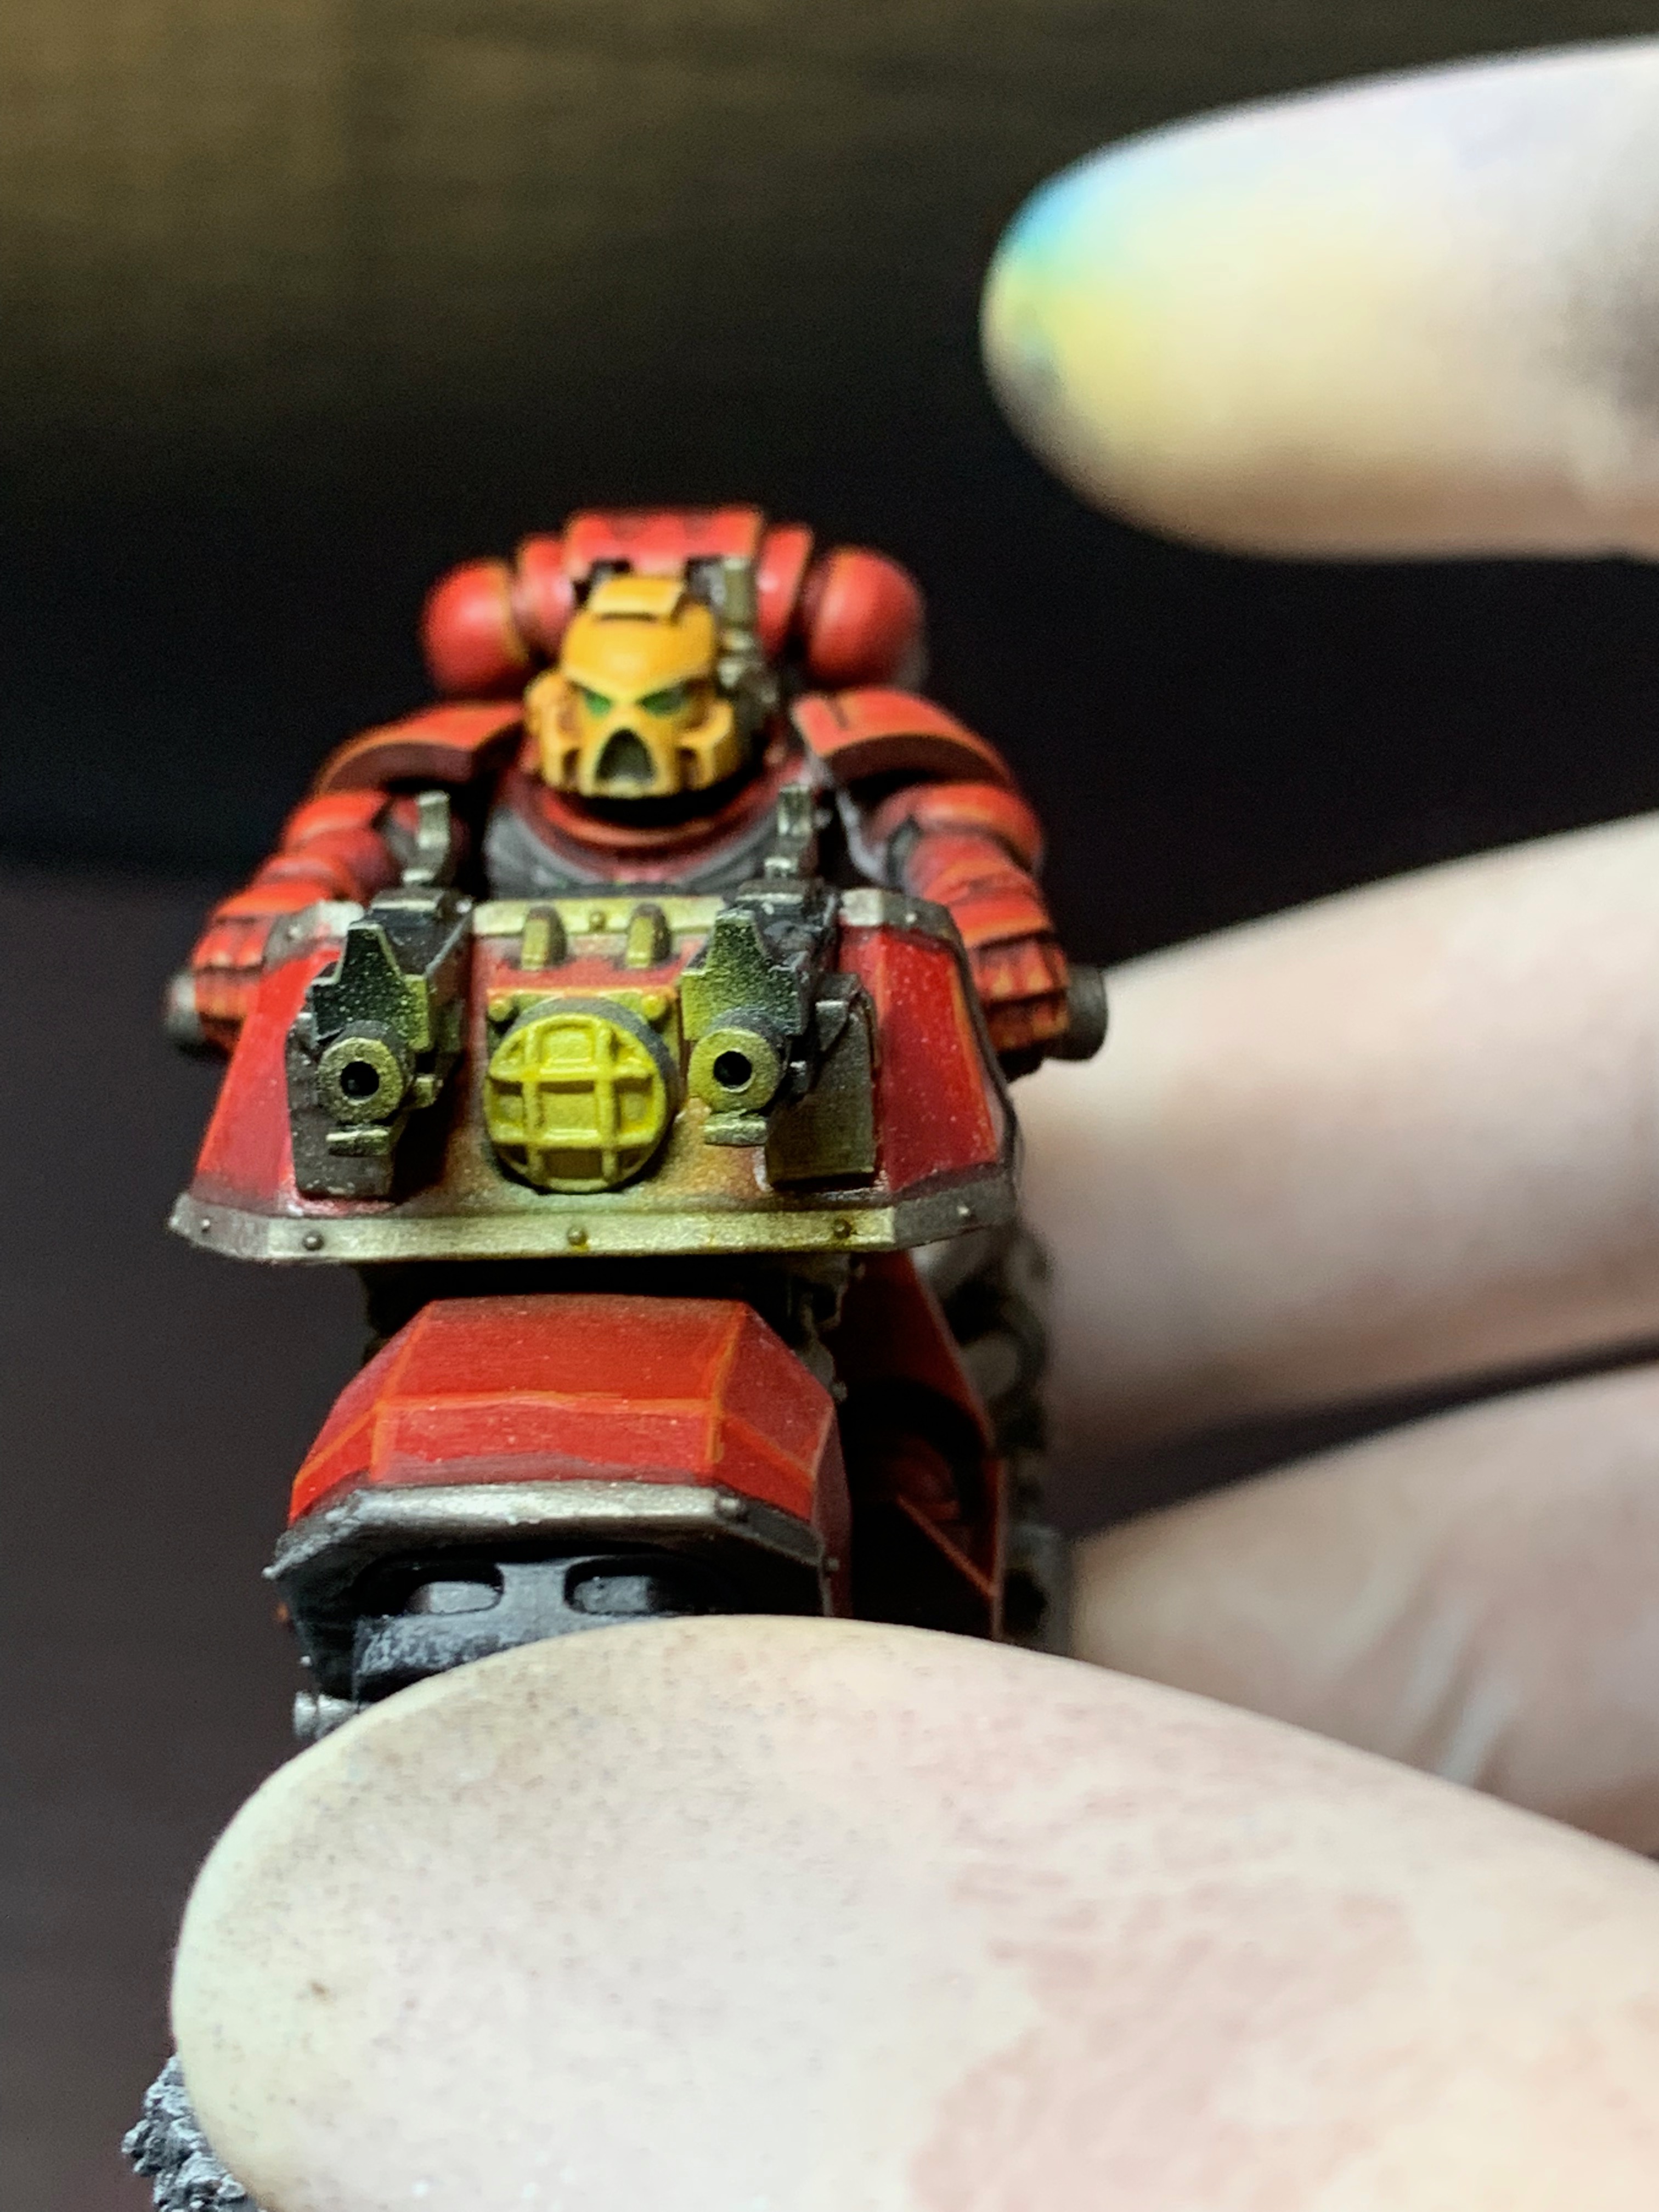
Squeezing the bolters into place and superglued. Some of these needed... encouragement. They make everything look a lot more finished straight away.

Dropping the yellow helmets into place. A couple of these have been turned to look a little sideways just for variety.

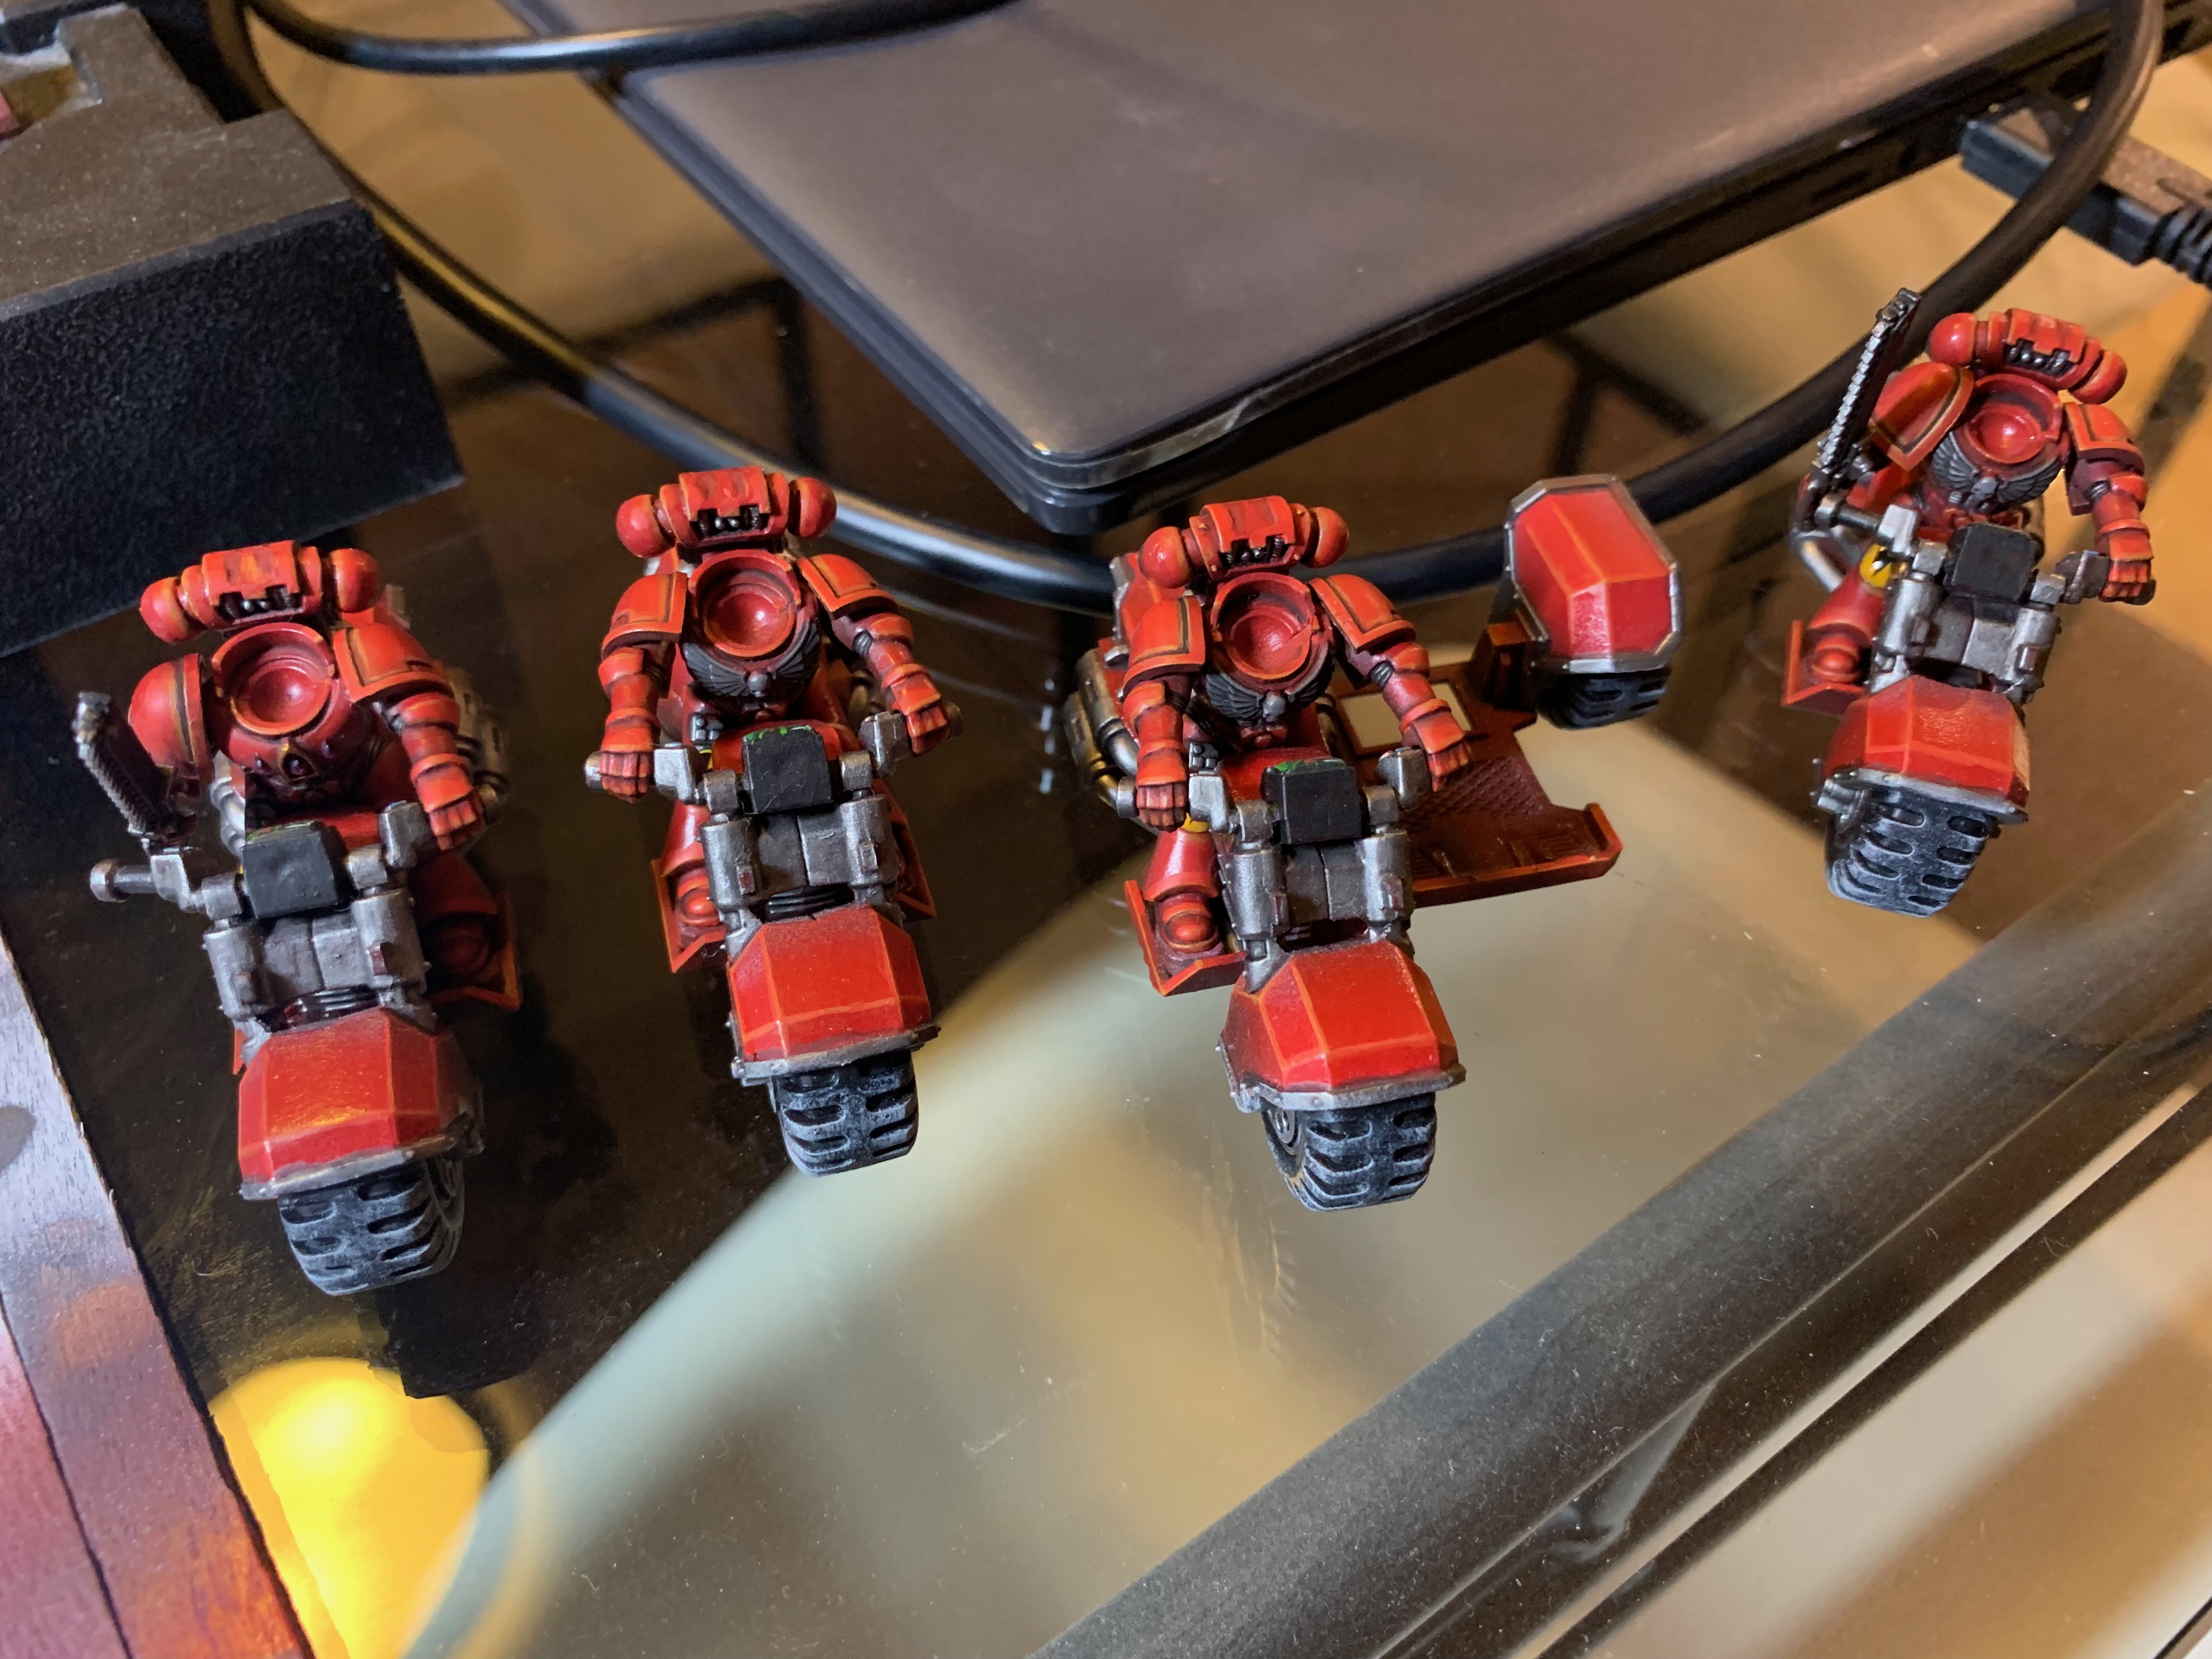
This left me with a few details that needed the airbrush to come back out - a few of the sergeant power weapons too, which need masking to focus on blades, etc. Plus a couple of plasma weapons that will just get a light dusting/glow.


I have wanted to have a go at adding some headlight effects for a while. With the bolters on, this area is harder to get to - although in practice, some yellow 'glow' around the guns probably makes sense. A little burst of dead white first... followed by vallejo yellow.


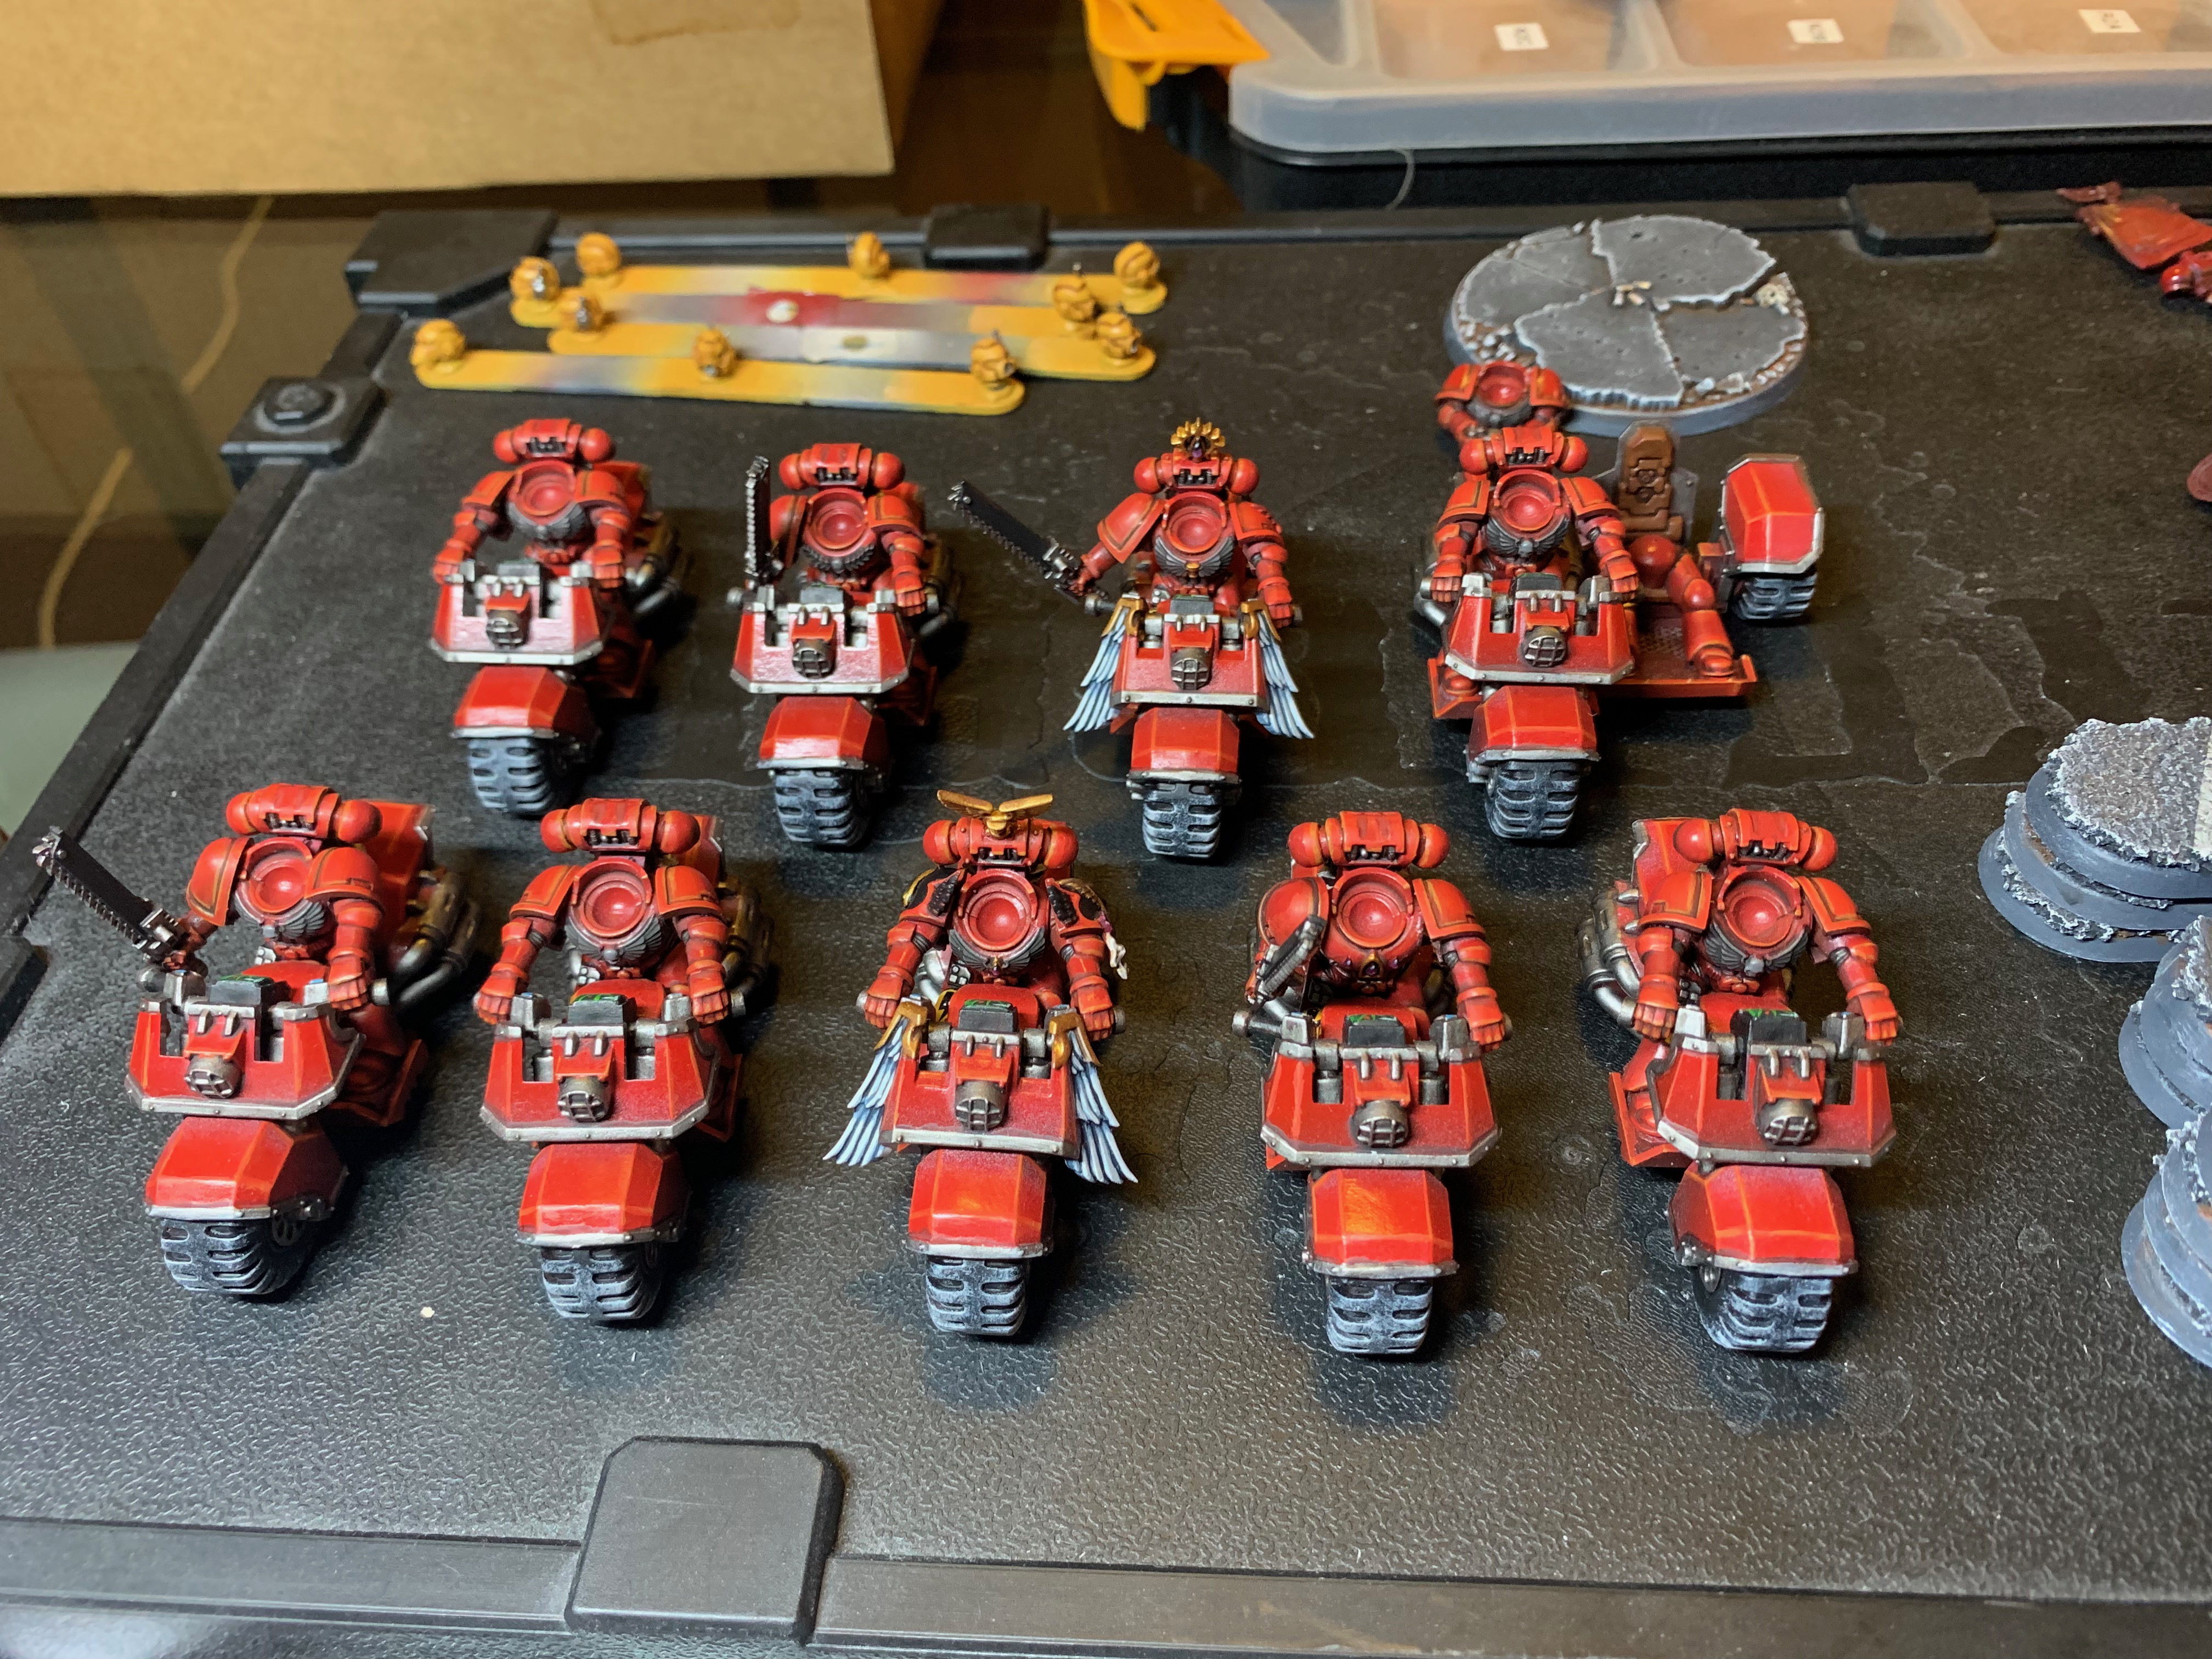
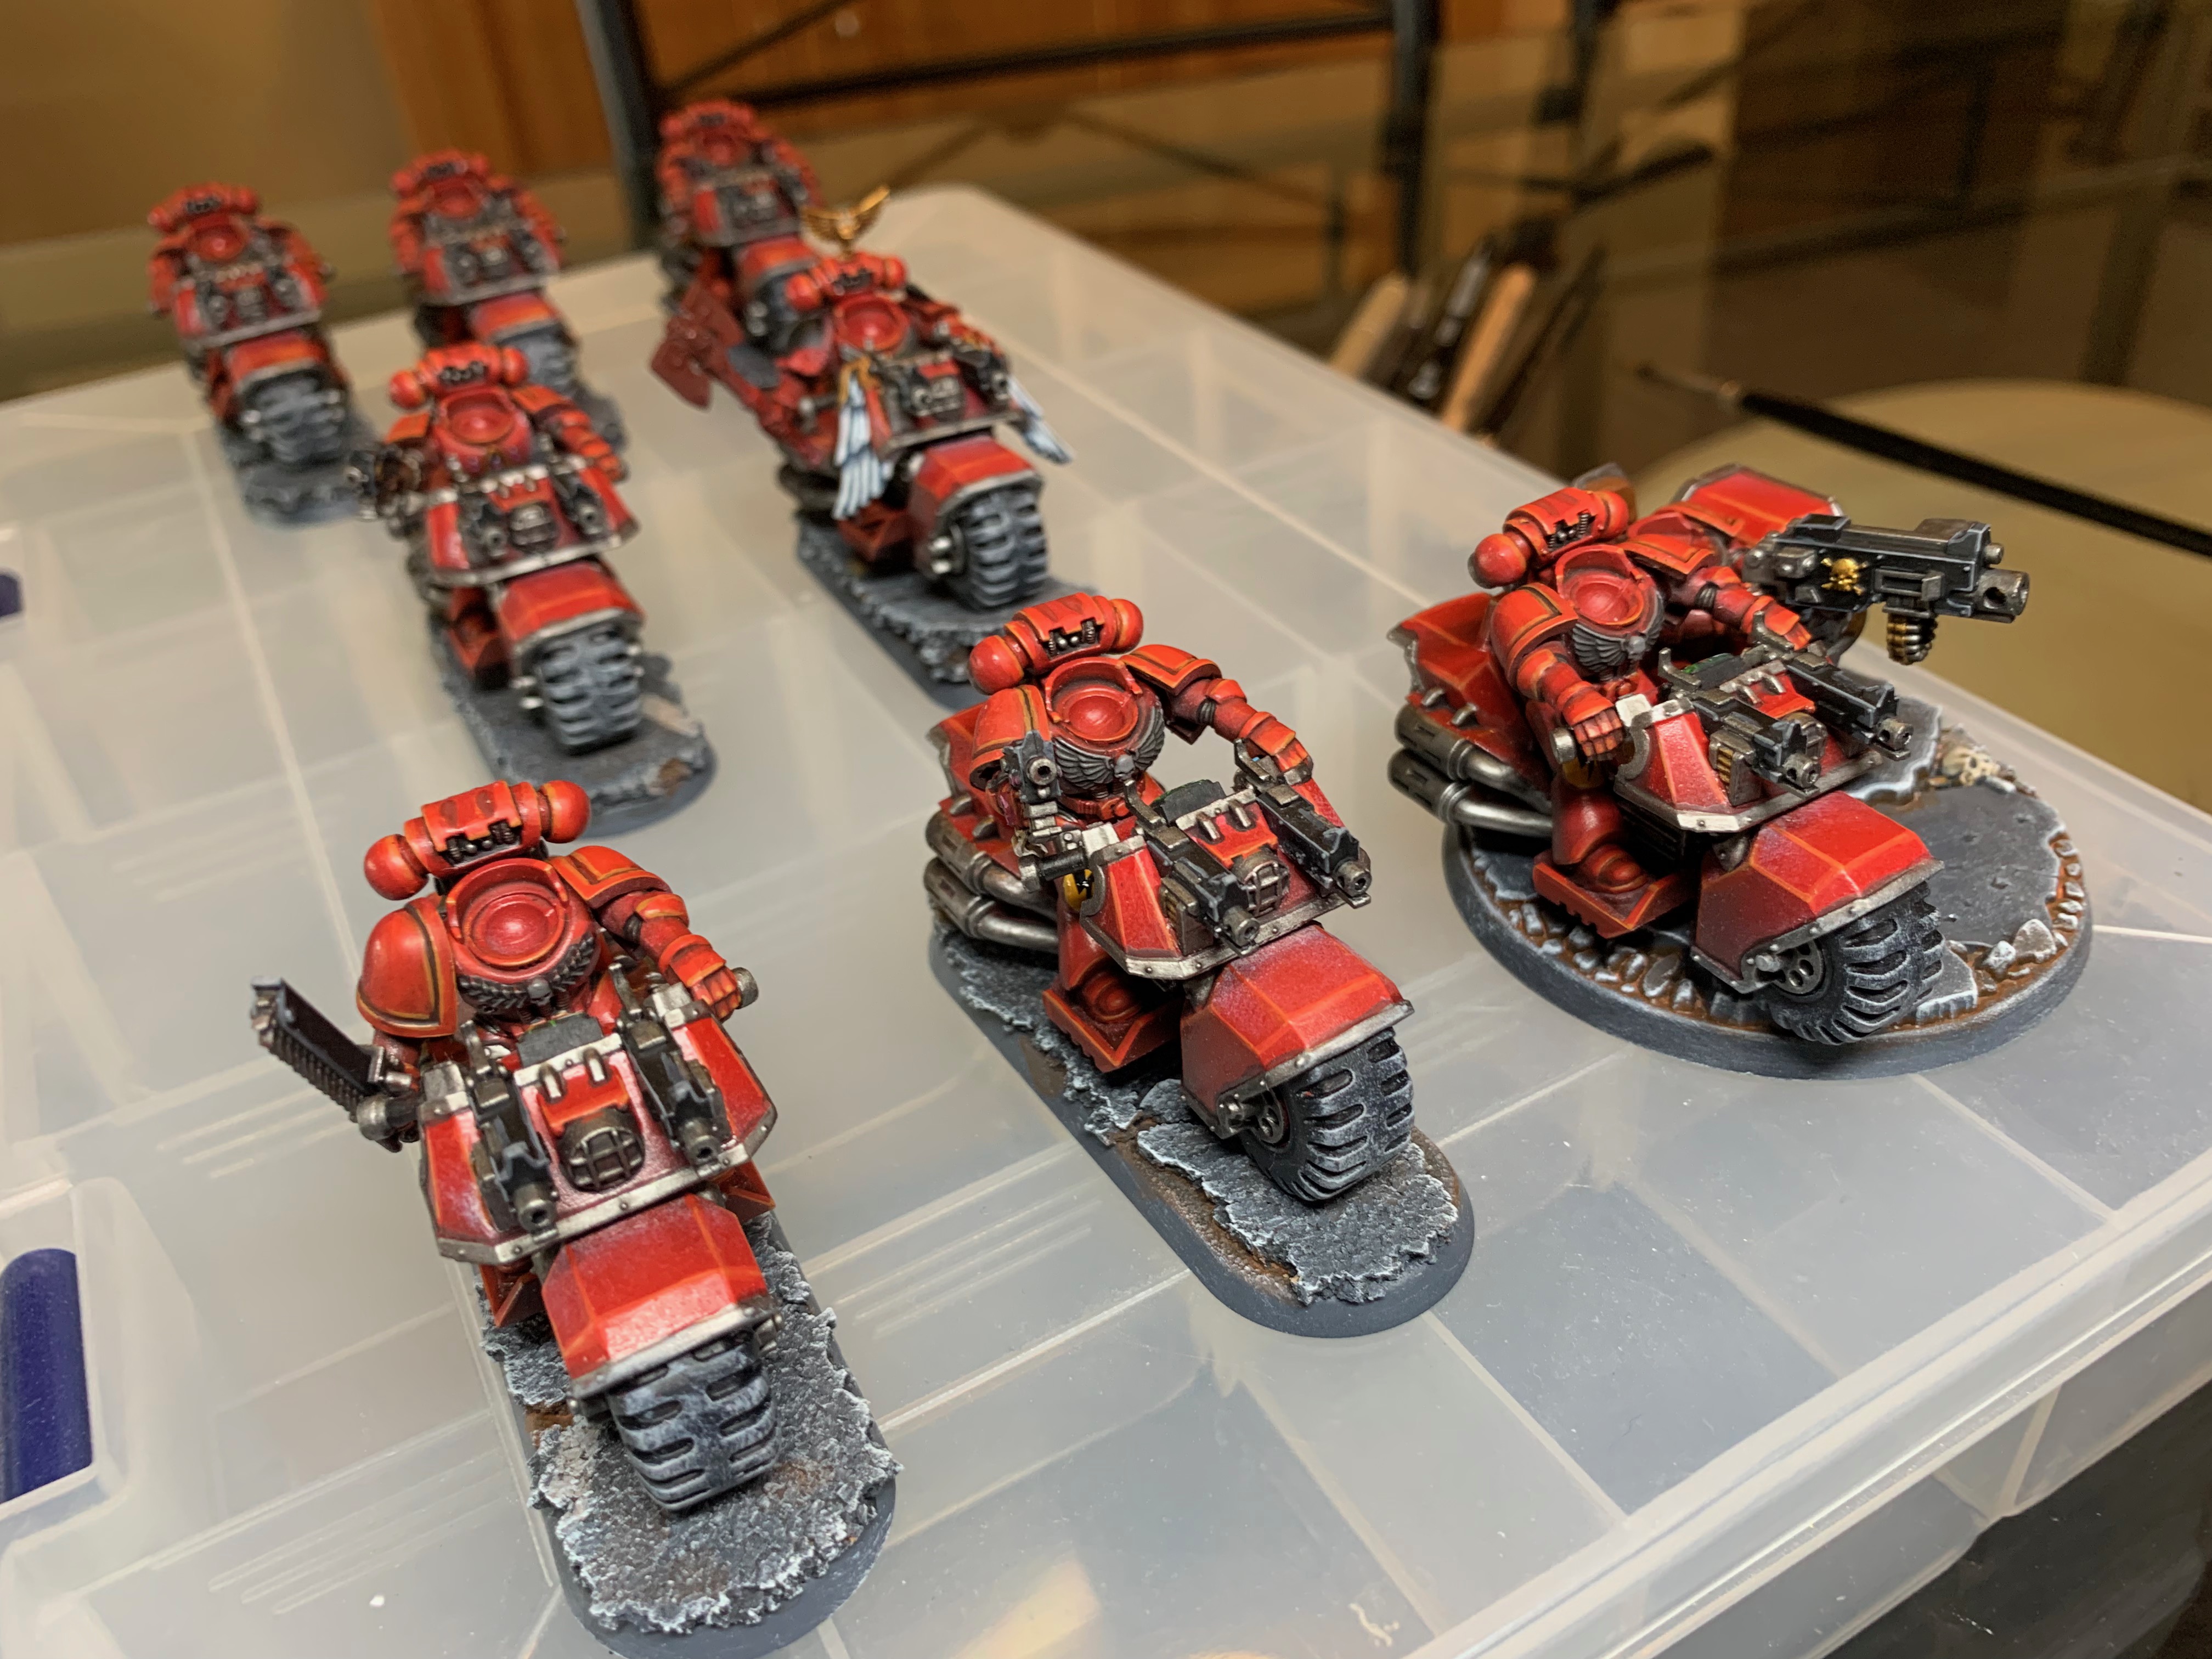
With the airbrush details done - the assault squad on bikes is now up on my shelf. The final two tactical squads are just about done to finish up my battle company. I'll then take everything out of the cabinet for a couple of family photos :-).
No comments:
Post a Comment